MongoDB
Step 1: Create a data source
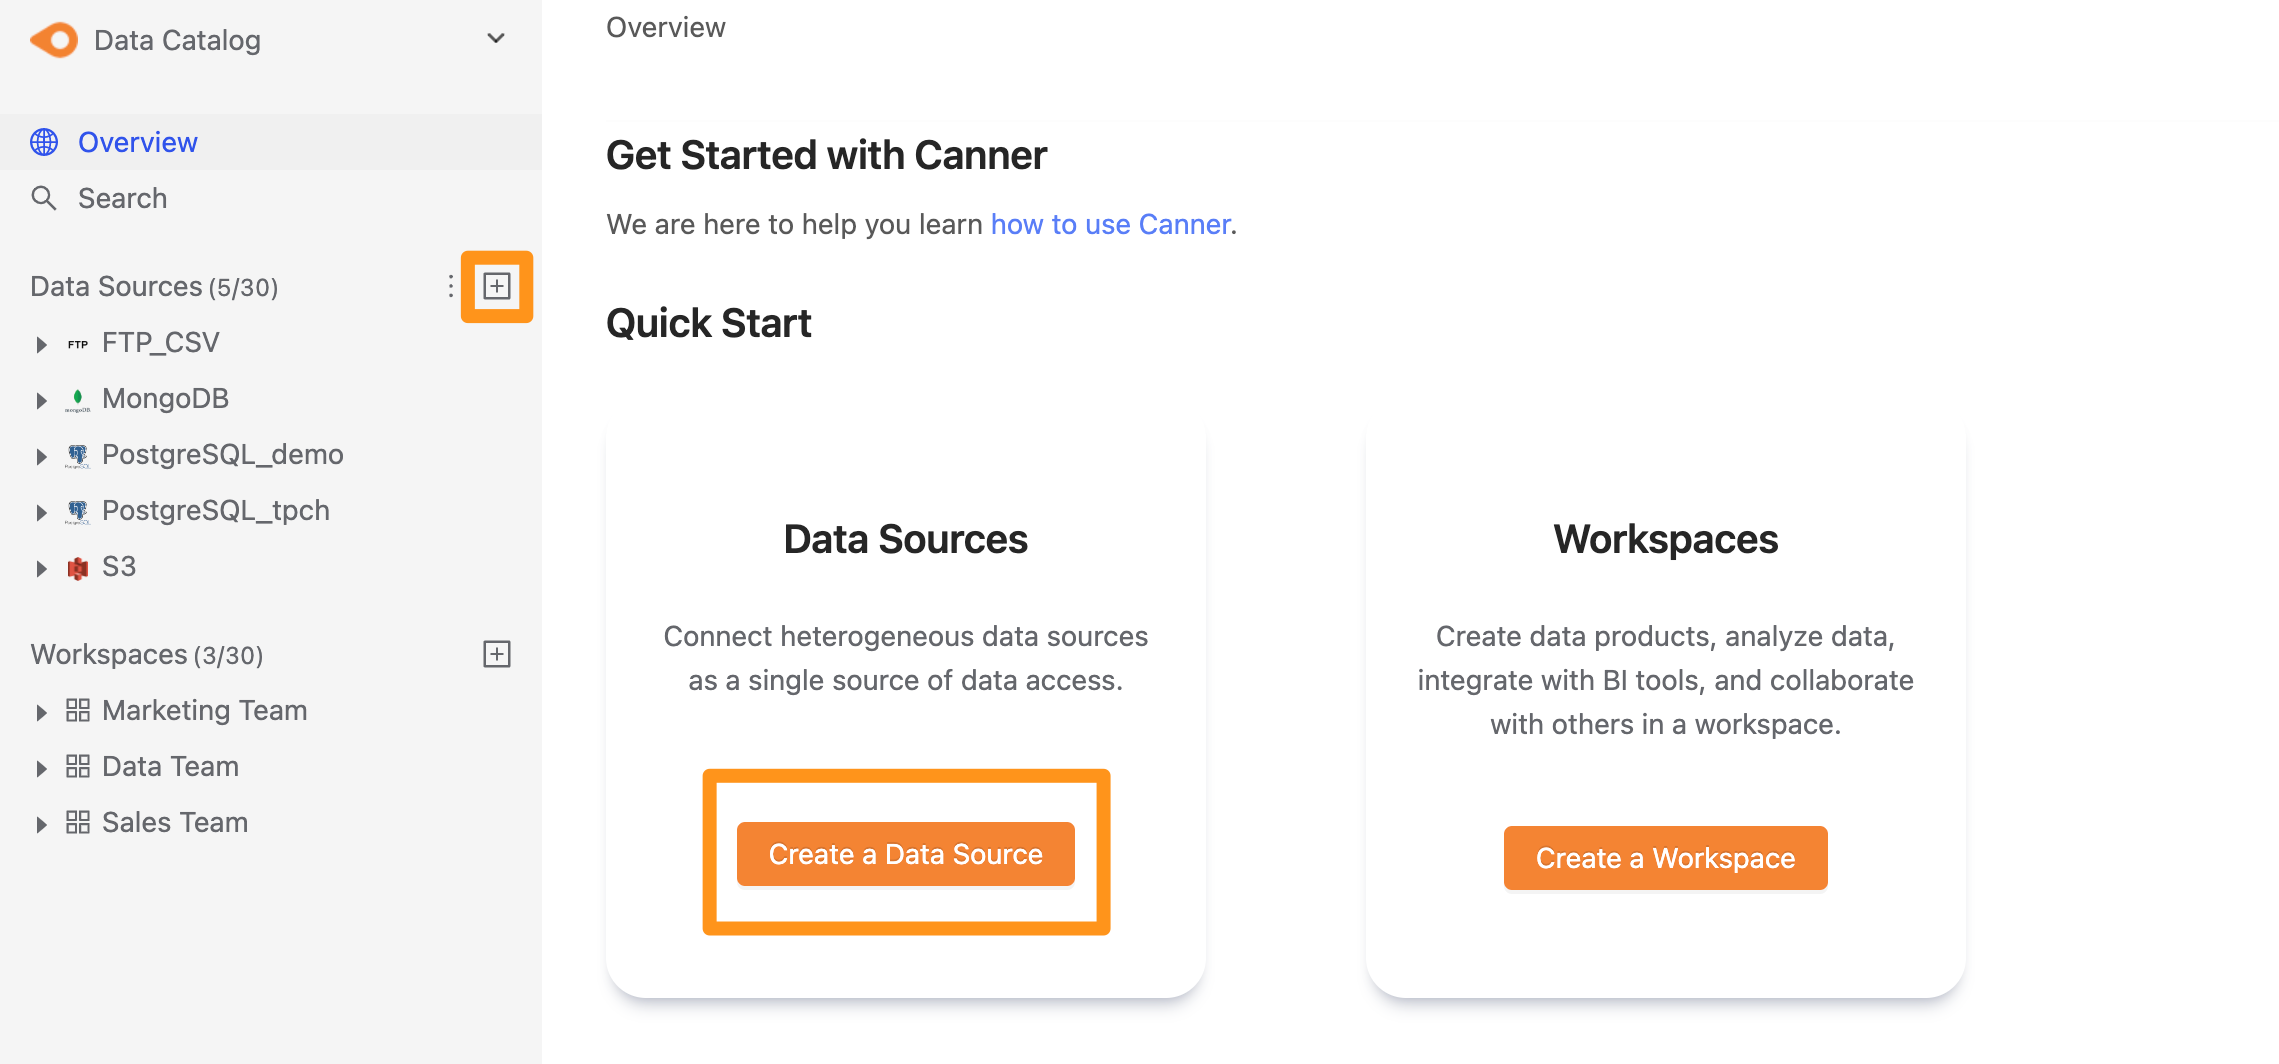
There are two ways to create a data source: click the "+" button next to Data Source in the sidebar, or click the Create a Data Source button on the Overview page.
Step 2: Configure the connection
In the dialog form, fill in the connection information and click Submit.
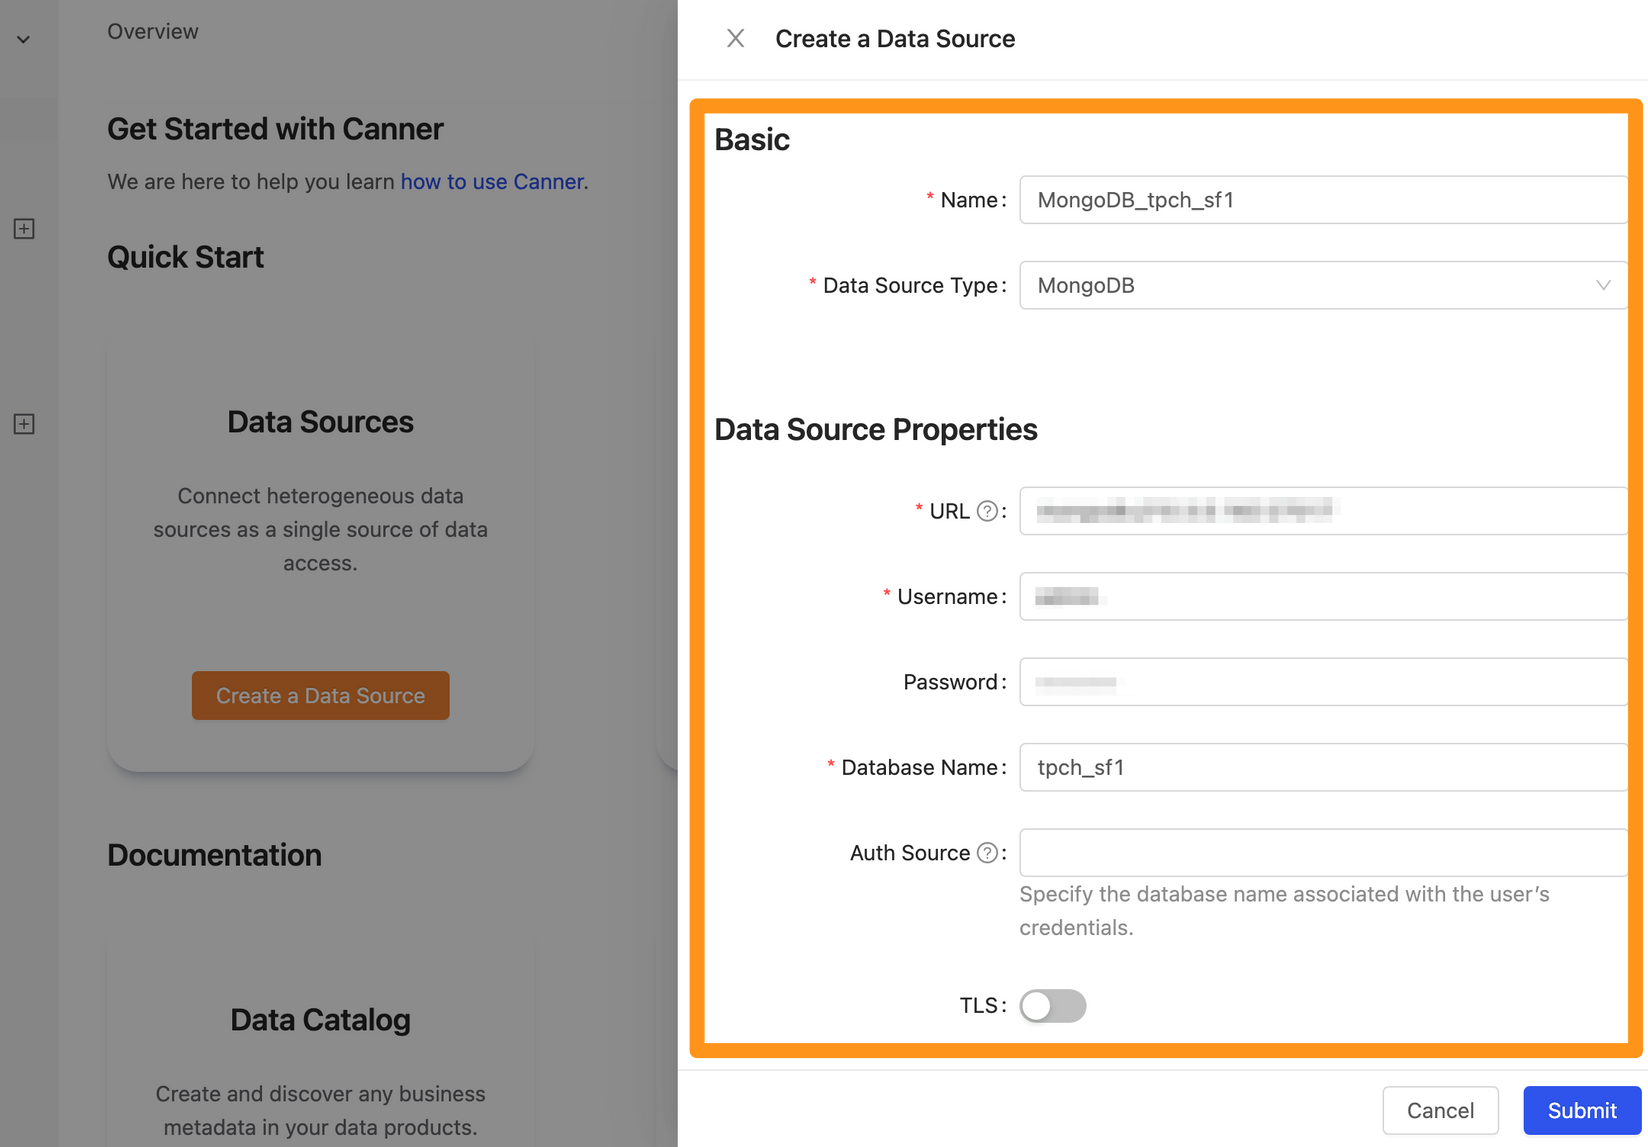
The connection fields are described below.
Basic
- Name: The display name of the database in Canner Enterprise. You can change it later.
- Data Source Type: The database type. Select
MongoDB.
Data Source Properties
- URL: The database address, in the format
<hostname>:<port>. - Username: The username used to connect to this MongoDB database.
- Password: The password used to connect to this MongoDB database.
- Database Name: The name of the database to connect to.
- Auth Source: The Auth Source (authentication database) in your MongoDB deployment, used to verify the credentials you provide. The Auth Source is usually
admin. - TLS (off by default): Turn this on to connect using TLS/SSL.
- Schema sampling strategy: Canner Enterprise samples your table schema to infer a structured format. Choose the sampling method:
From First(default): Sample starting from the first document.From Last: Sample starting from the last document.
- Schema strategy sample size: The number of documents to sample.
- Explore Timeout: The timeout for connecting to the data source. If connecting takes longer than this, the system stops and shows a connection error. The default timeout is
5000 ms. If the database you are connecting to has many tables, consider increasing this timeout.
Step 3: Finish
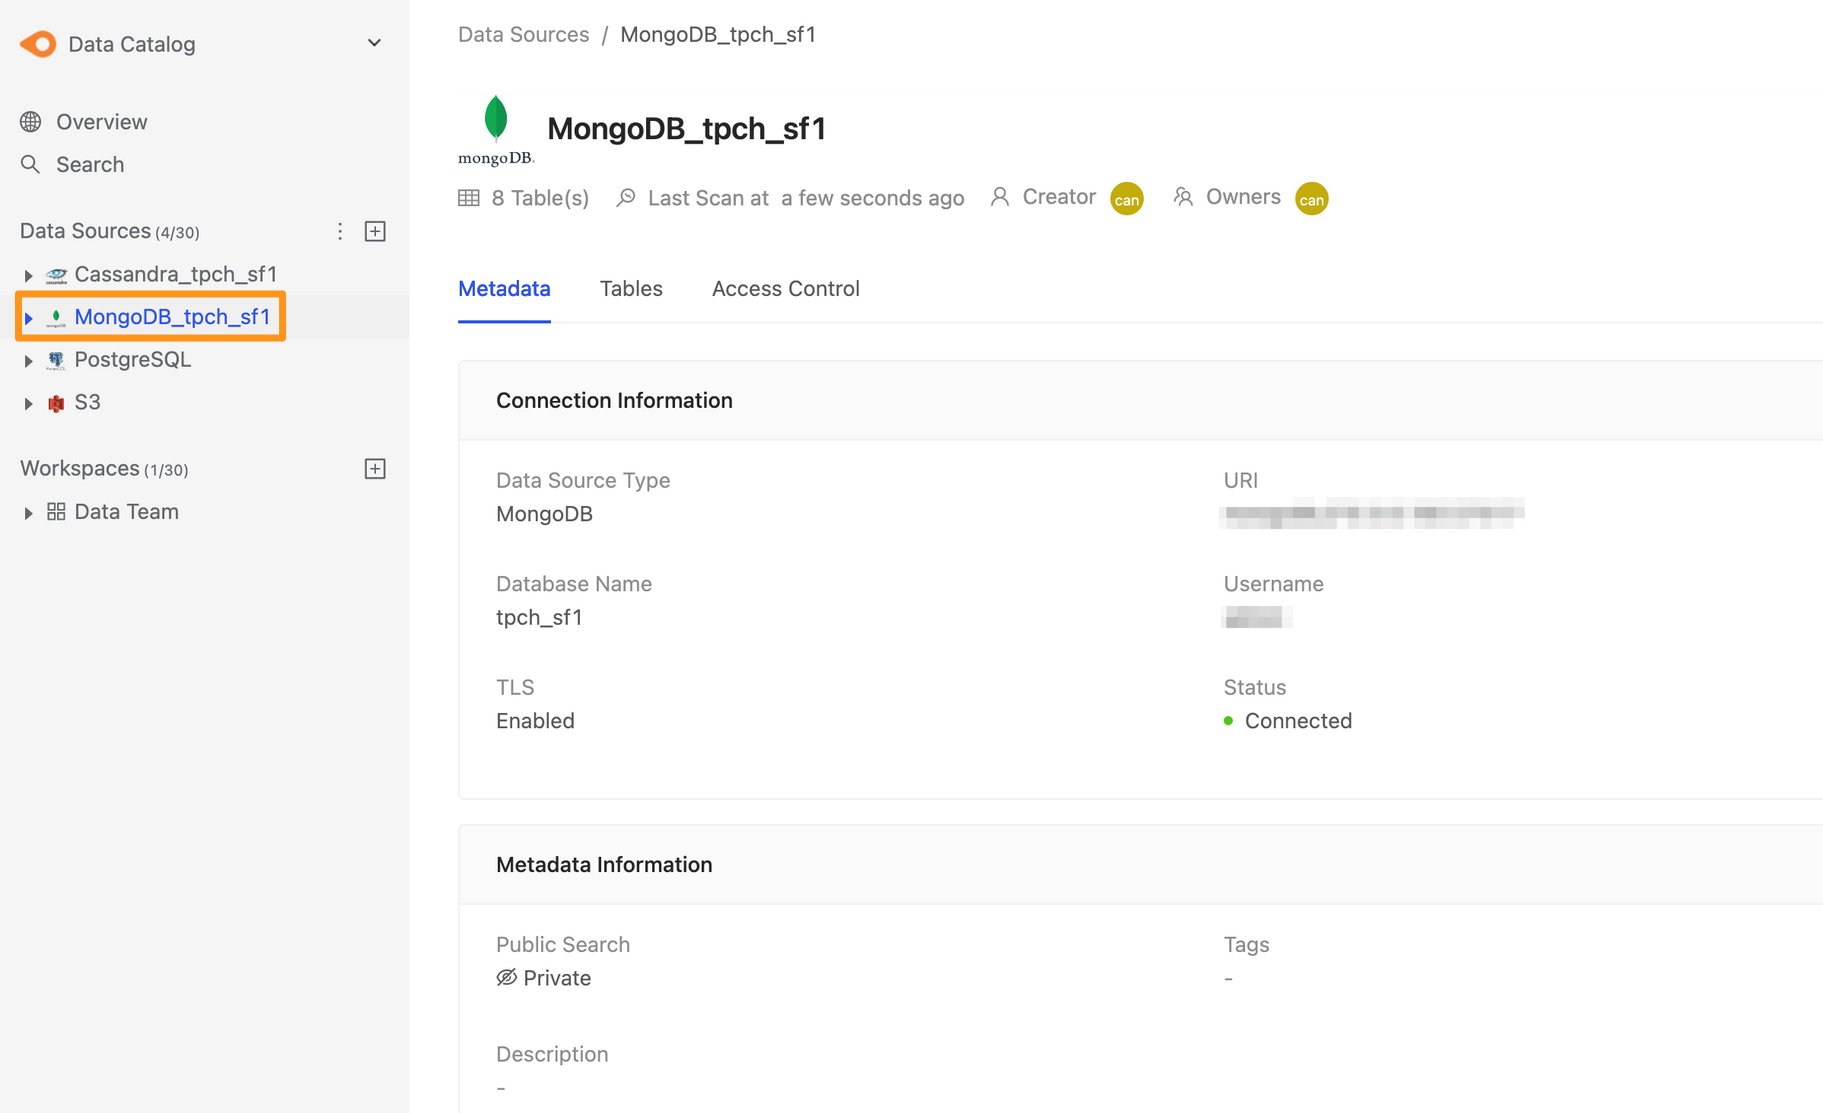
After you submit, the MongoDB data source appears in the sidebar shortly. Click it to open the data source details page.