Hive
Step 1: 建立資料來源
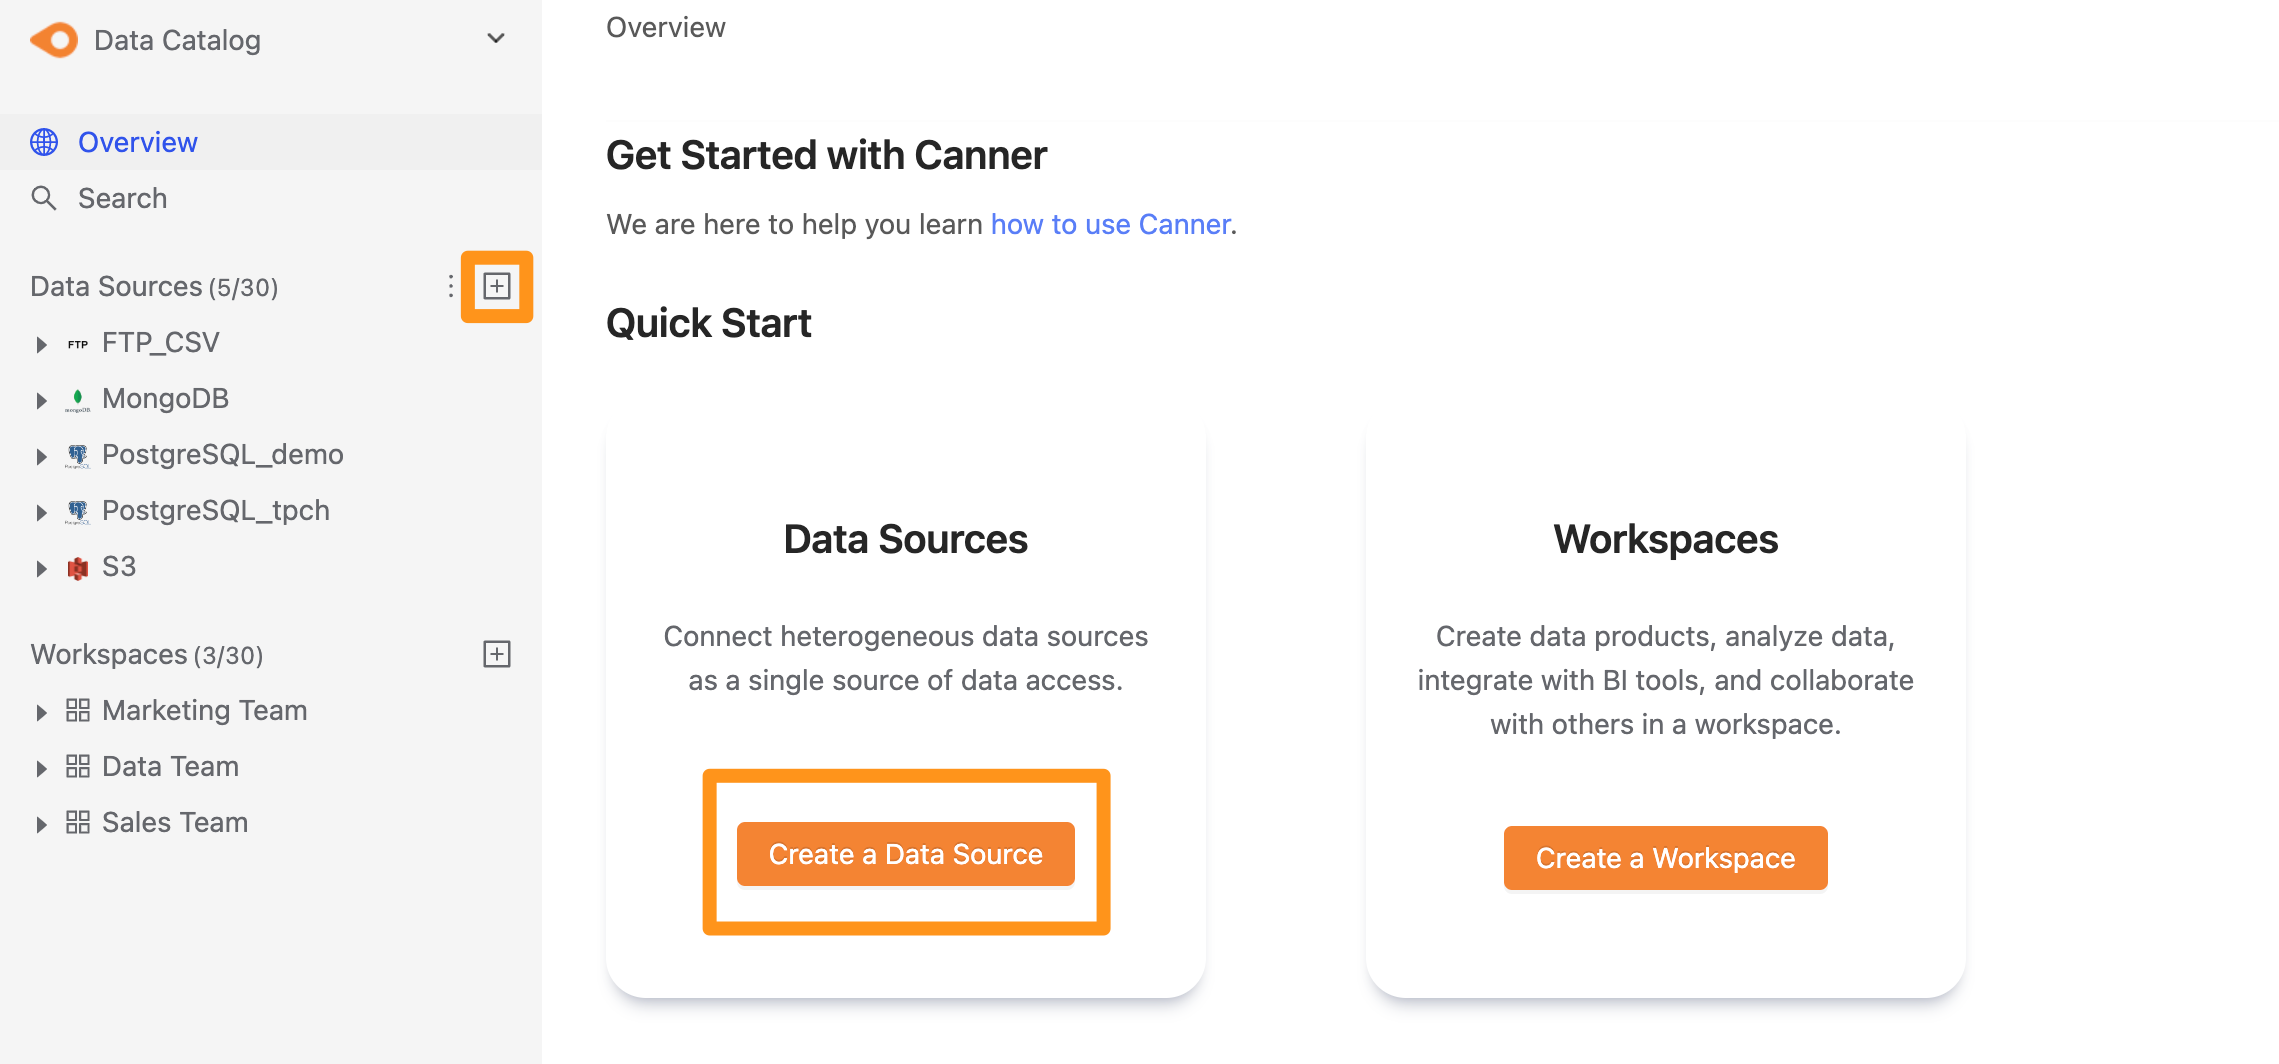
您可以透過以下兩種操作來建立資料來源,第一種為點擊側欄 Data Source 的 “+” 按鈕,或是點擊 Overview 頁面中的 Create a Data Source 按鈕來建立。

Step 2: 設定連線資訊
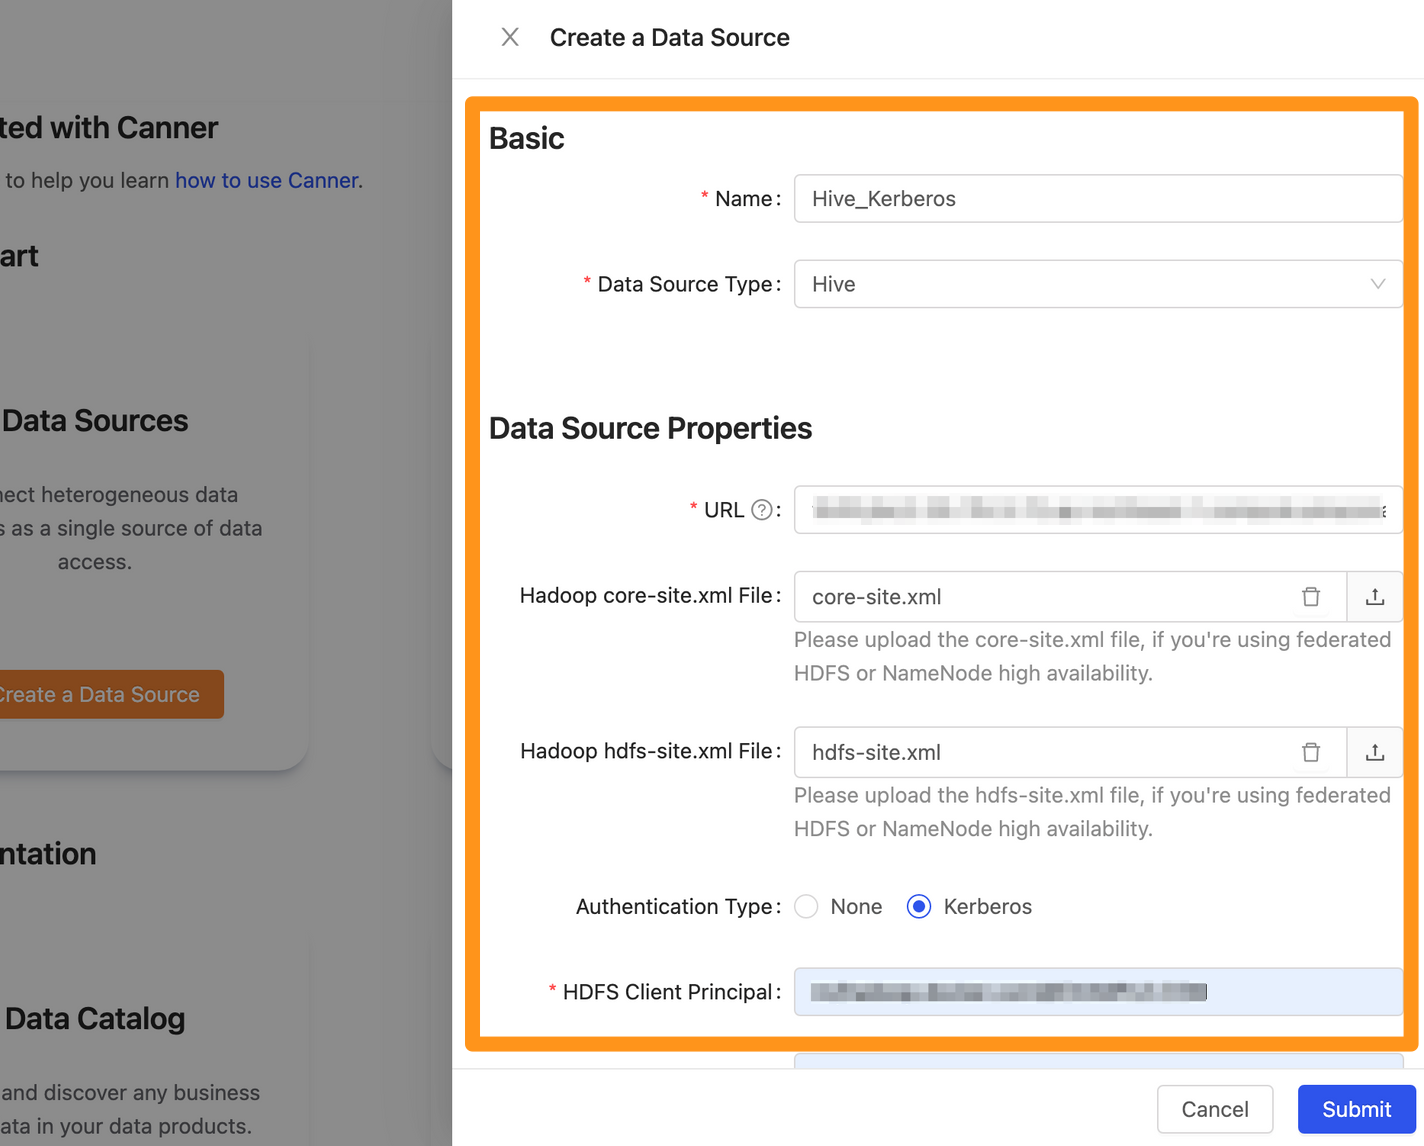
在彈出的視窗表單中,填入及設定連線資訊,並點擊 Submit 送出。

Name: 資料庫名稱,供顯示使用,後續可作修改Data Source Type: 資料庫類型,請選擇HiveURL: 請填入<thrift>://<host>:<port>的格式Hadoop core-site.xml File: 上傳 core-site.xml 配置檔案Hadoop hdfs-site.xml File: 上傳 hdfs-site.xml 配置檔案Authentication Type: 選擇 None 或是 Kerberos 驗證方式,若選擇 Kerberos 驗證方式,需要上傳下方配置檔案HDFS Client Principal: 填入例如nn/hadoop.docker.com@EXAMPLE.COM格式Metastore Service Princial: 填入例如nn/hadoop.docker.com@EXAMPLE.COM格式Metastore Client Princial: 填入例如nn/hadoop.docker.com@EXAMPLE.COM格式Hive Metastore Keytab File: 上傳 Hive Metastore Keytab 配置檔案HDFS Keytab File: 上傳 Hive Metastore Keytab 配置檔案Kerberos Config File: 上傳 HDFS Keytab 配置檔案
Enable View: 若開啟,將會同步來自 Hive Metastore 的 ViewExplore Timeout: 若 Hive 中含有的 Table 數量較大,建議調高此參數,讓 Explore 可執行較久
Step 3: 完成建立
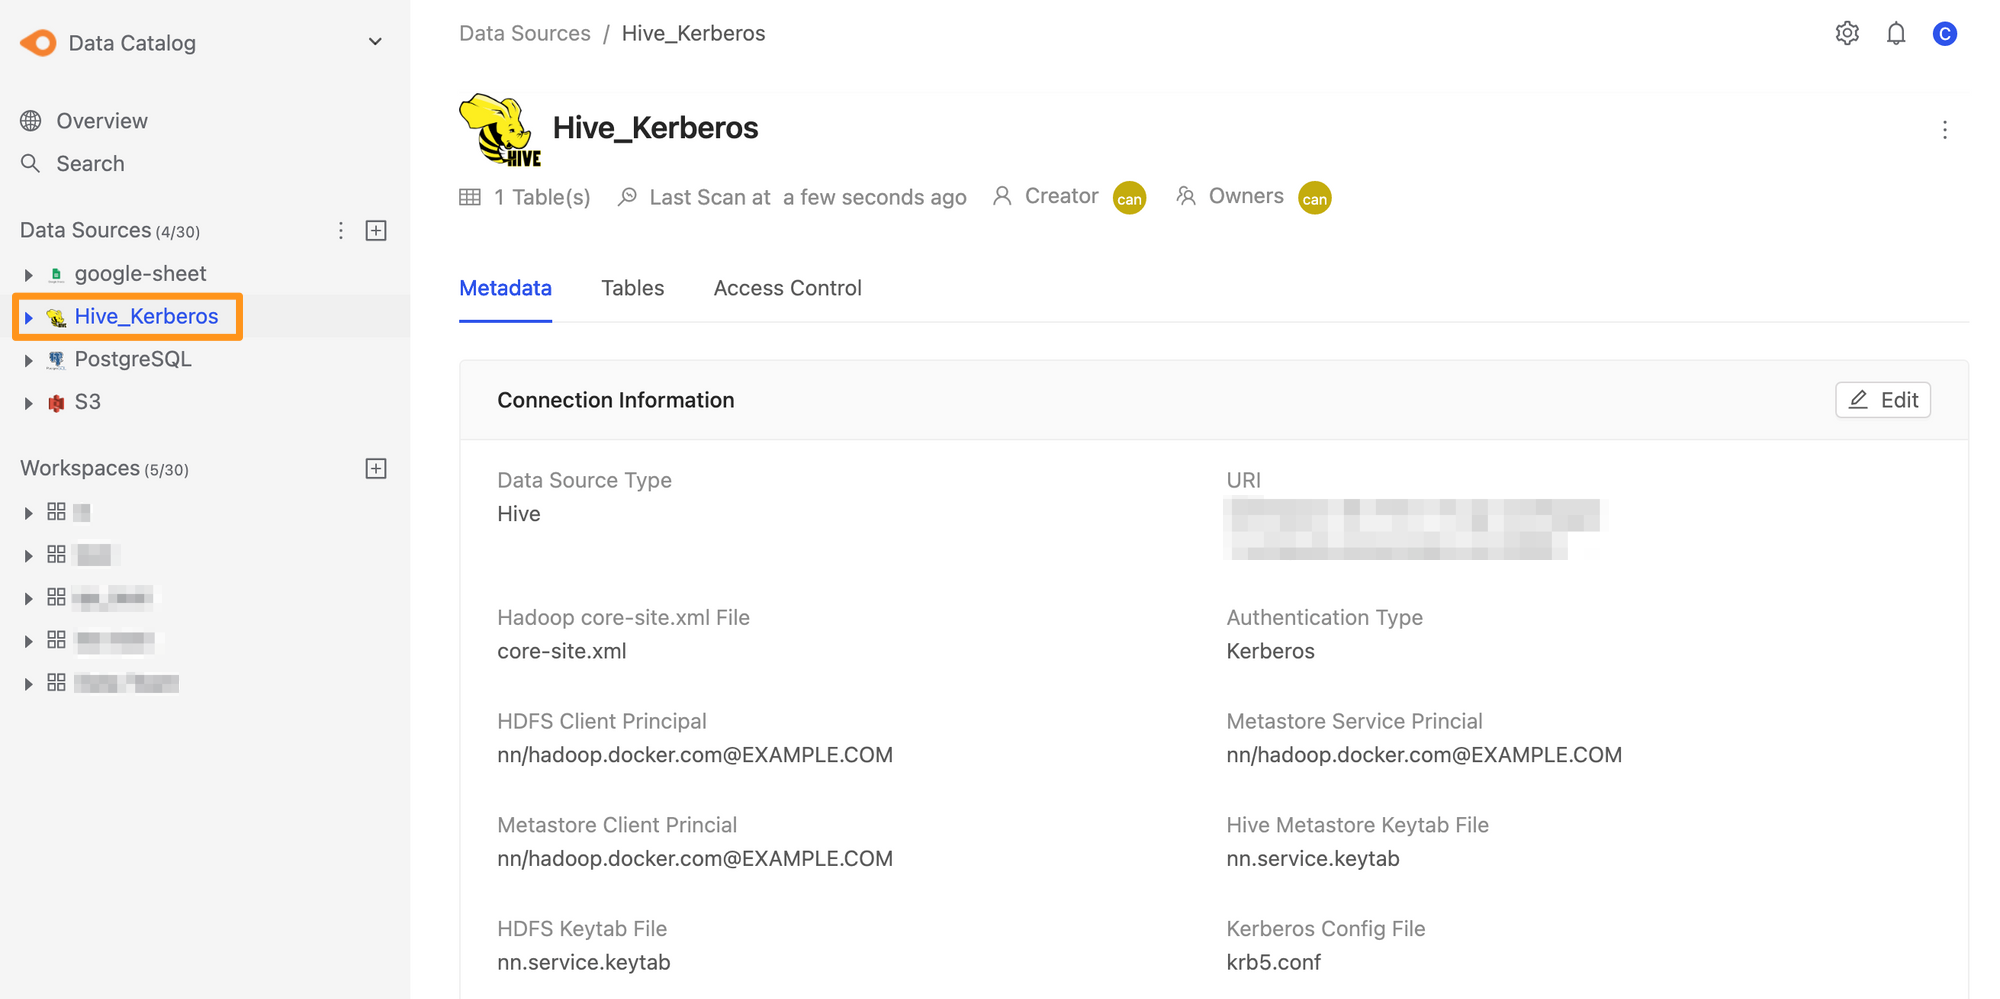
Submit 送出後,稍後片刻會跳回列表頁面,並可看到 Hive 出現在資料來源在列表中。
