Hive
Step 1: Create data sources
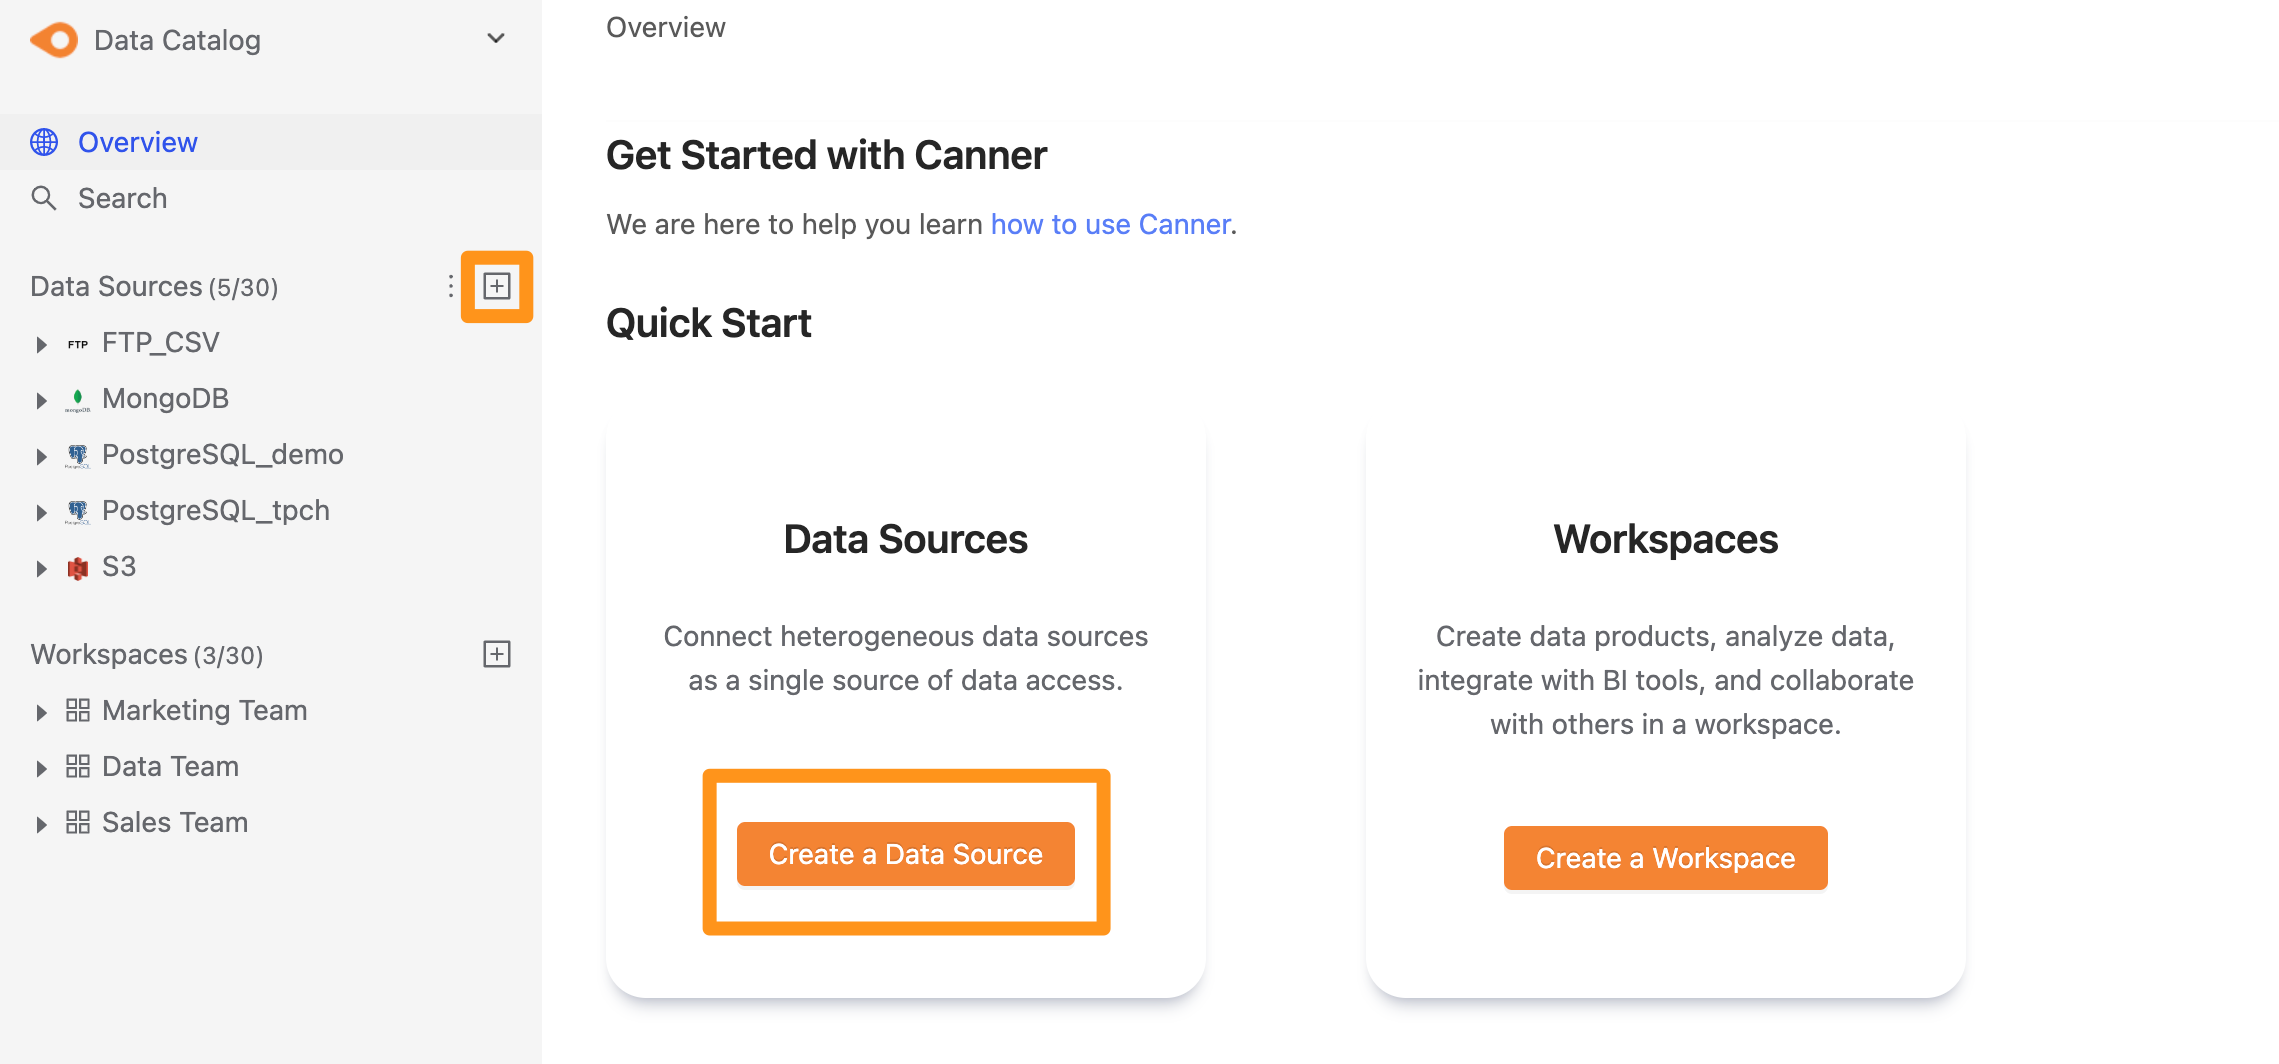
You can create a data source through the following two operations. The first is to click the "+" button on the sidebar Data Source or click the Create a Data Source button on the Overview page to create.
Step 2: Set connection information
In the pop-up window form, fill in and set the connection information, and click Submit to send.
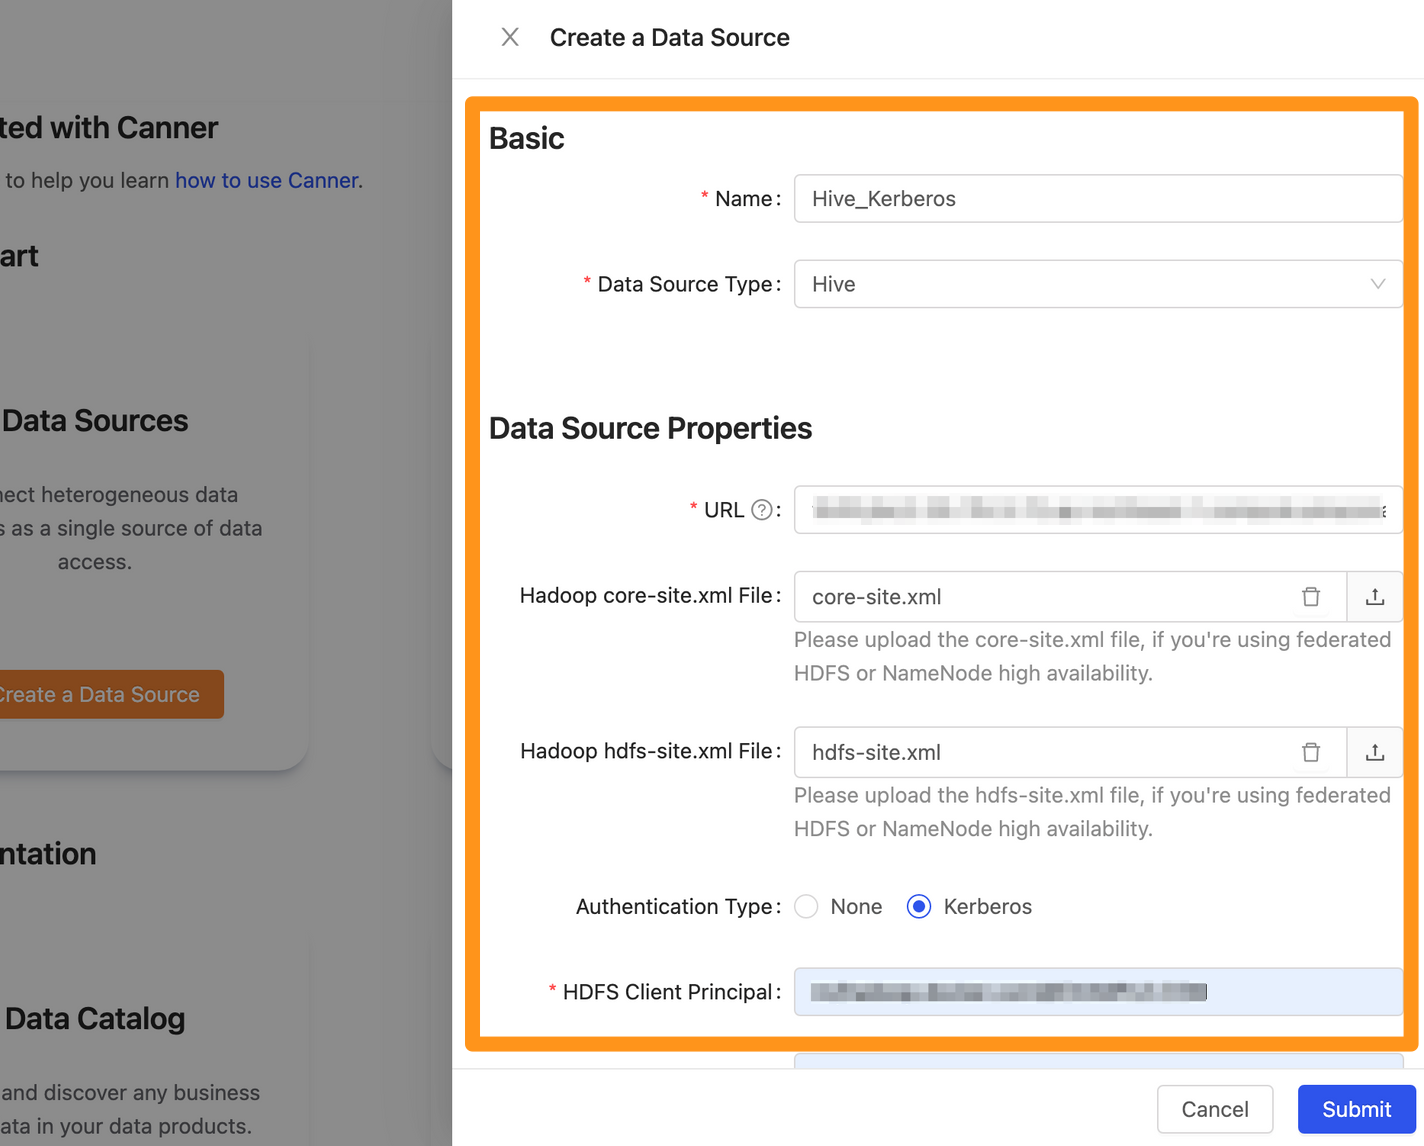
Name: database name, for display, can be modified laterData Source Type: database type, please selectHiveURL: Please fill in<thrift>://<host>:<port>formatHadoop core-site.xml File: upload core-site.xml configuration fileHadoop hdfs-site.xml File: upload hdfs-site.xml configuration fileAuthentication Type: Choose None or Kerberos authentication method; if you choose Kerberos authentication method, you need to upload the configuration file belowHDFS Client Principal: Fill in the format such asnn/hadoop.docker.com@EXAMPLE.COMMetastore Service Principal: Fill in the format such asnn/hadoop.docker.com@EXAMPLE.COMMetastore Client Principal: Fill in the format such asnn/hadoop.docker.com@EXAMPLE.COMHive Metastore Keytab File: upload the Hive Metastore Keytab configuration fileHDFS Keytab File: upload Hive Metastore Keytab configuration fileKerberos Config File: upload HDFS Keytab configuration file
Enable View: If enabled, the View from the Hive Metastore will be synchronizedExplore Timeout: If Hive contains a large number of Tables, it is recommended to increase this parameter so that the Explorer can wait for a longer time
Step 3: Complete the build
After submitting, you will jump back to the list page after a while and see Hive appearing in the data source list.
