Query Impersonation
Before you start, learn what Query Impersonation is.
What you will learn
- Use cases for Tableau Query Impersonation
- How to use Tableau Query Impersonation
Use case and overview
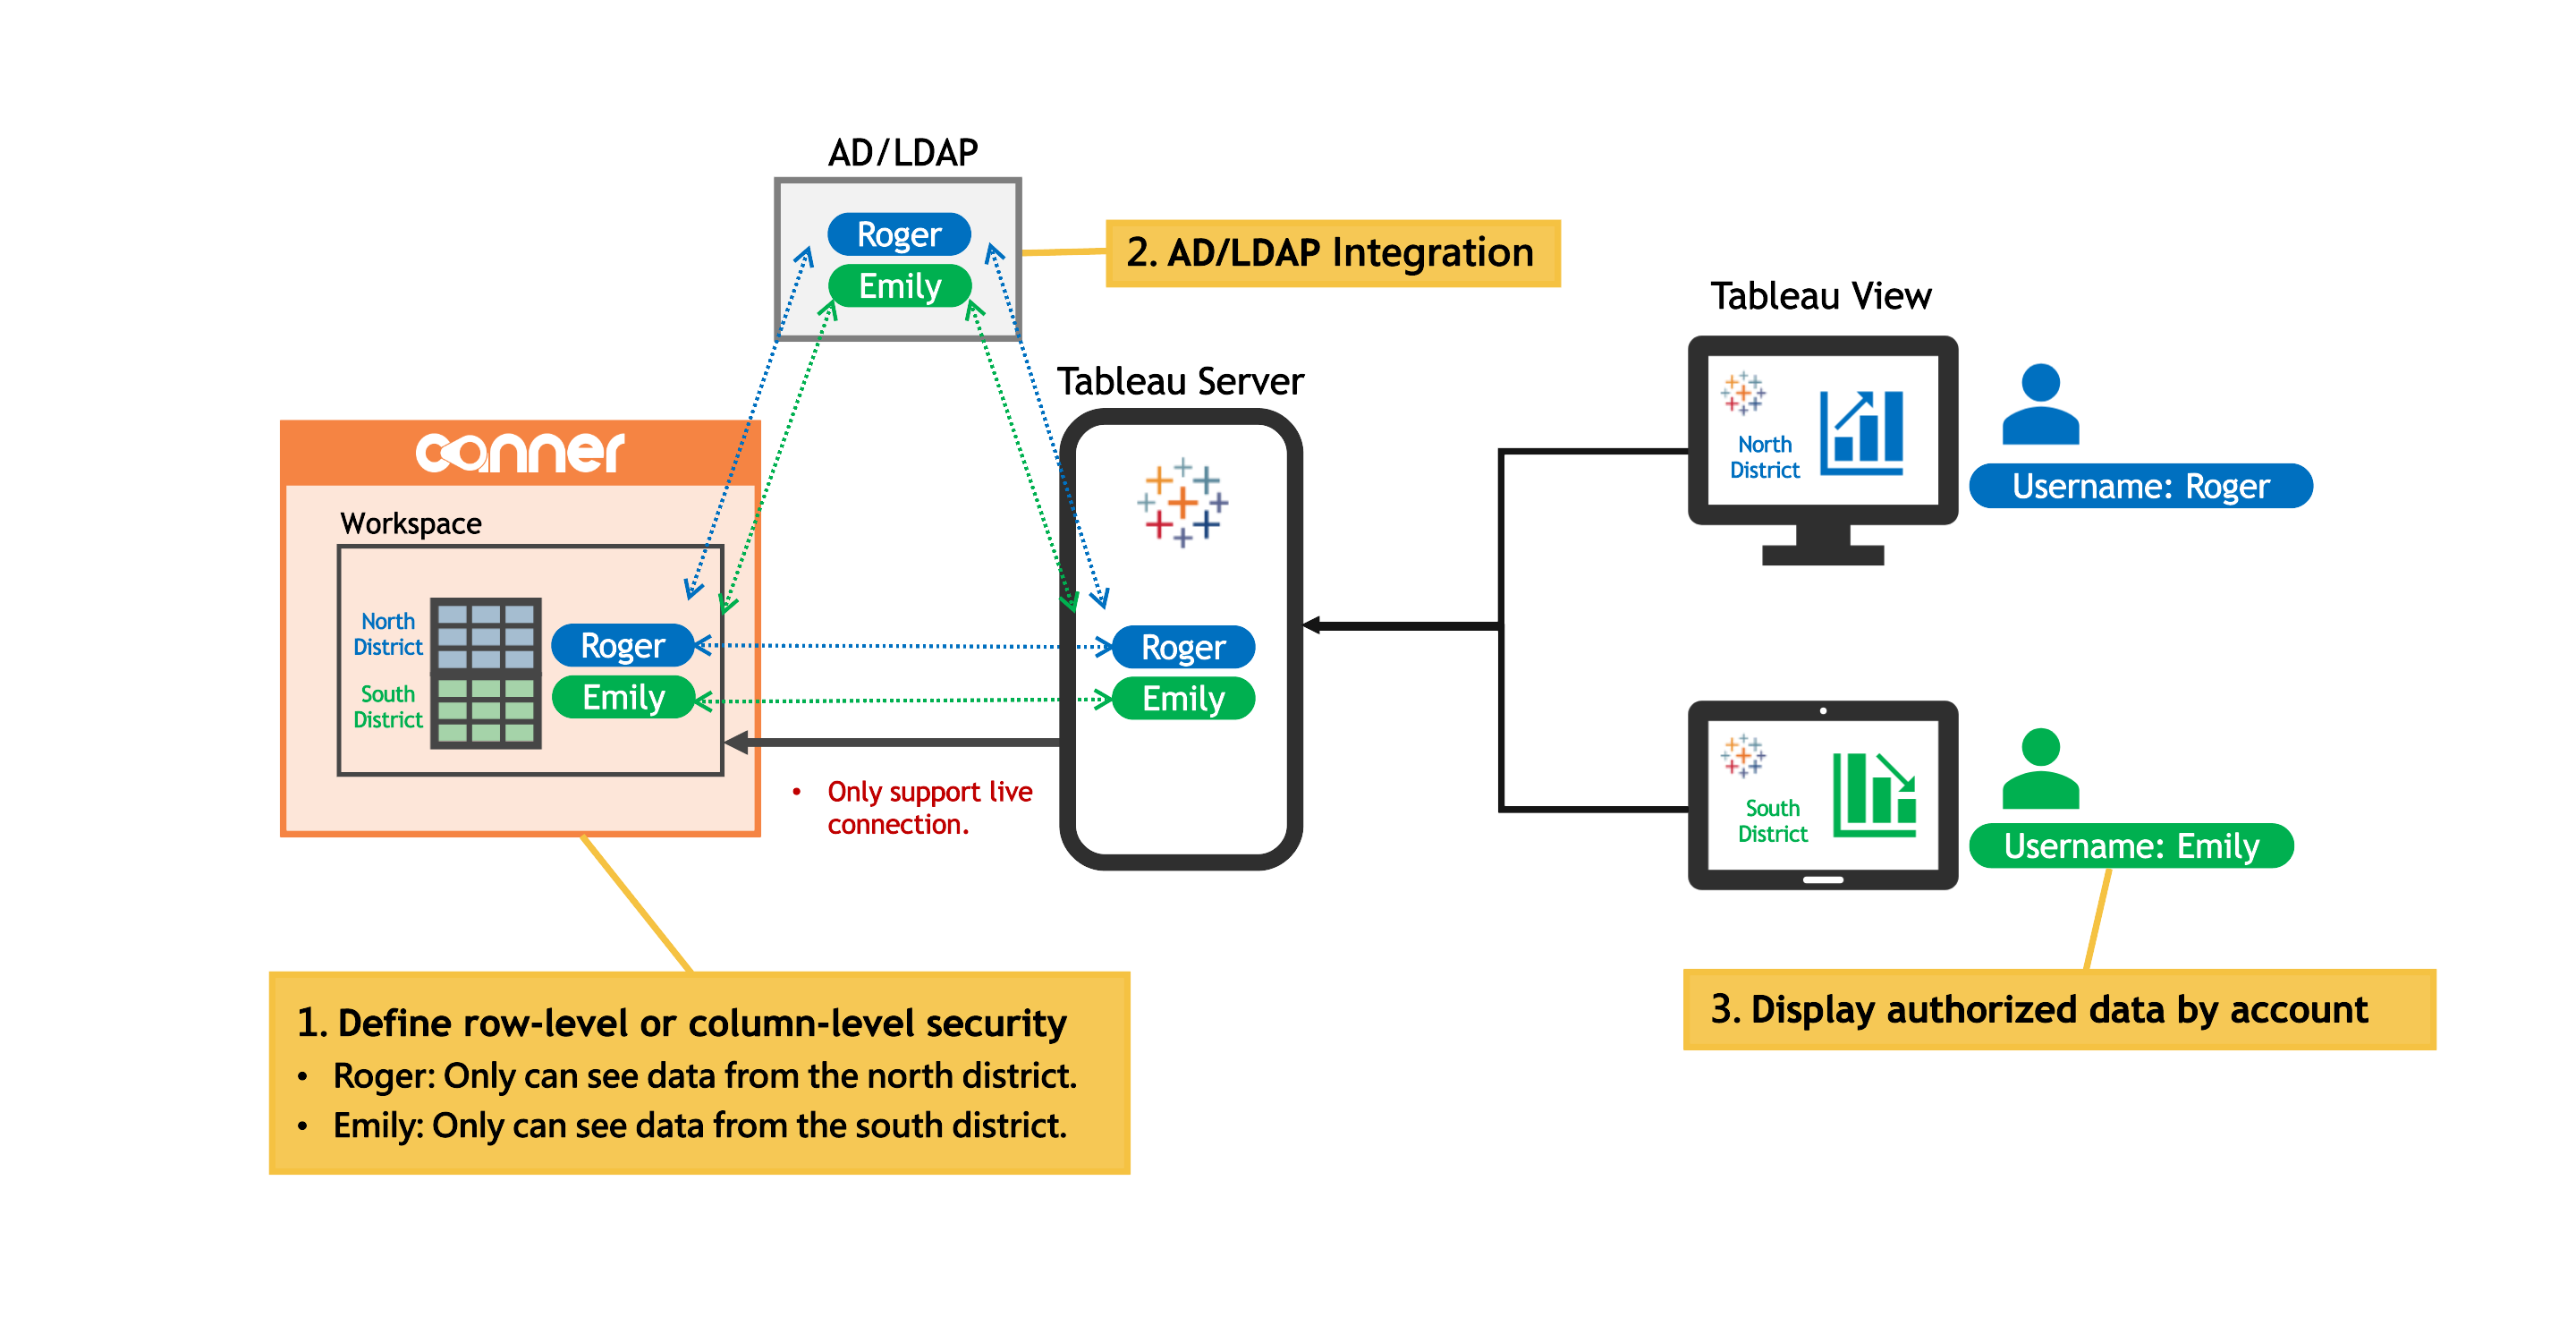
When sharing report data within an organization, you need to consider different staff levels, organizational units, regions, and so on, which often means building many different views. With Canner Enterprise's Query Impersonation, you can build different data permission policies into a single report, so each Tableau user in the organization only sees the data relevant to their own permissions when reading the report.
Steps
Step 1: Enable impersonation permission
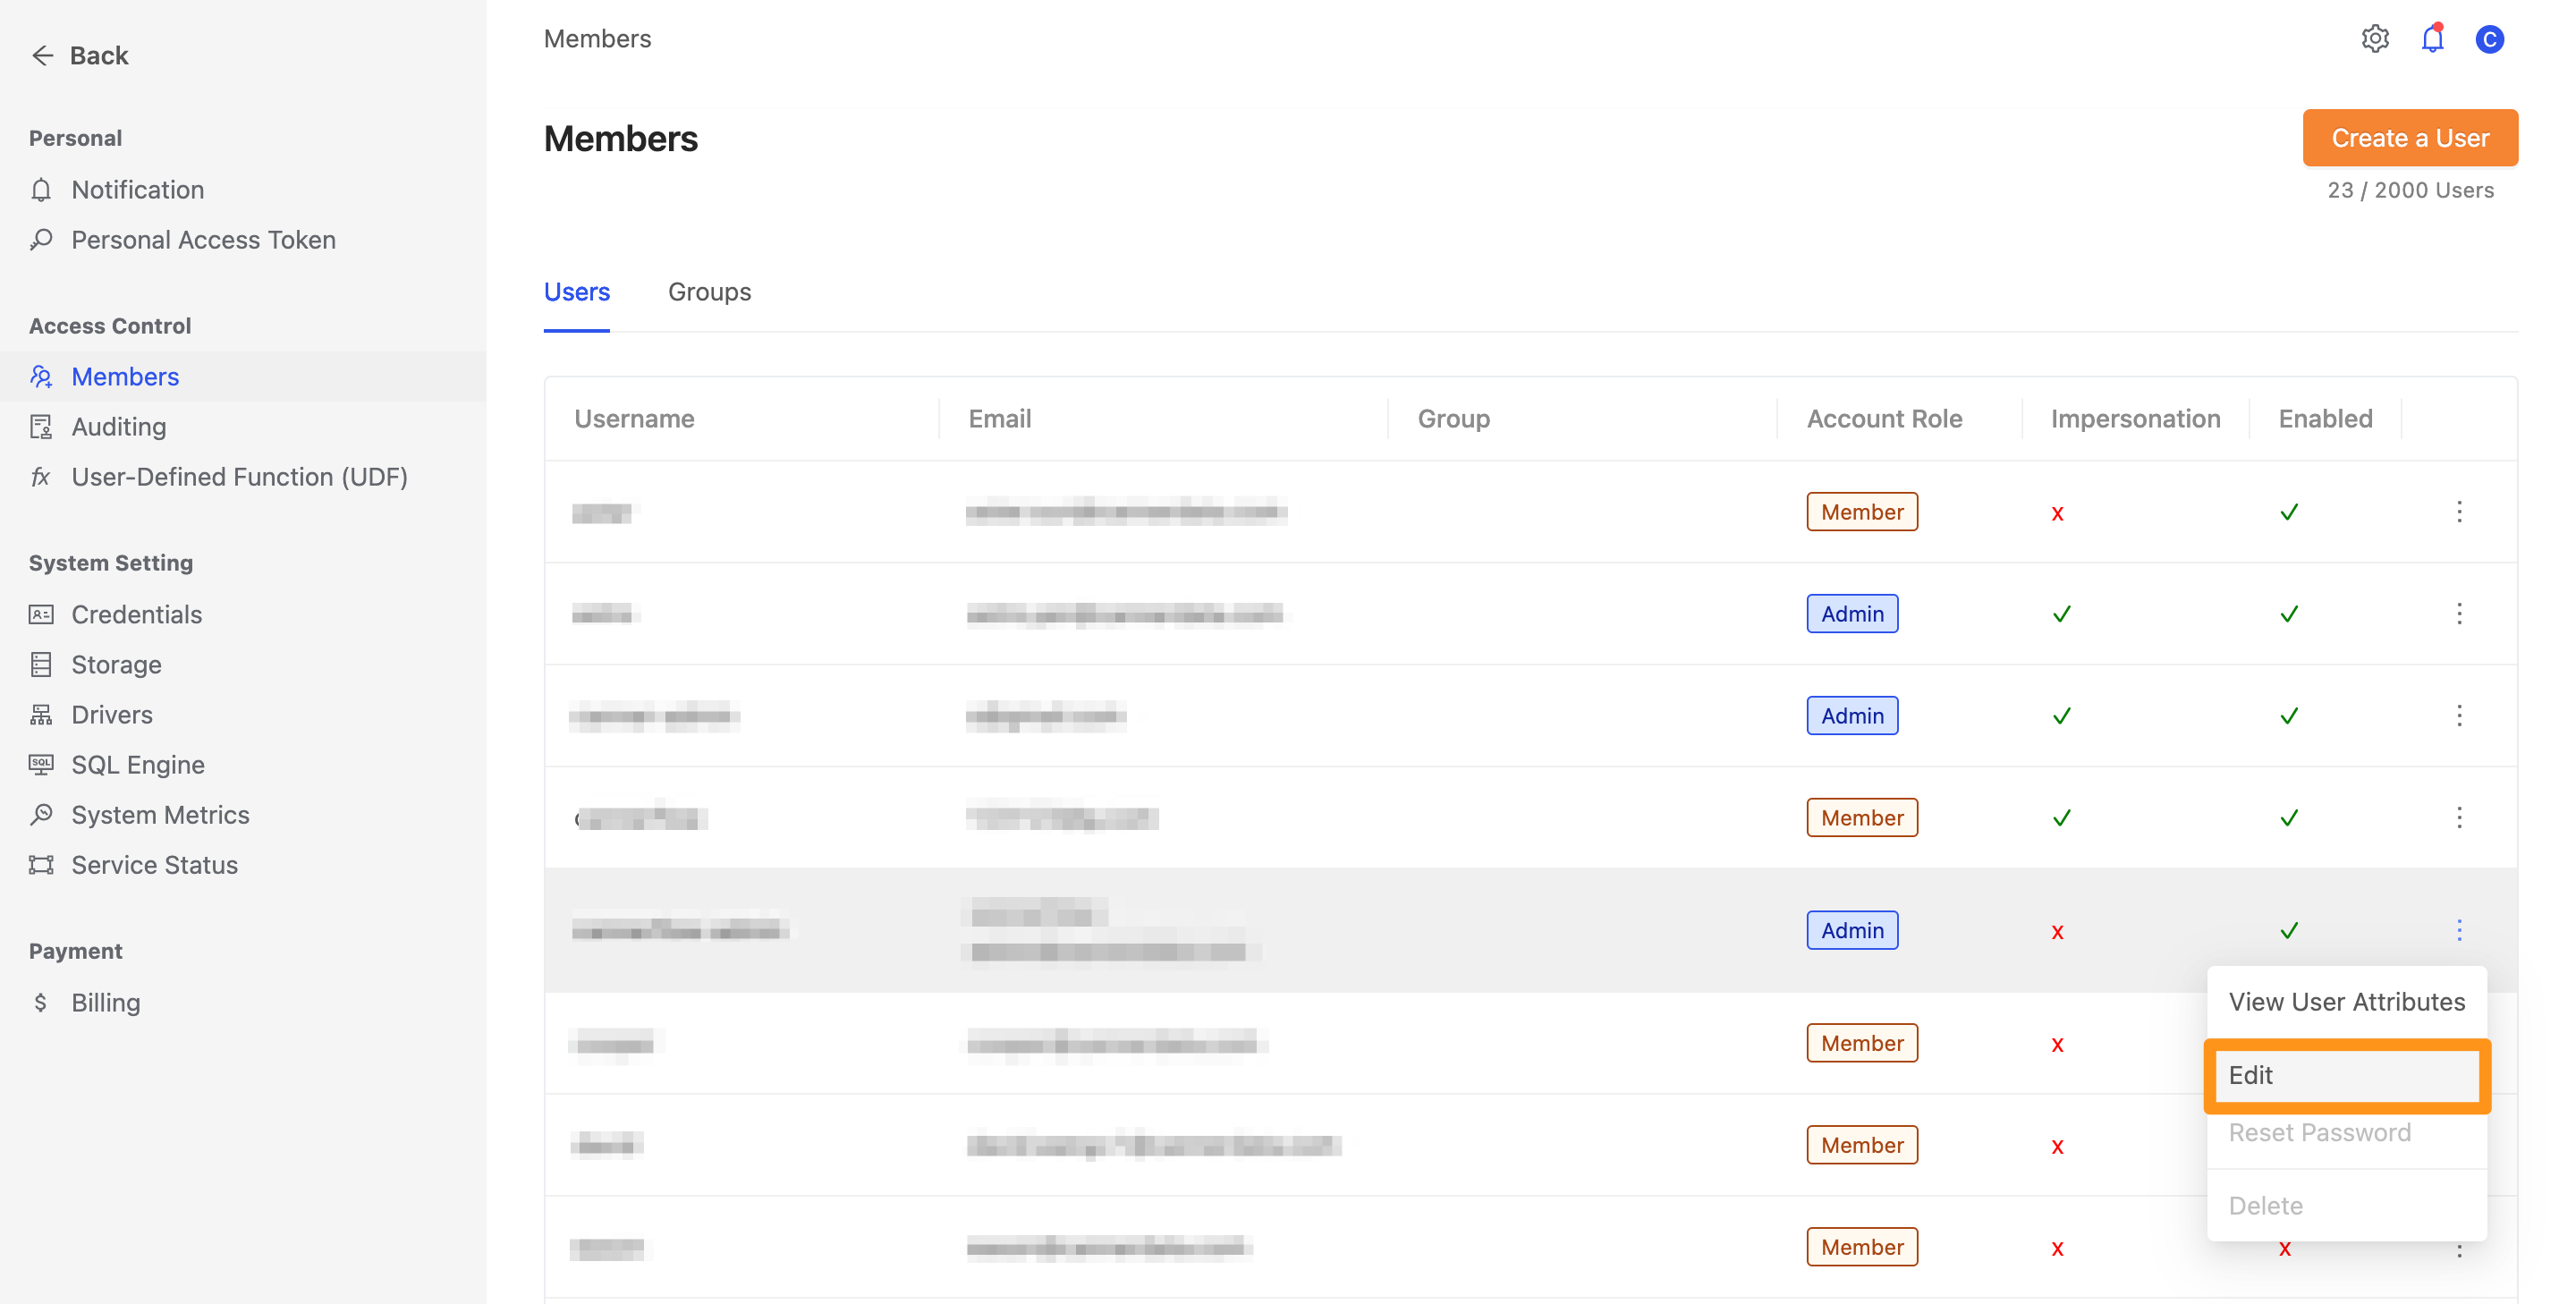
First, the user that Tableau Server uses to connect to Canner Enterprise needs impersonation permission to query as other users in Canner Enterprise. Assuming the connecting user is User A, first enable impersonation for User A on the Members page.
On the Members page, click Edit.
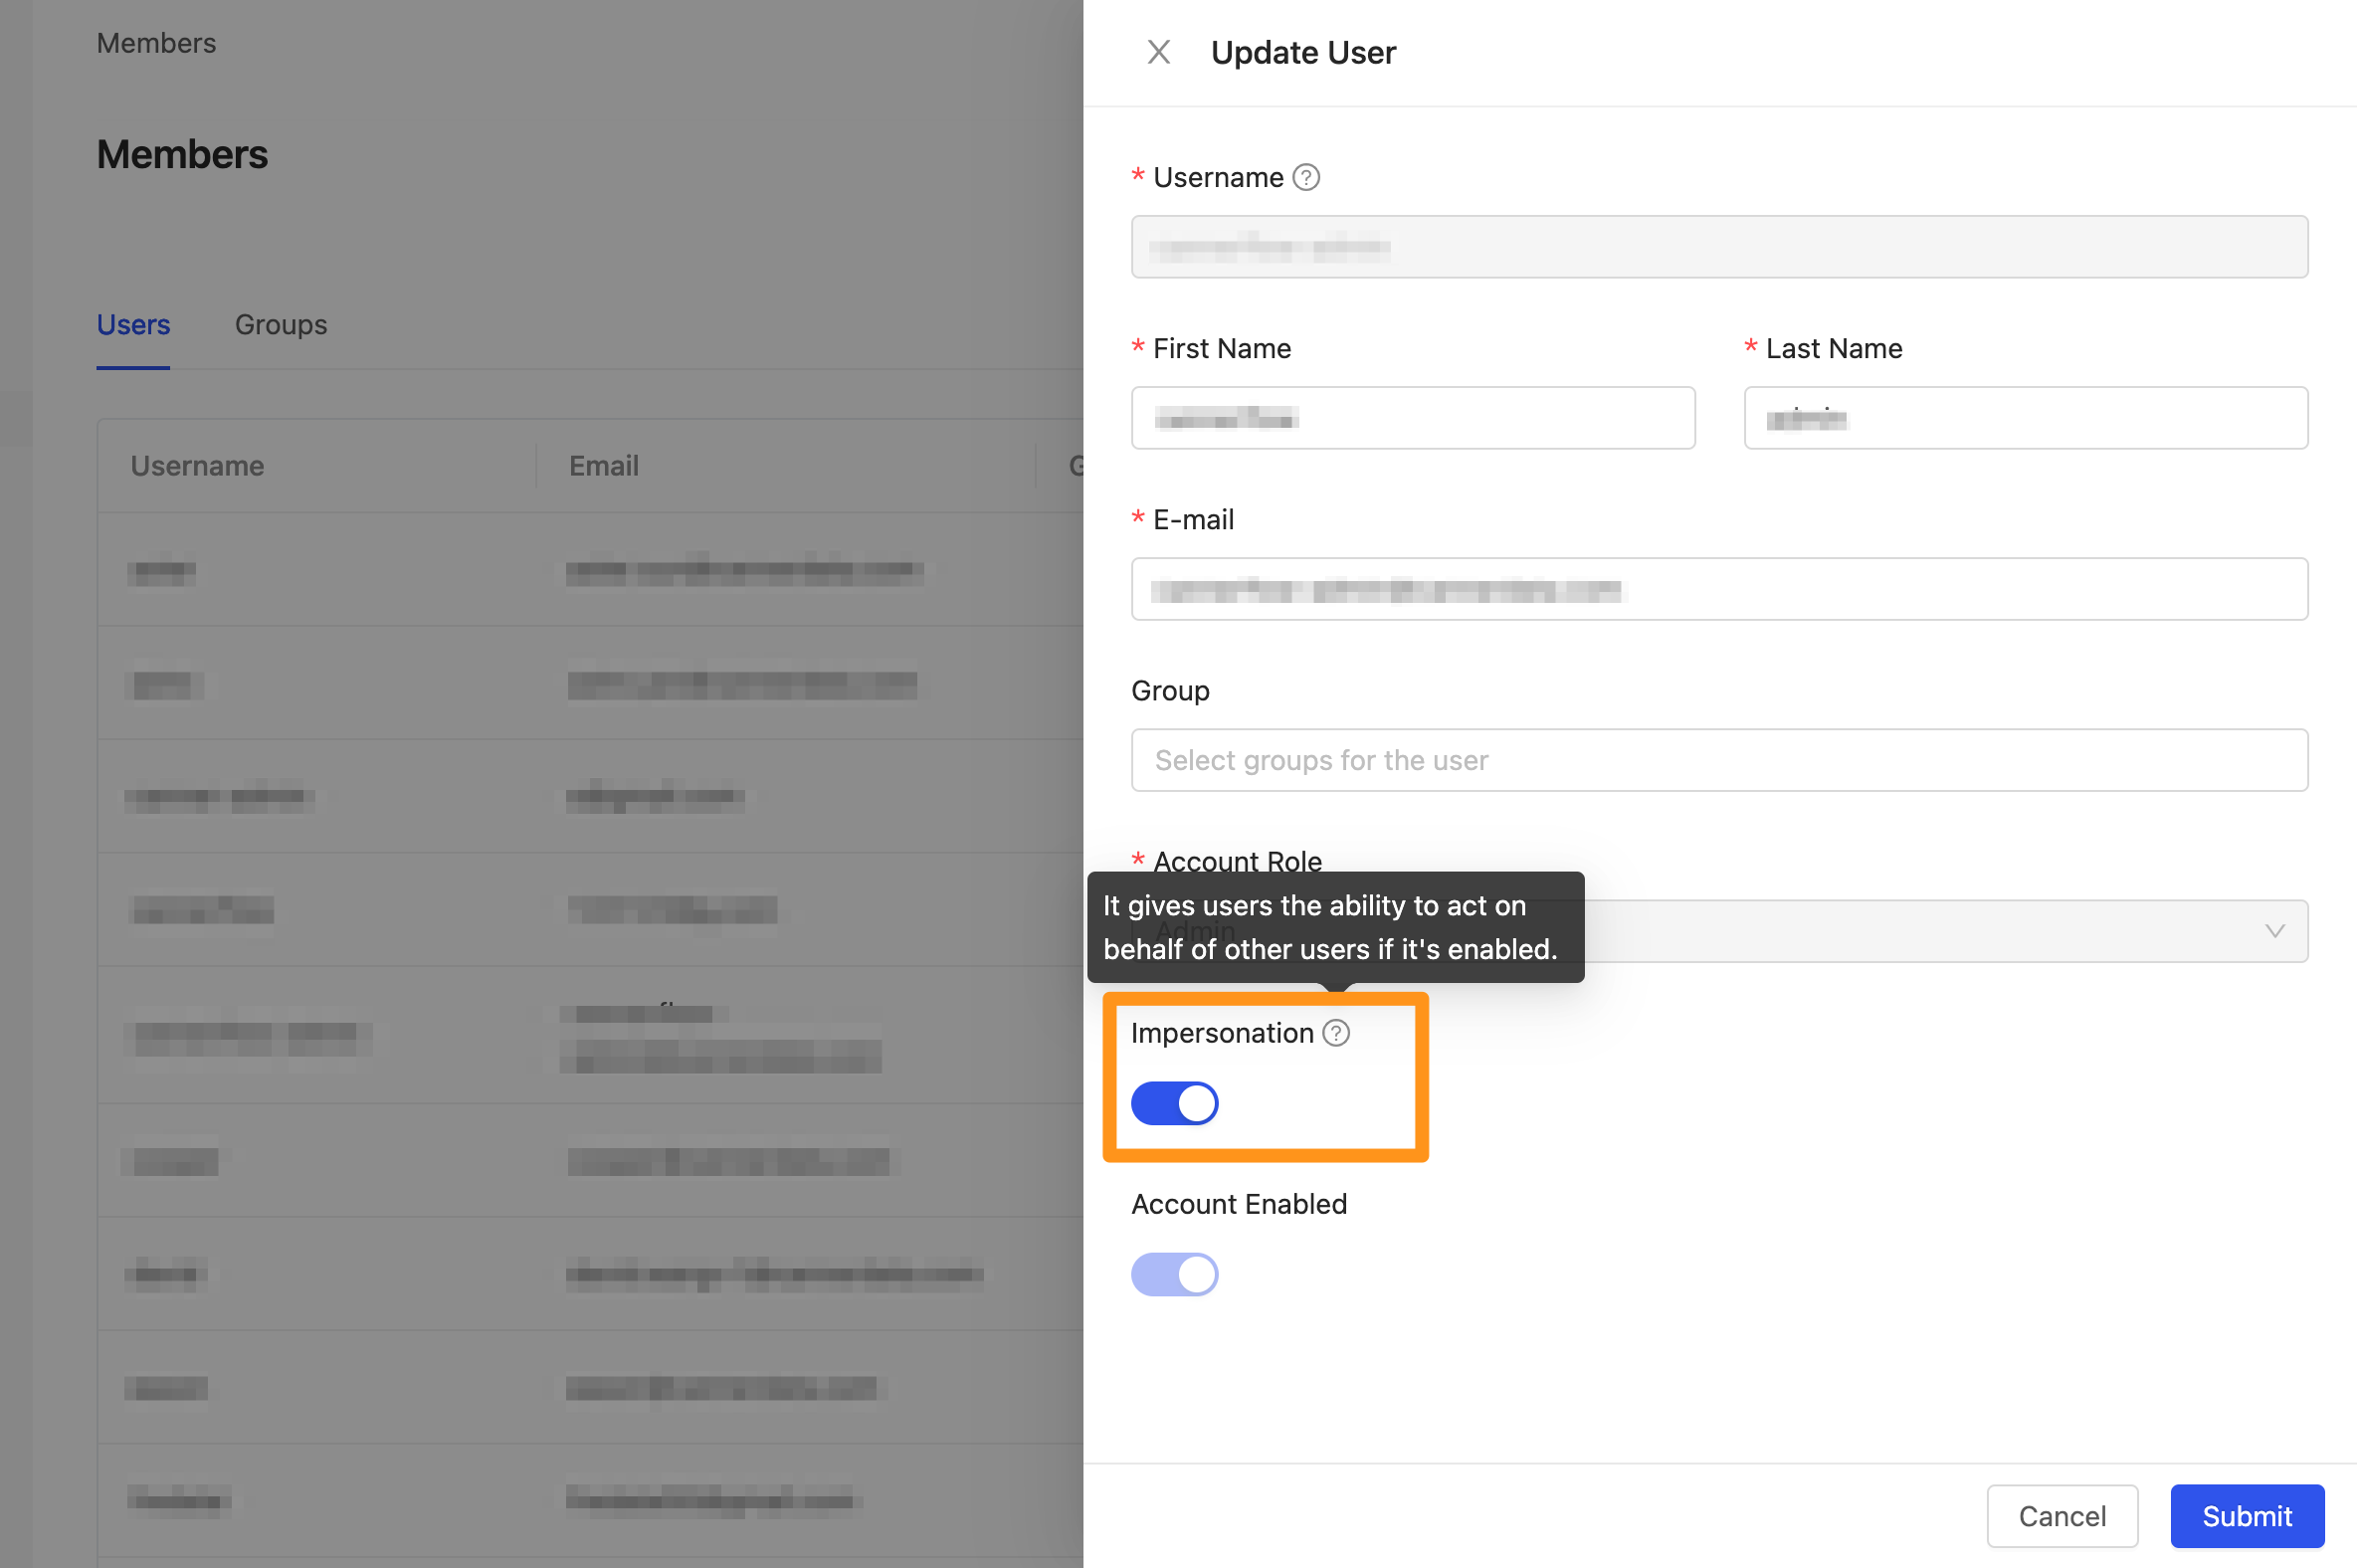
Turn on the Impersonation switch. Once enabled, this user can impersonate other users.
Step 2: Create data permissions
This example uses column-level security.
When creating a View or Materialized View in Canner Enterprise, you can add the functions above to your SQL to define data permissions.
Data permission definition: when the user's role in the workspace is not workspace Owner, the address column returns ***.
SELECT
    (CASE
        WHEN get_workspace_role() != 'owner' THEN '***'
        ELSE address::text
    END)
FROM
    customer_27487
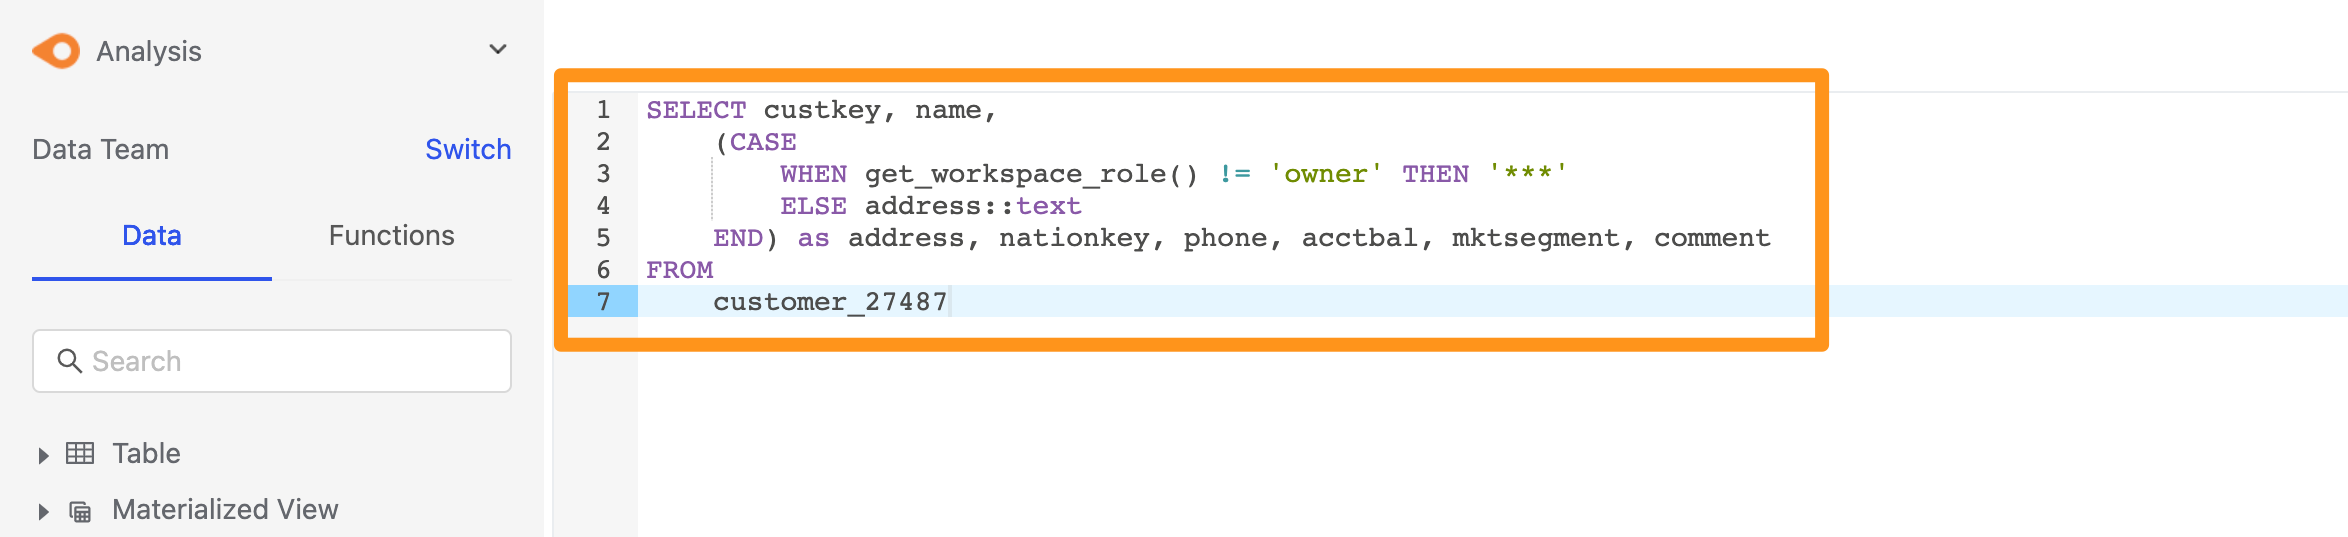
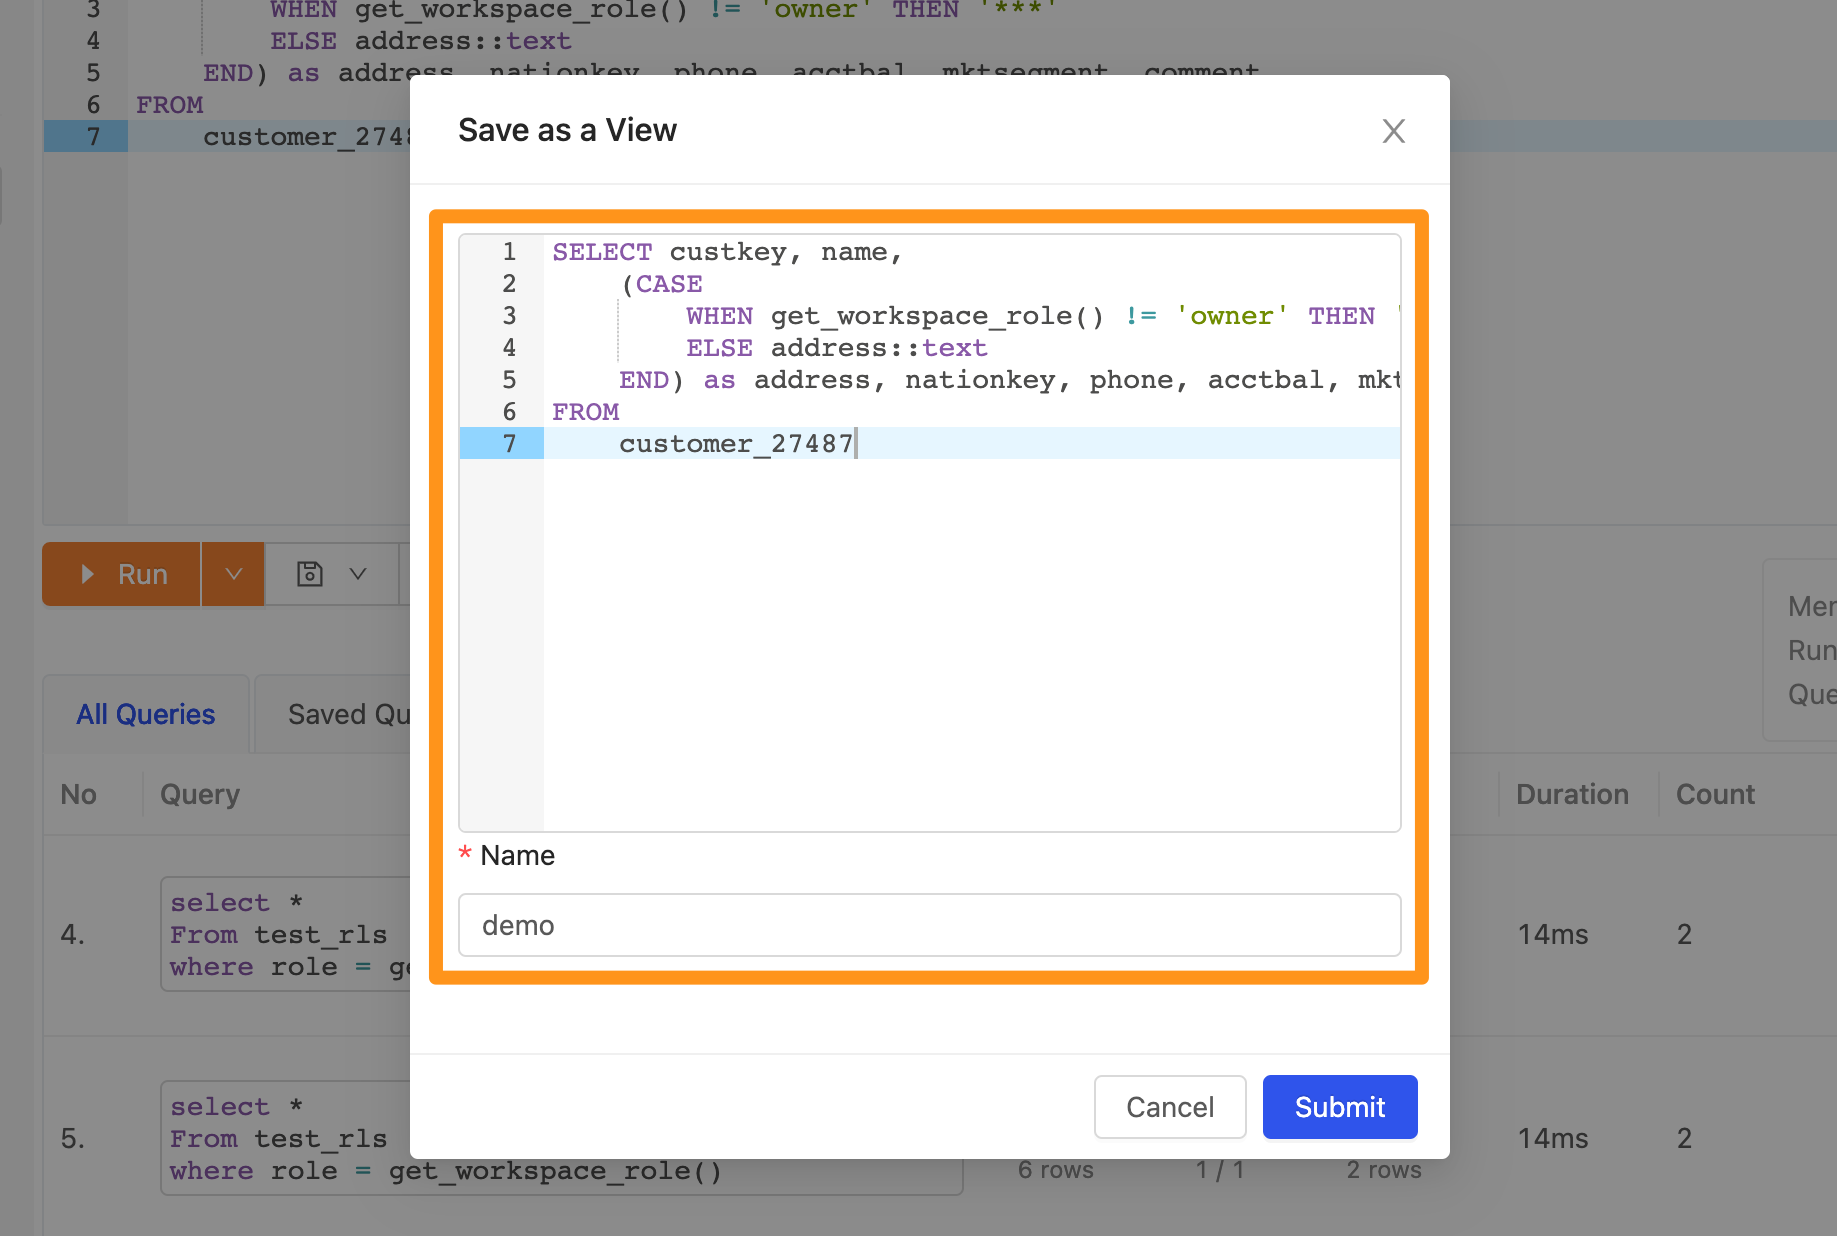
Save it as a View.
Step 3: Set up Canner Enterprise as a Tableau data source
To set up Canner Enterprise as a Tableau data source, see this tutorial.
Set up Initial SQL
After entering the connection information, don't sign in yet. Switch to the Initial SQL tab. Initial SQL is a SQL command that runs first whenever Tableau connects to the database.
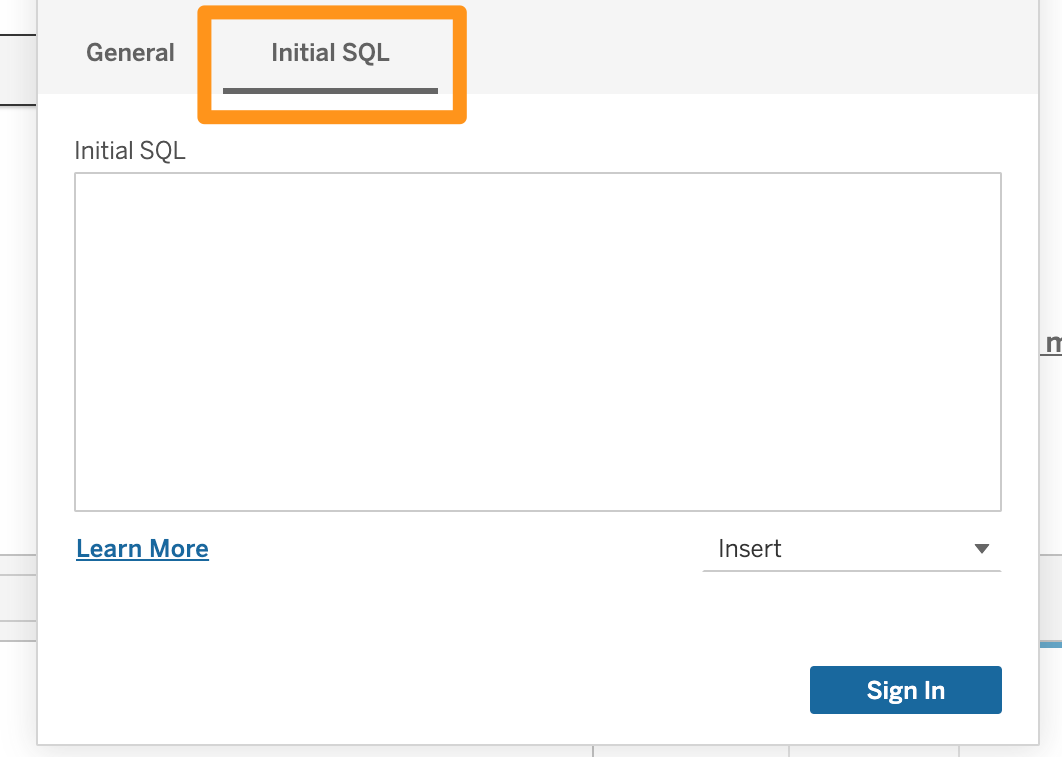
Tableau also supports parameters in Initial SQL, such as the username of the current TableauServerUser.
| Parameter | Description | Example of returned value |
|---|---|---|
| TableauServerUser | The user name of the current server user. Use when setting up impersonation on the server. Returns an empty string if the user is not signed in to Tableau Server. | jsmith |
Combining these, enter the following when Tableau Server connects to Canner Enterprise. When connecting, queries run as the current Tableau Server user.
impersonate '[TableauServeruser]'
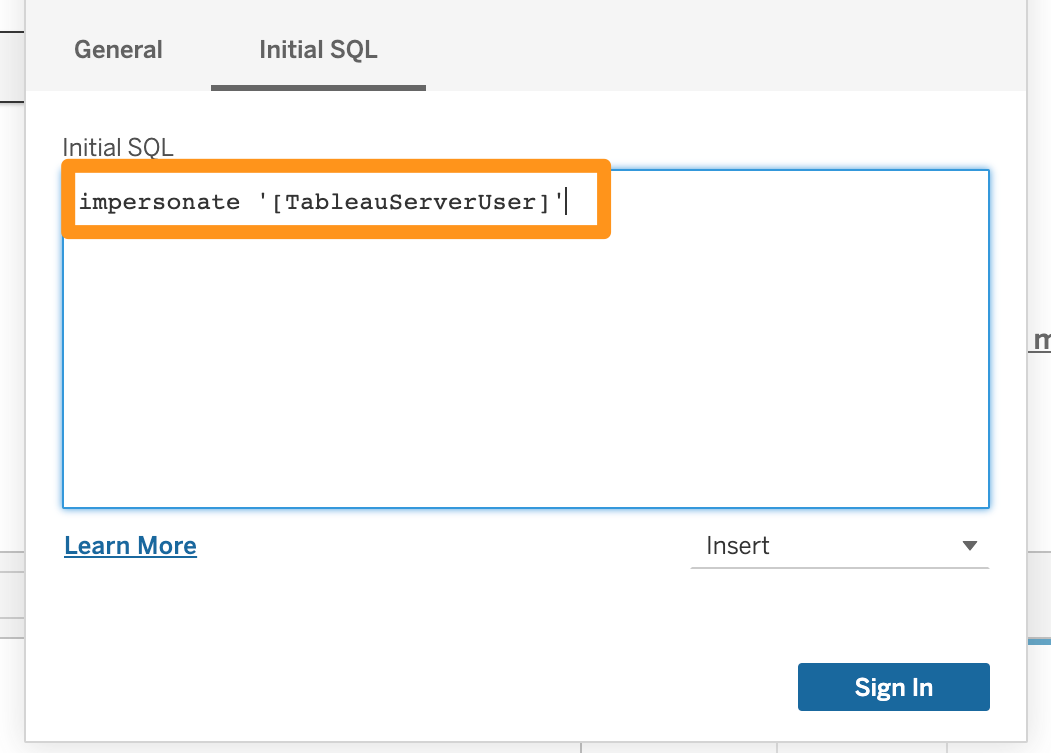
When done, click Sign In to connect. If you see the following error, the connecting user does not have impersonation permission in Canner Enterprise; go to Step 1 to enable it.
ERROR: UserId 377e8838-8c6f-45df-801d-3604c130a5ab didn't have the privilege to impersonate anyone
Step 4: Run impersonated queries
First, check which users are in the Canner Enterprise workspace that Tableau Server connects to. There are two:
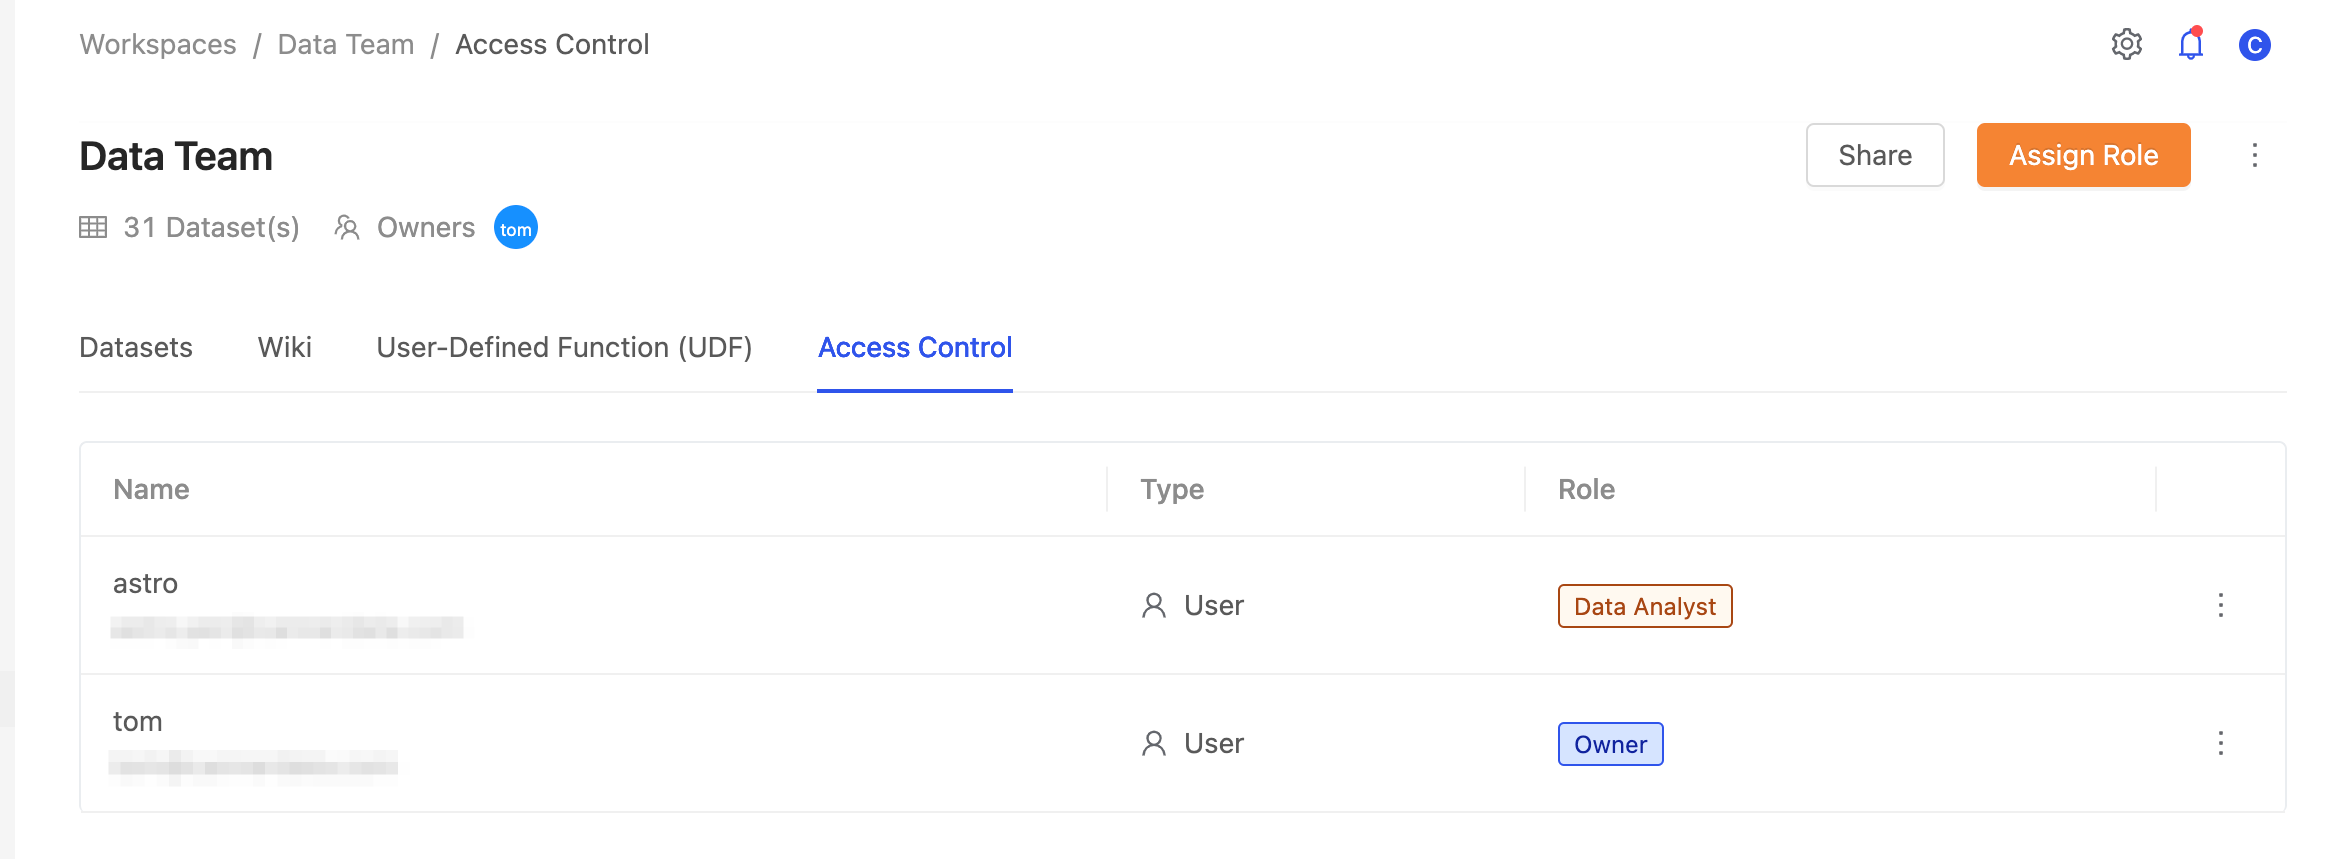
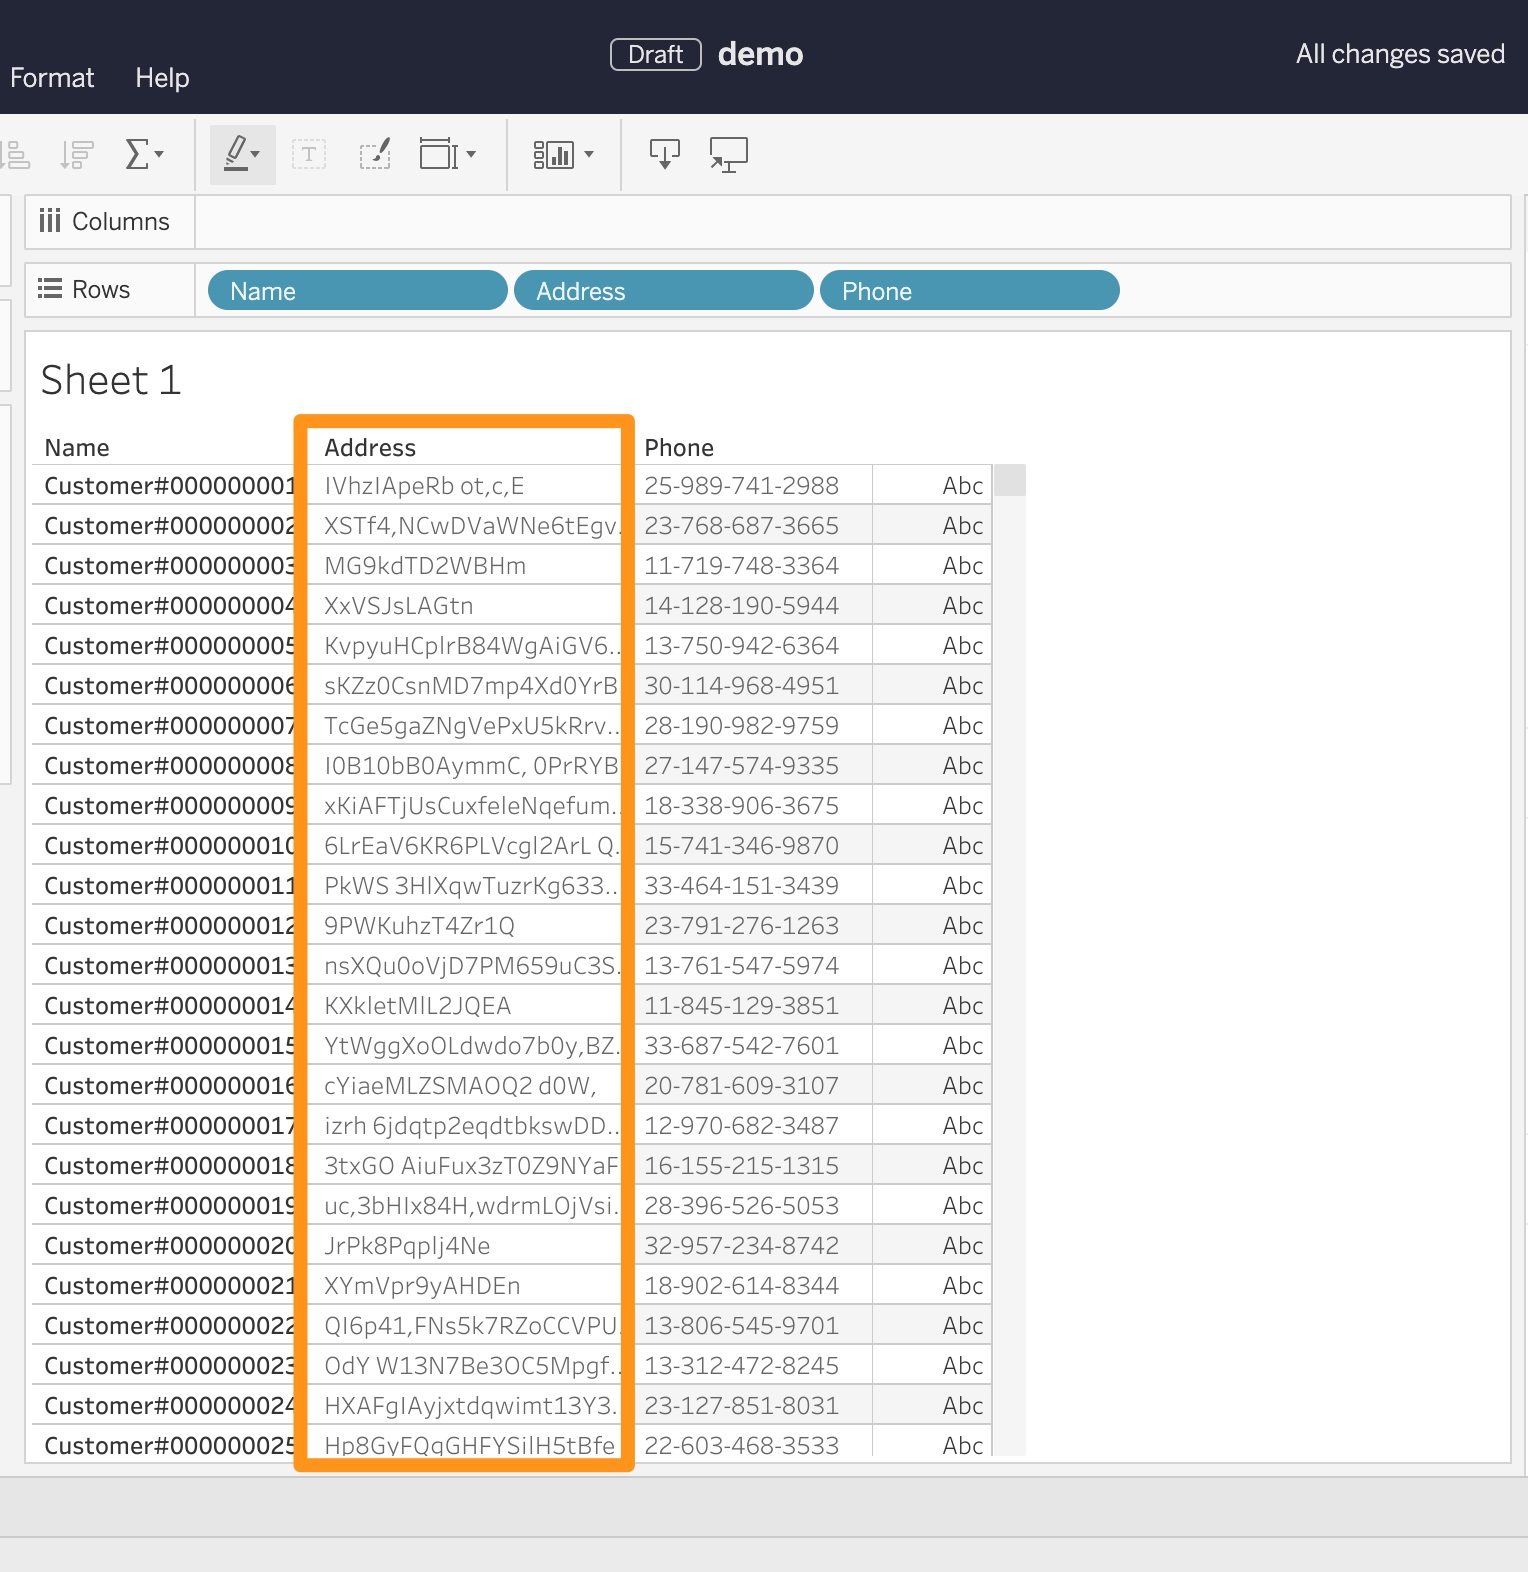
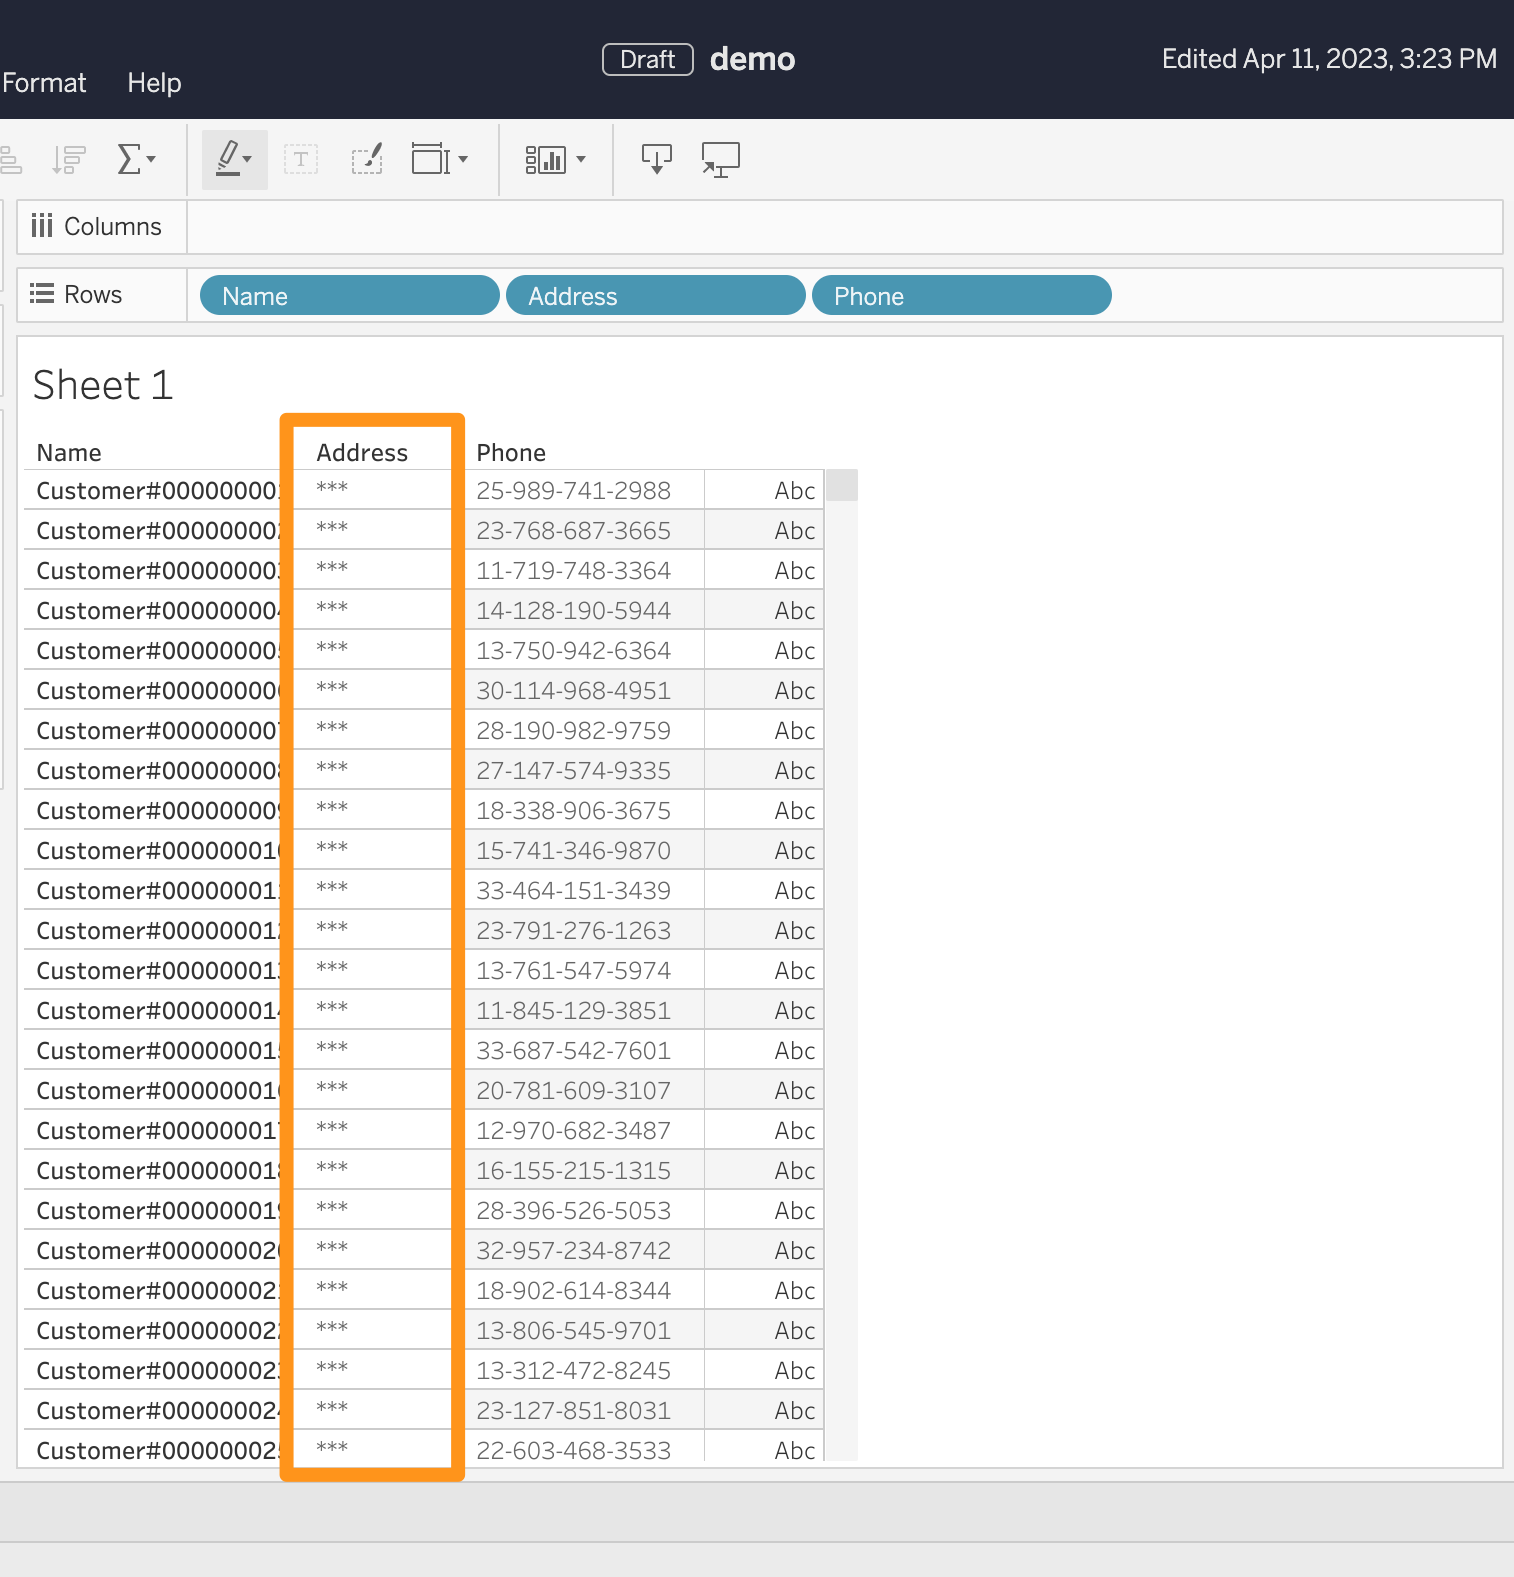
When the user astro logs in to Tableau and views the report data created in Step 2, Tableau first runs the Initial SQL when connecting, and queries as astro.
impersonate 'astro'
Based on the data permissions defined for this report, astro is not the workspace owner, so the address column shows ***.
Similarly, when the user tom logs in to Tableau and views the report data created in Step 2, Tableau first runs the Initial SQL when connecting, and queries as tom.
impersonate 'tom'
Based on the data permissions defined for this report, tom is the workspace owner, so the address column shows the original values.