Dataset Settings
This chapter describes the following dataset settings in a workspace.
- How to design an Incremental Materialized View
- How to preview data
- How to download data
- Edit/delete options for each dataset type
How to design an Incremental Materialized View
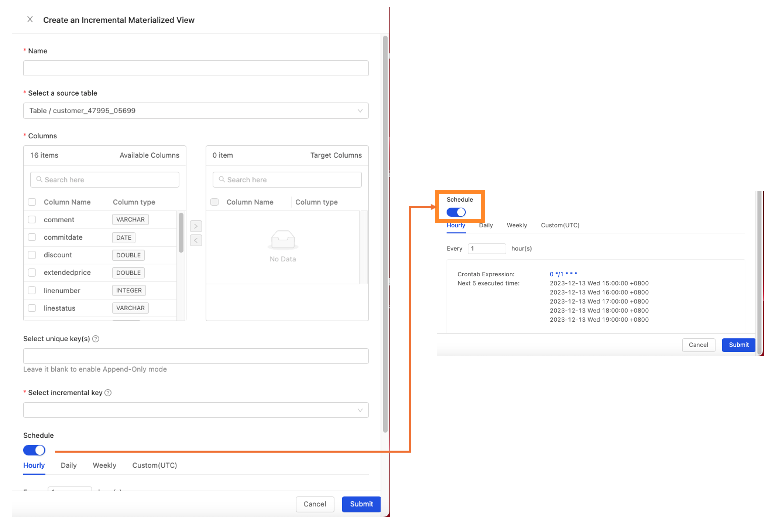
Step 1: On the Datasets tab of the workspace page, click the three-dot icon to the right of the dataset and select Create an Incremental Materialized View to open the design page.
Incremental Materialized Views can be designed from Table and View datasets only; other dataset types are not supported.
Select Edit in the menu to edit an existing Incremental Materialized View.

Step 2: In the dialog, configure the following.
- Name: The name of the Incremental Materialized View.
- Select a source table: A Table or View dataset in the same workspace to build from.
- Columns: Available Columns on the left are the columns of the selected dataset; Target Columns on the right are the columns added to this Incremental Materialized View. Use
>and<to add and remove columns. - Select unique key(s): Optional; multiple can be selected. The menu lists the Target Columns. The system first uses the incremental key to determine whether there is new data. If there is, and the unique key already exists in the Incremental Materialized View, the new data overwrites the row with the same unique key.
- Select incremental key: The menu lists the date/time columns in Target Columns. The system uses this column to determine whether there is new data to write to this Incremental Materialized View.
Example: if the unique key is a national ID number, and today there is an update matching the incremental key, the update overwrites the row with the same ID number (= Update). If the updated row's ID number is not found in the existing Incremental Materialized View, a new row is added for that ID number (= Insert).
For the incremental key column, each refresh records the column's maximum value and queries the data source for rows greater than (>) that maximum to fetch only the new data. Only TINYINT, SMALLINT, INTEGER, BIGINT, REAL, DOUBLE, DECIMAL, DATE, TIME, and TIMESTAMP types are accepted.
- Schedule: When enabled, you can set the following refresh frequencies. The settings page shows the next five scheduled refreshes.
1. Hourly - refresh every N hours.
2. Daily - refresh every N days of the month at a specific time.
3. Weekly - refresh on specific days of the week (Mon. ~Sun.) at a specific time.
4. Custom (UTC) - set the schedule with a custom crontab expression. If you specify an hour in the crontab, note that it is in the UTC +0 time zone.
Step 3: Click Submit to finish. The new item appears on the workspace Datasets tab.
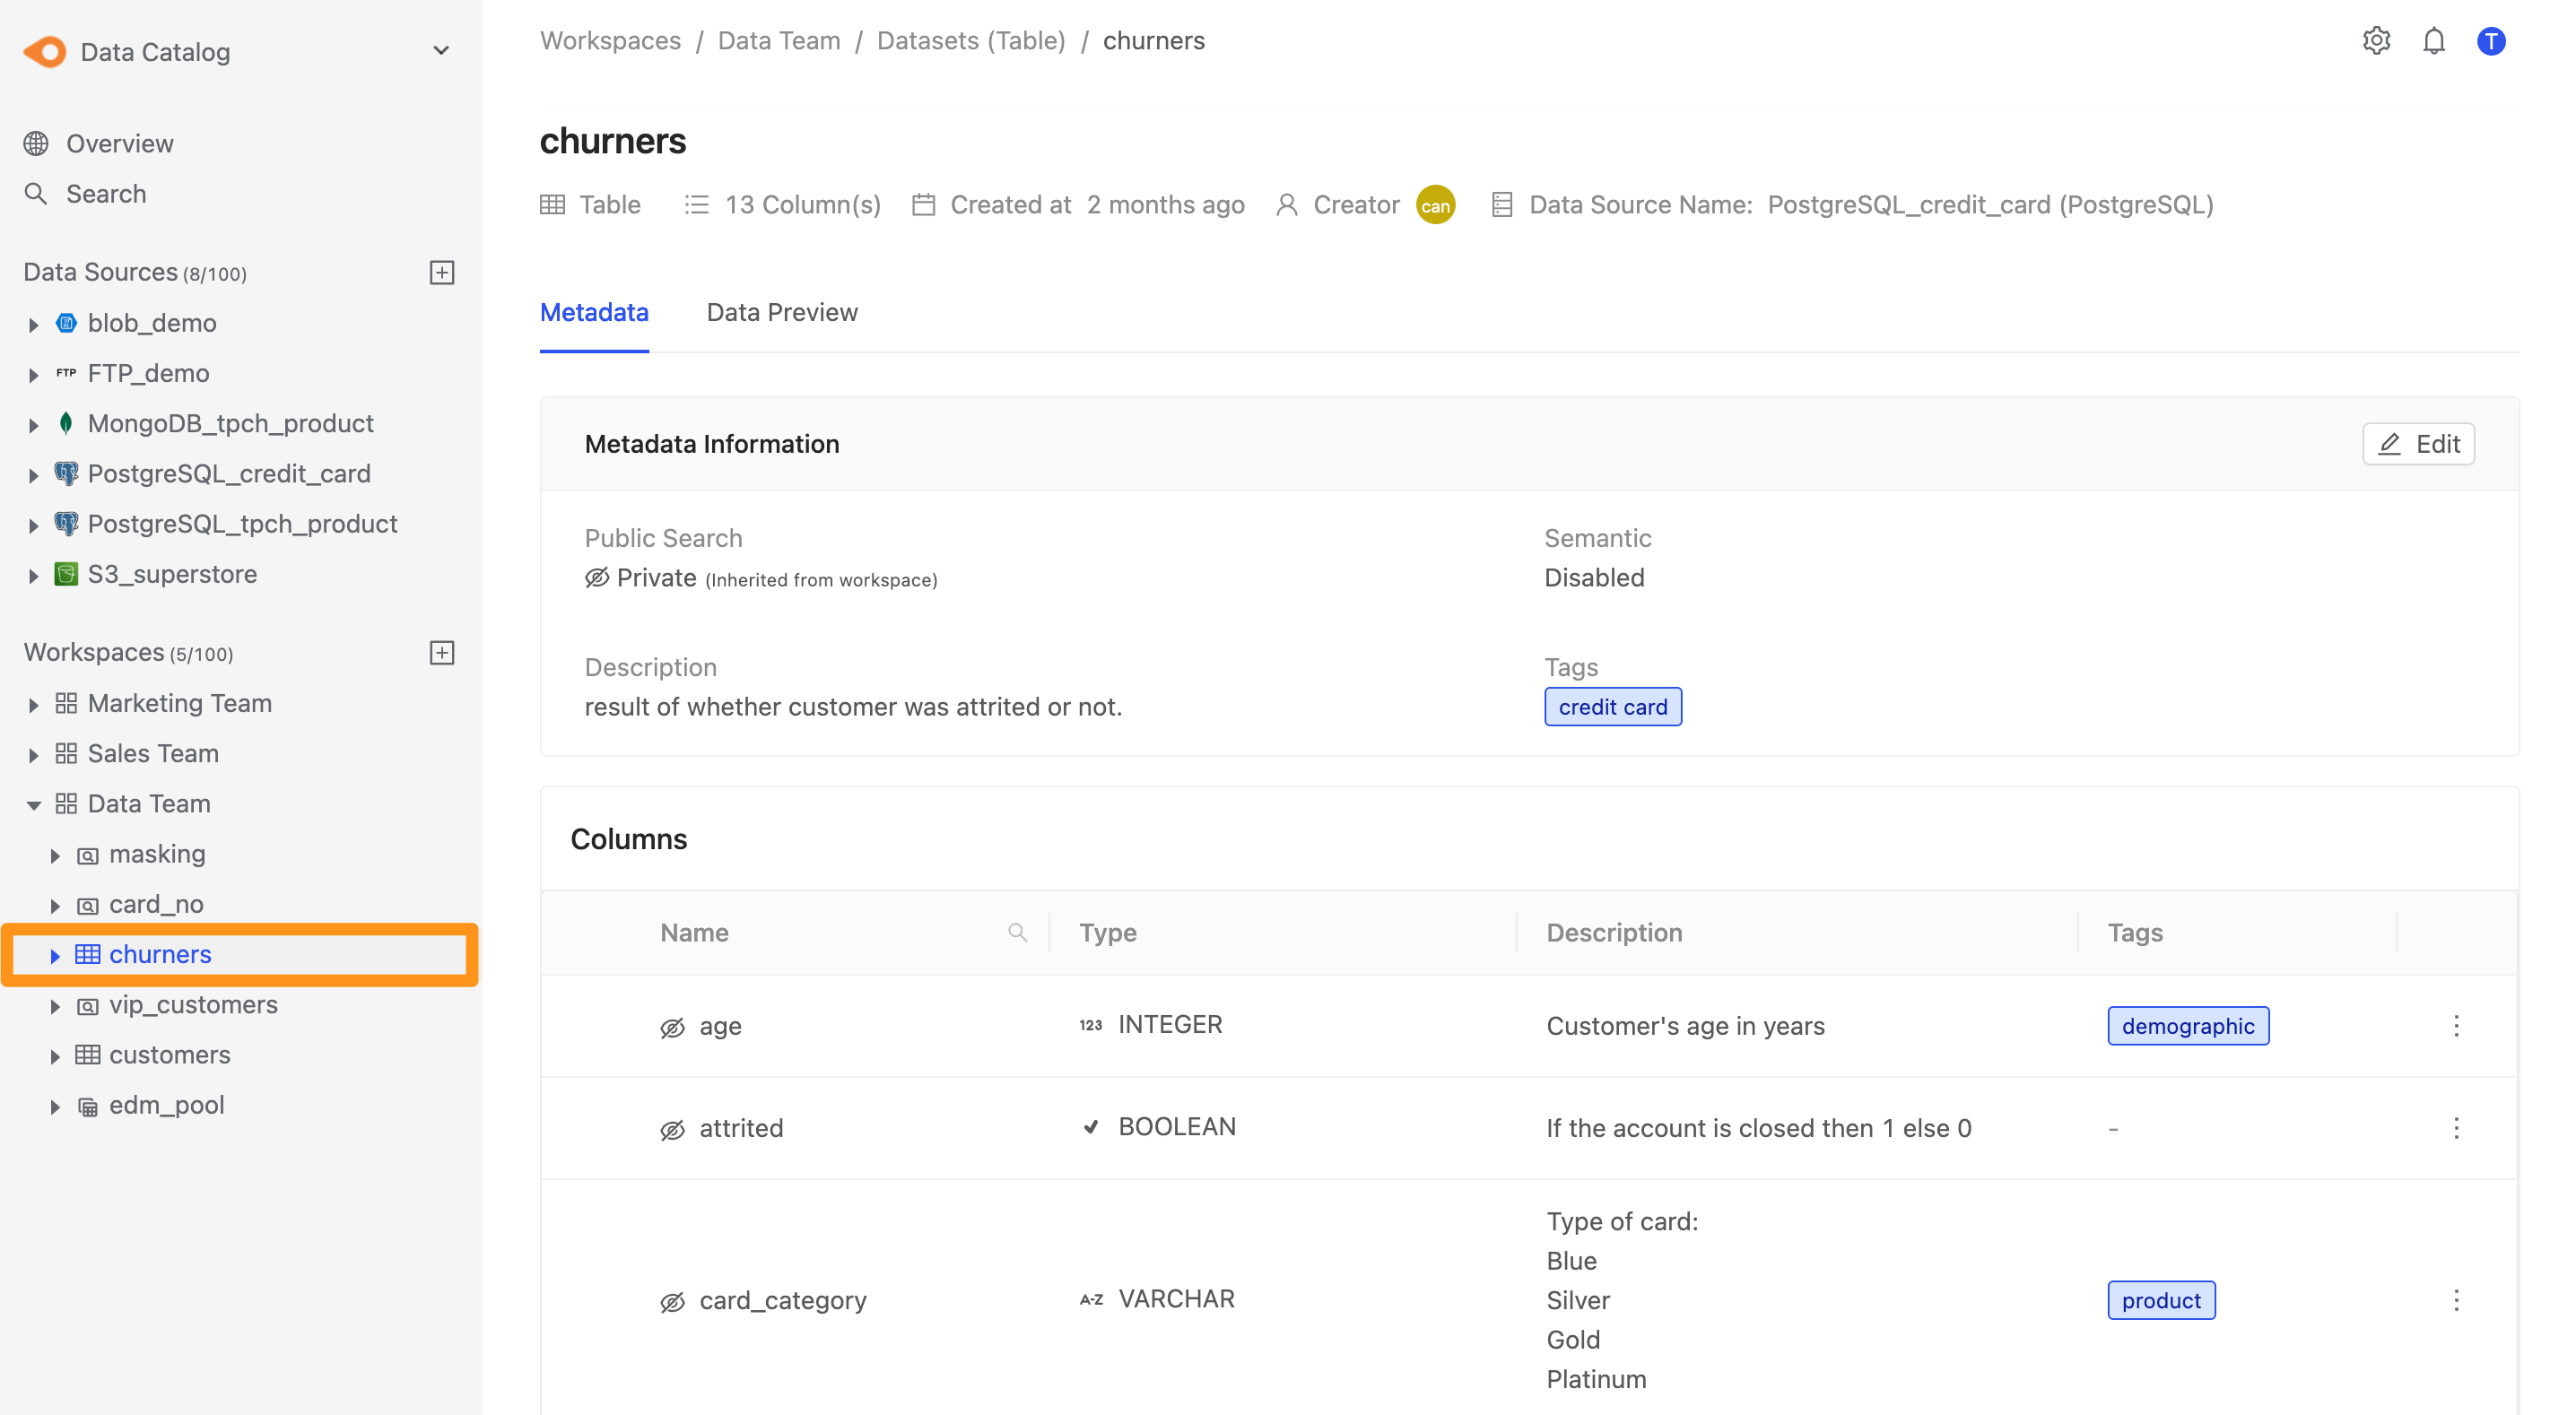
For every dataset in a workspace, Canner Enterprise lets users preview the first 100 rows.
How to preview data
First, on the workspace Datasets tab, select the dataset to view. This opens its details page.
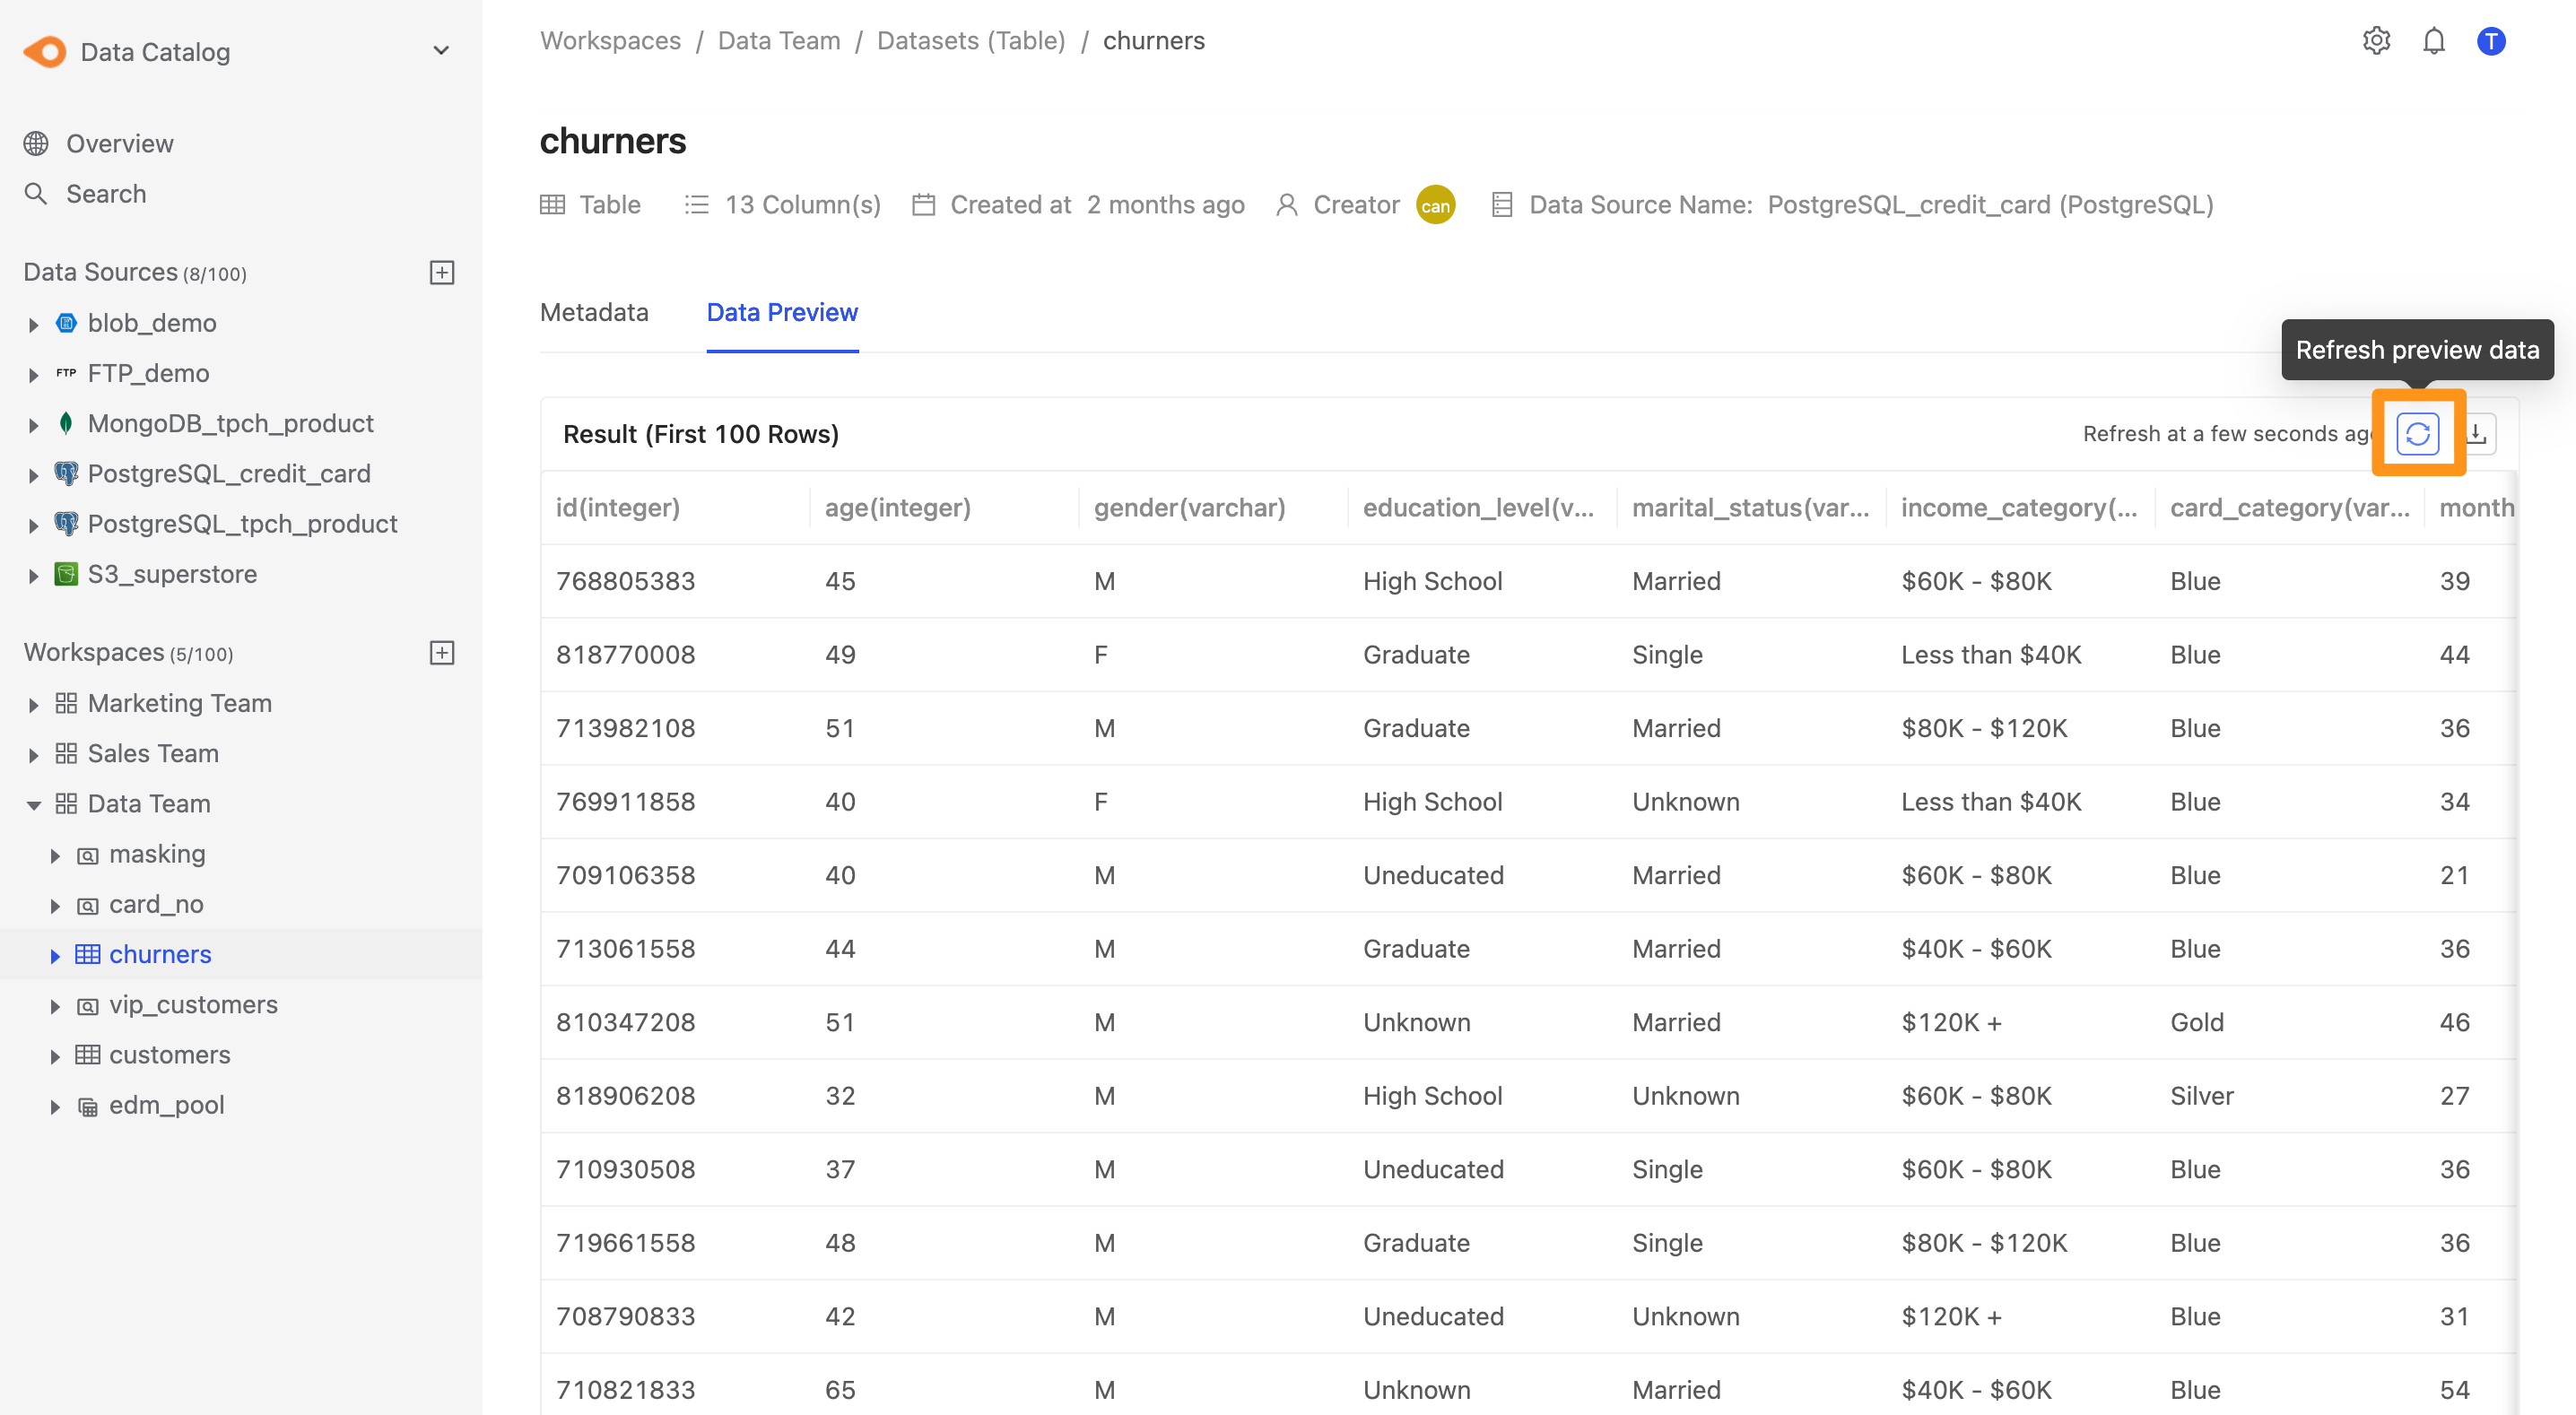
Click the Data Preview tab to see the first 100 rows of the dataset.
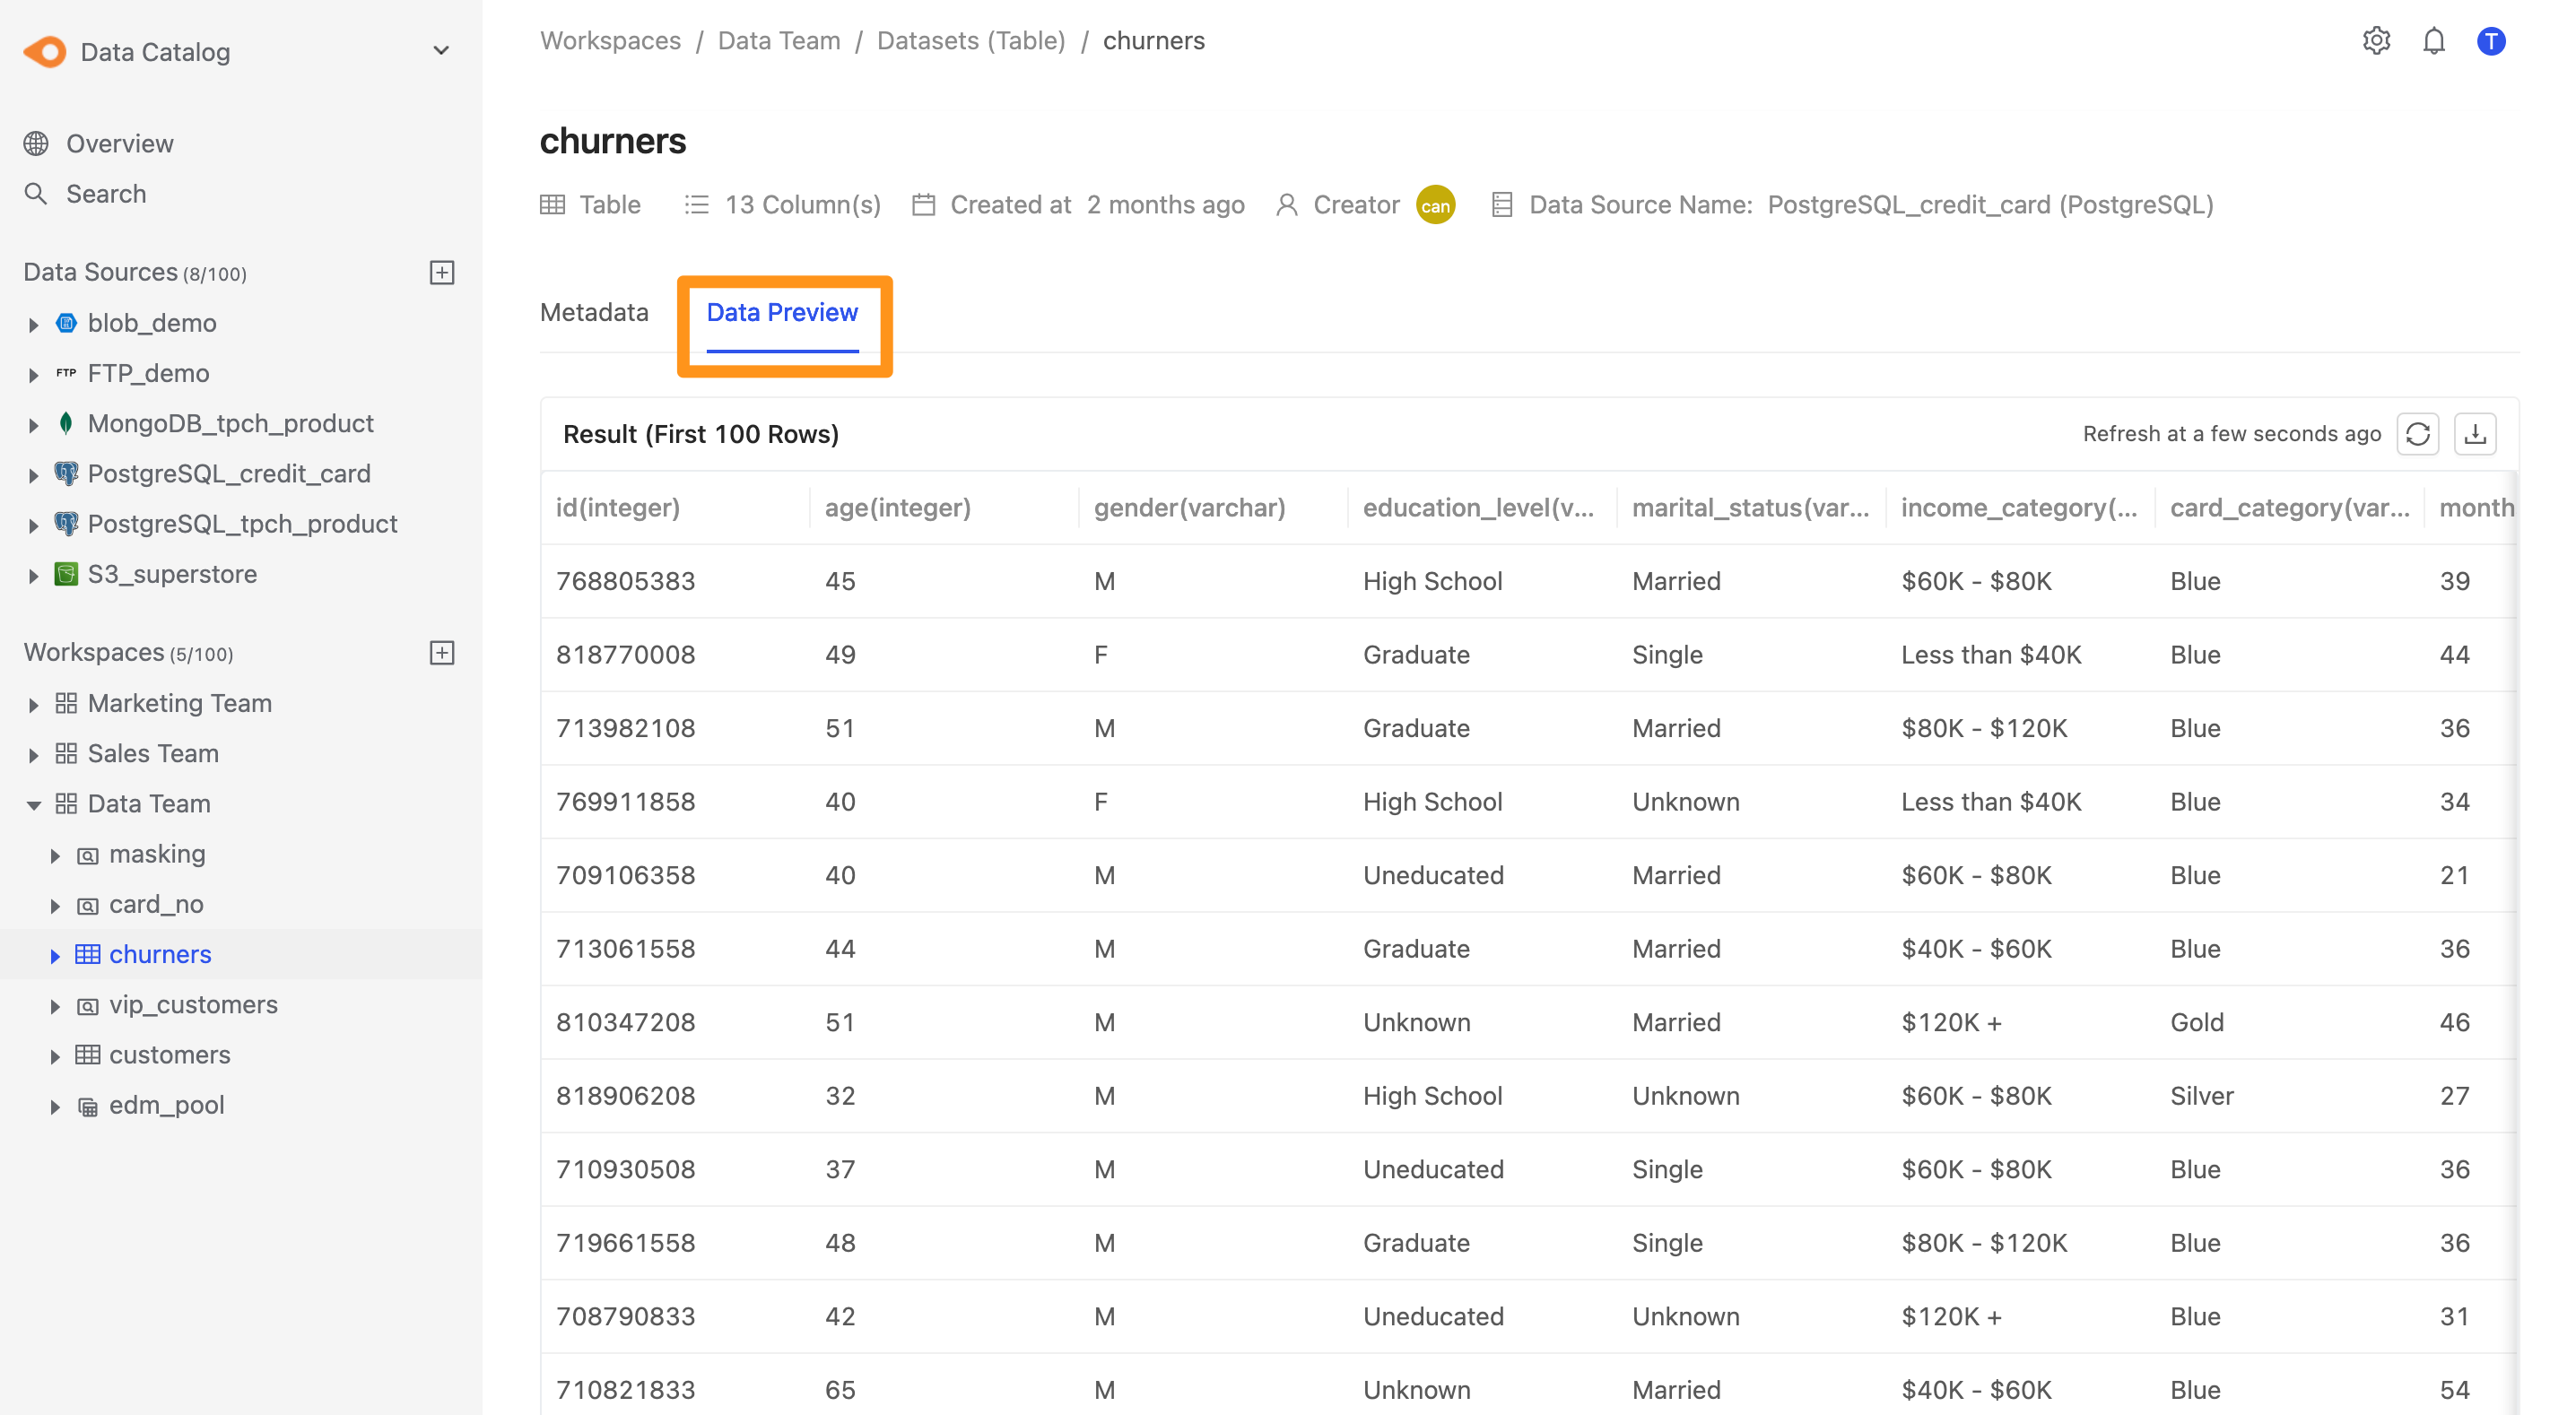
You can also click the refresh icon to get the latest preview data.
How to download data
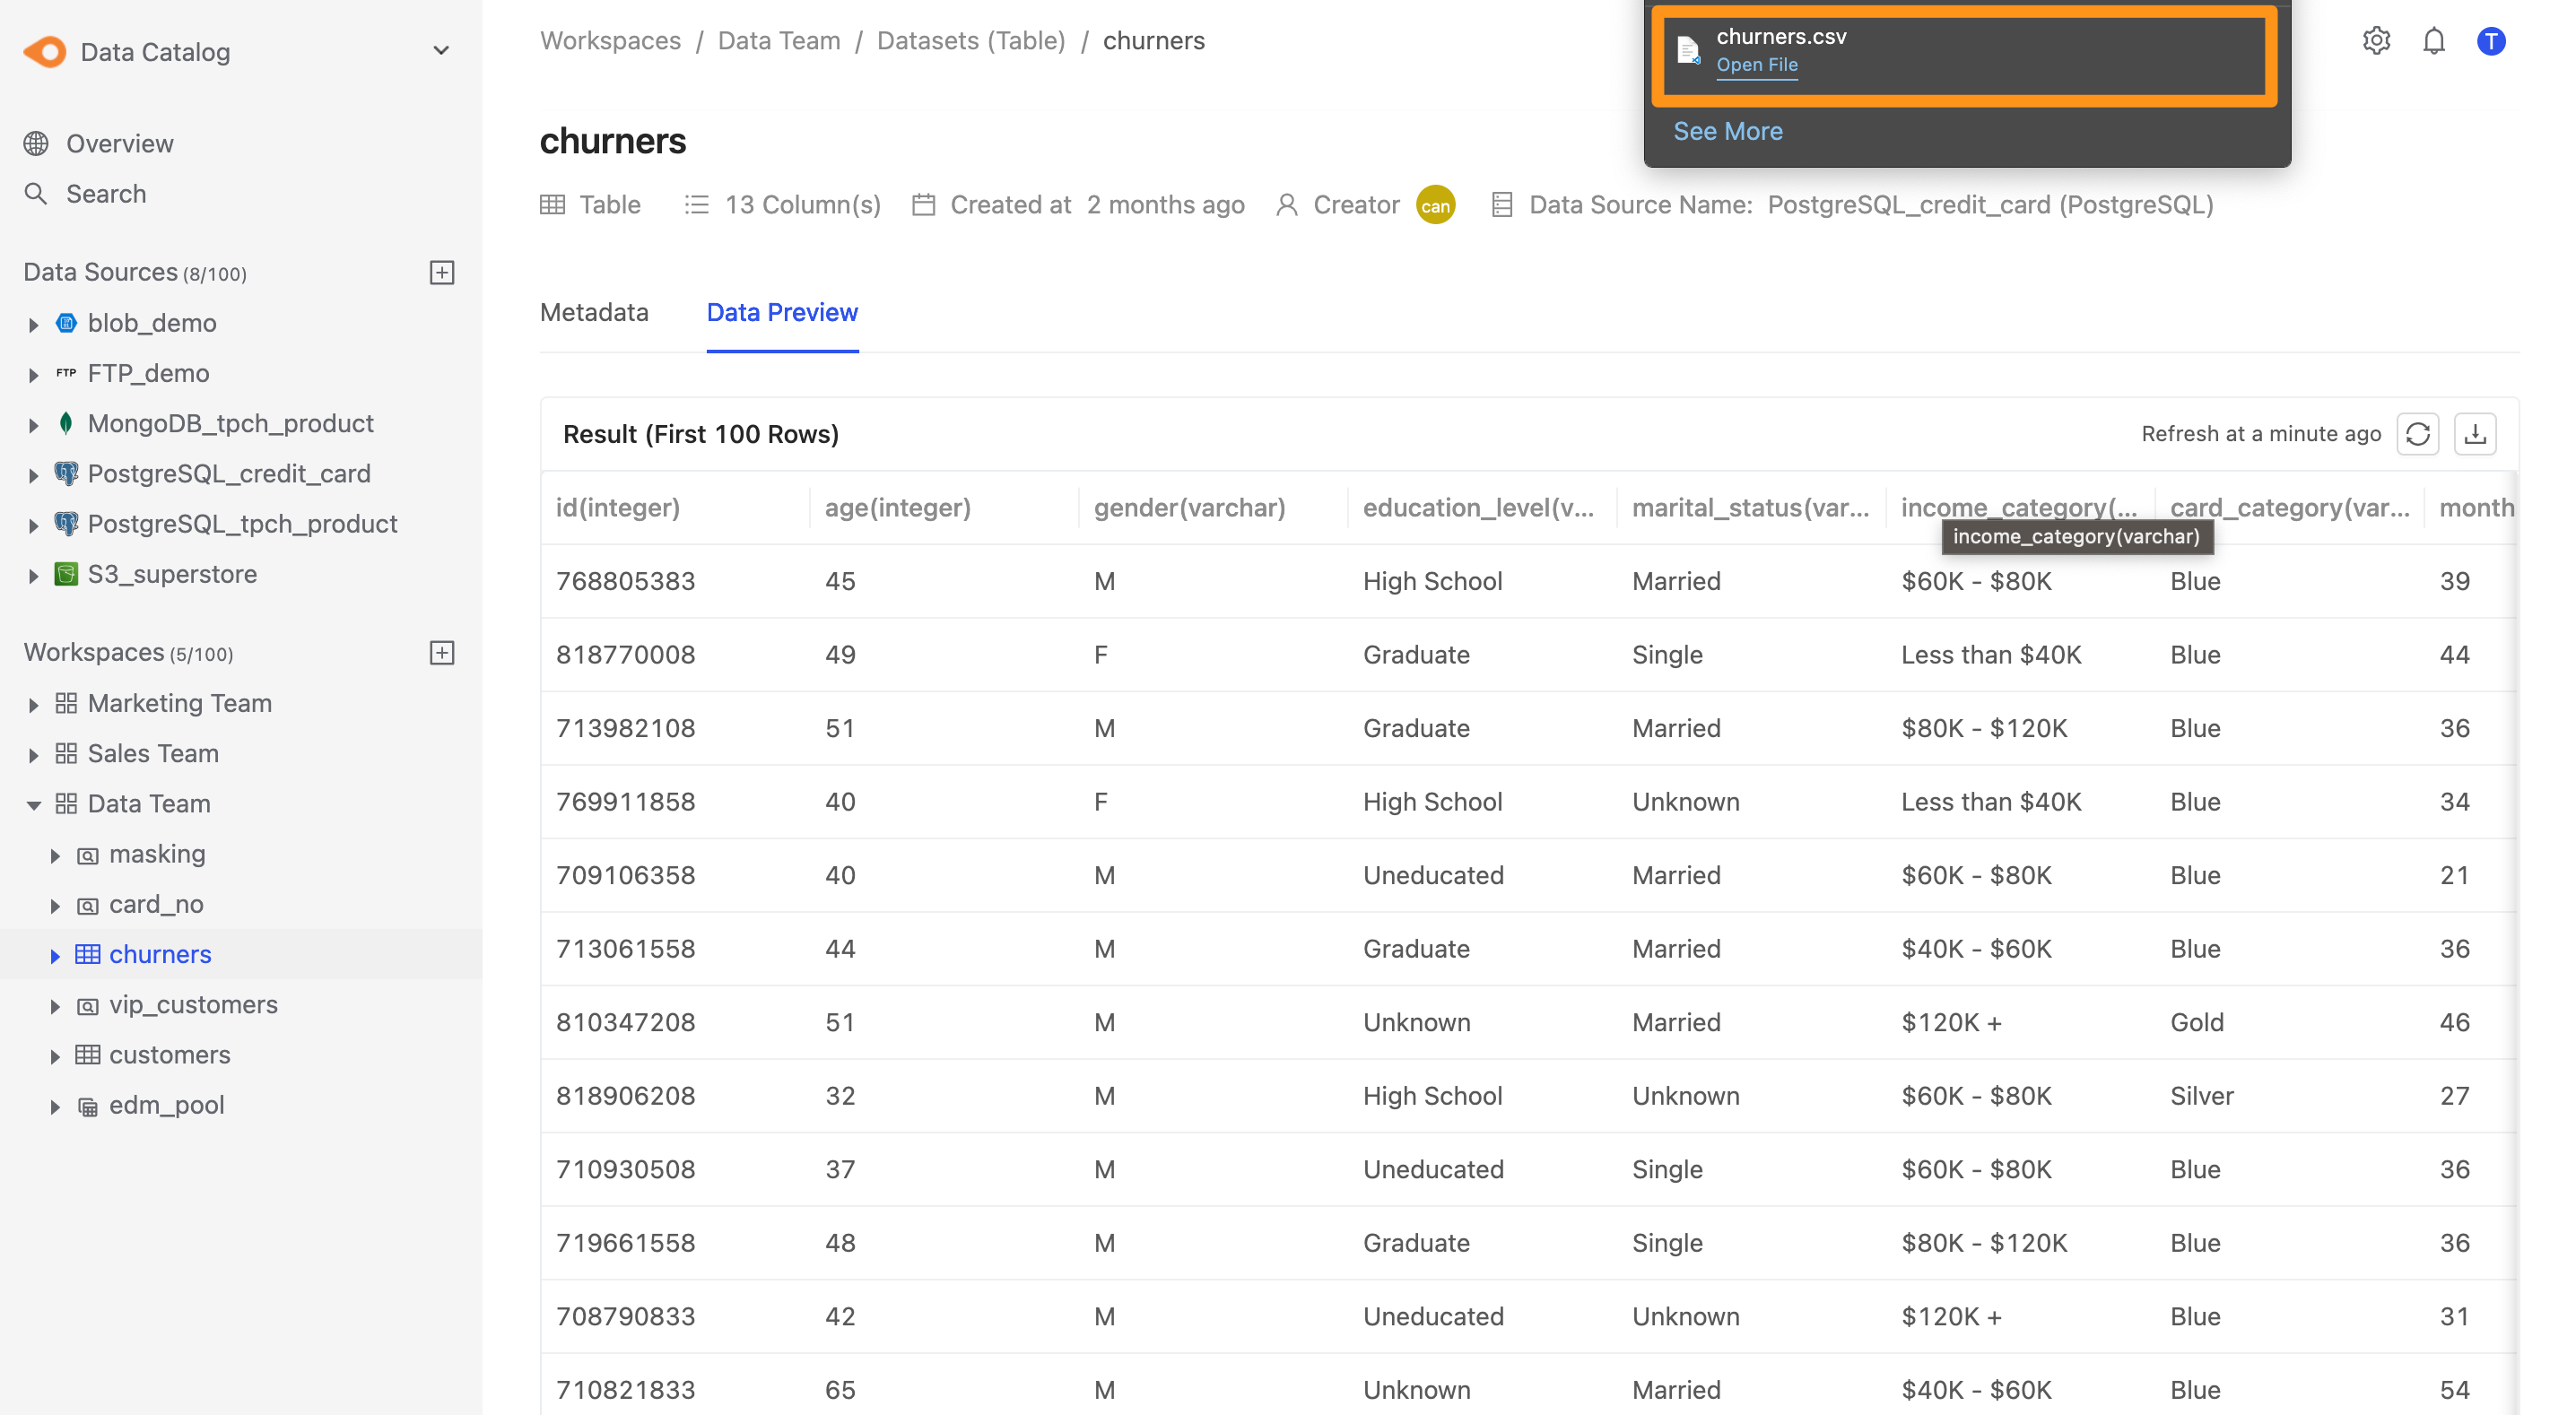
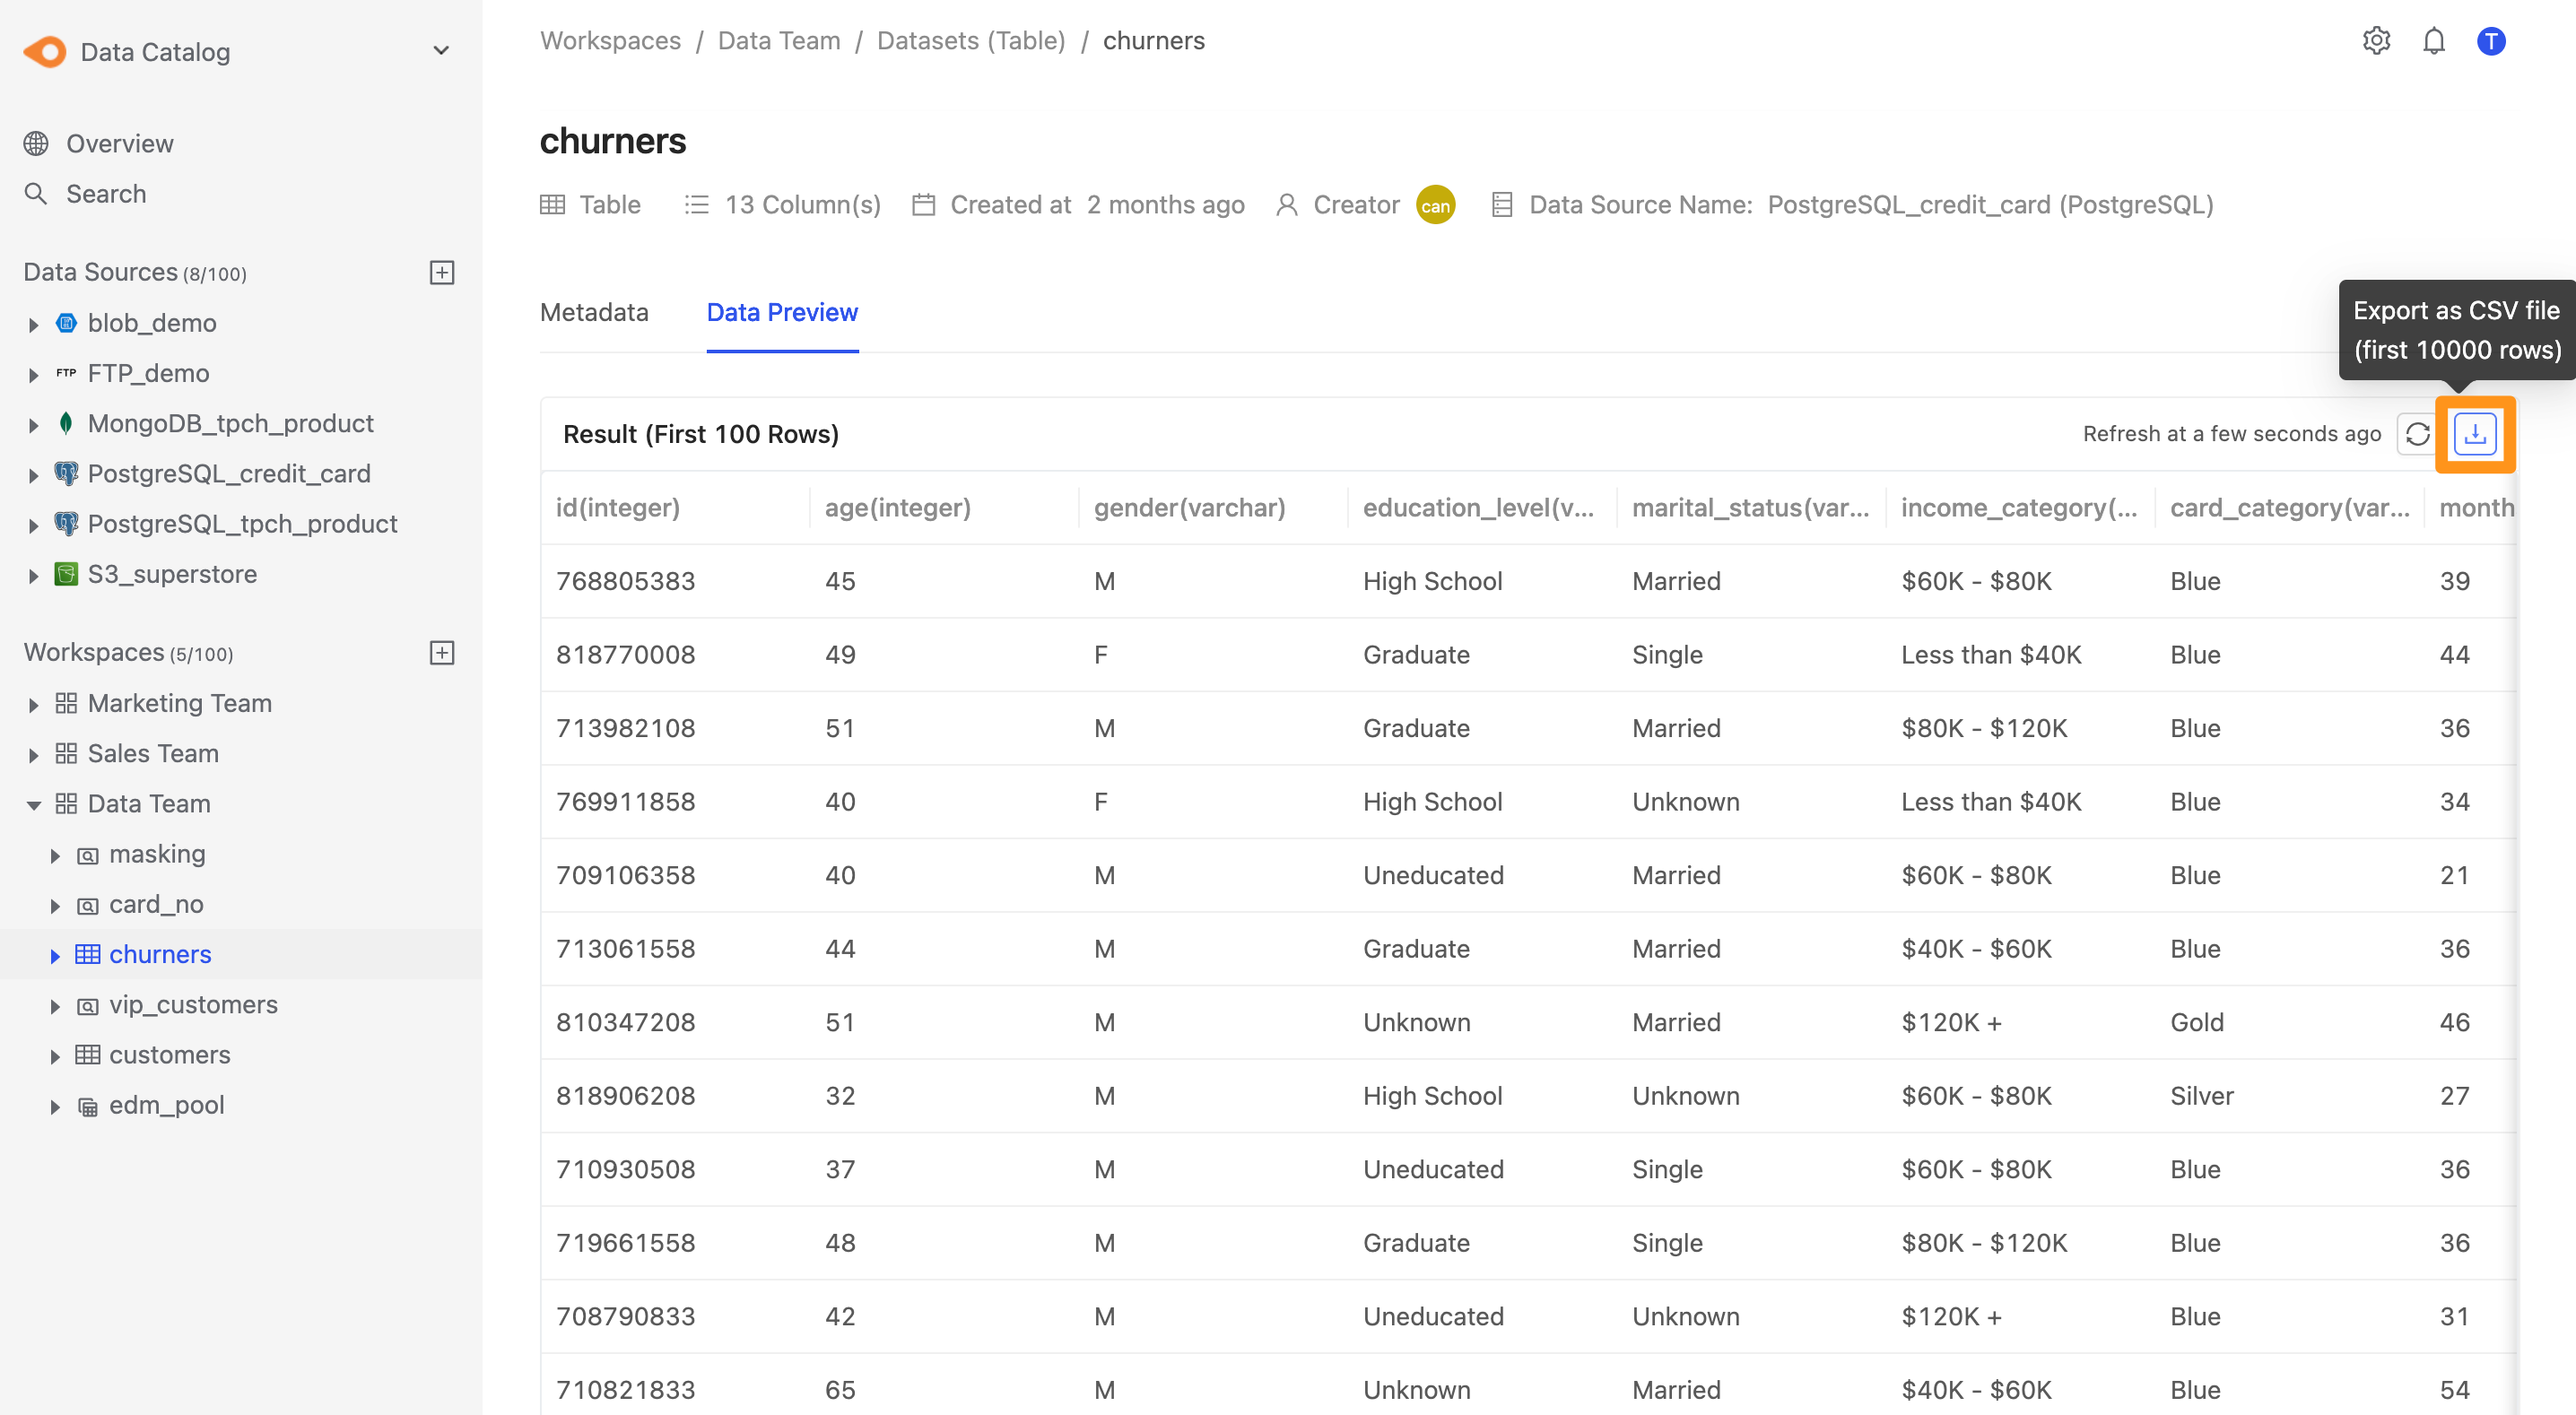
Step 1: On the workspace Datasets tab, select the dataset to open its details page. On the Data Preview tab, click the download icon and choose the number of rows to export (1,000 / 10,000 / 100,000 / up to 1,000,000) to submit a download request.
The data download feature requires permission from the Admin. Once you have permission, each download must be approved by the workspace Owner before the file can be exported. For the approval and request steps, see 2.3.5 Approvals.
Step 2: After approval, the system sends a notification, and you can download the file from the Approvals page in the sidebar.
Step 3: Once downloaded, the CSV file appears in your browser's download list.