System Users
User limit
The total number of users is limited to 2000, but you can request a custom limit.
Canner Enterprise authorization covers platform feature authorization and data authorization. Before using the system, you must first set up platform feature authorization and then data authorization before you can design or use data. For data authorization, see 2.3.3 Data Source Access Control and 2.3.4 Workspace Source Data Management and Workspace Access Control. This chapter describes platform feature authorization.
In Canner Enterprise, the Admin has the highest level of permission and can make any change in the system, such as adding and deleting users, adding data sources, and creating new workspaces and adding people to them.
How to add a user
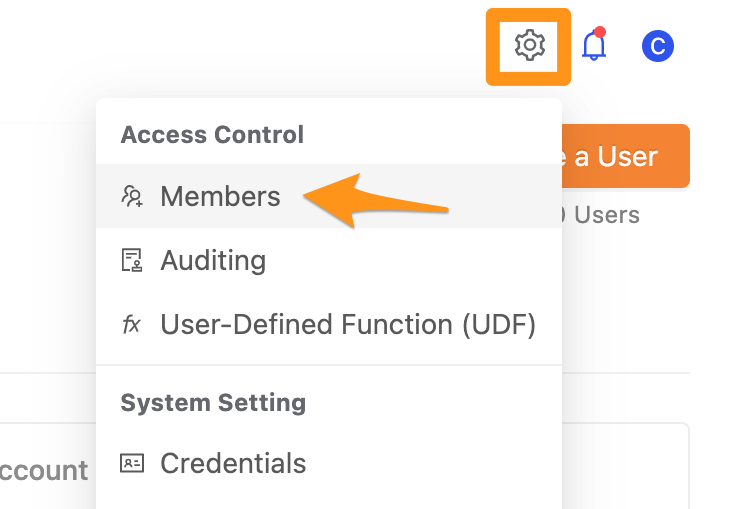
Step 1: Open the Members page
Click the gear icon in the upper-right corner and select Members.
Step 2: Create the user and permissions
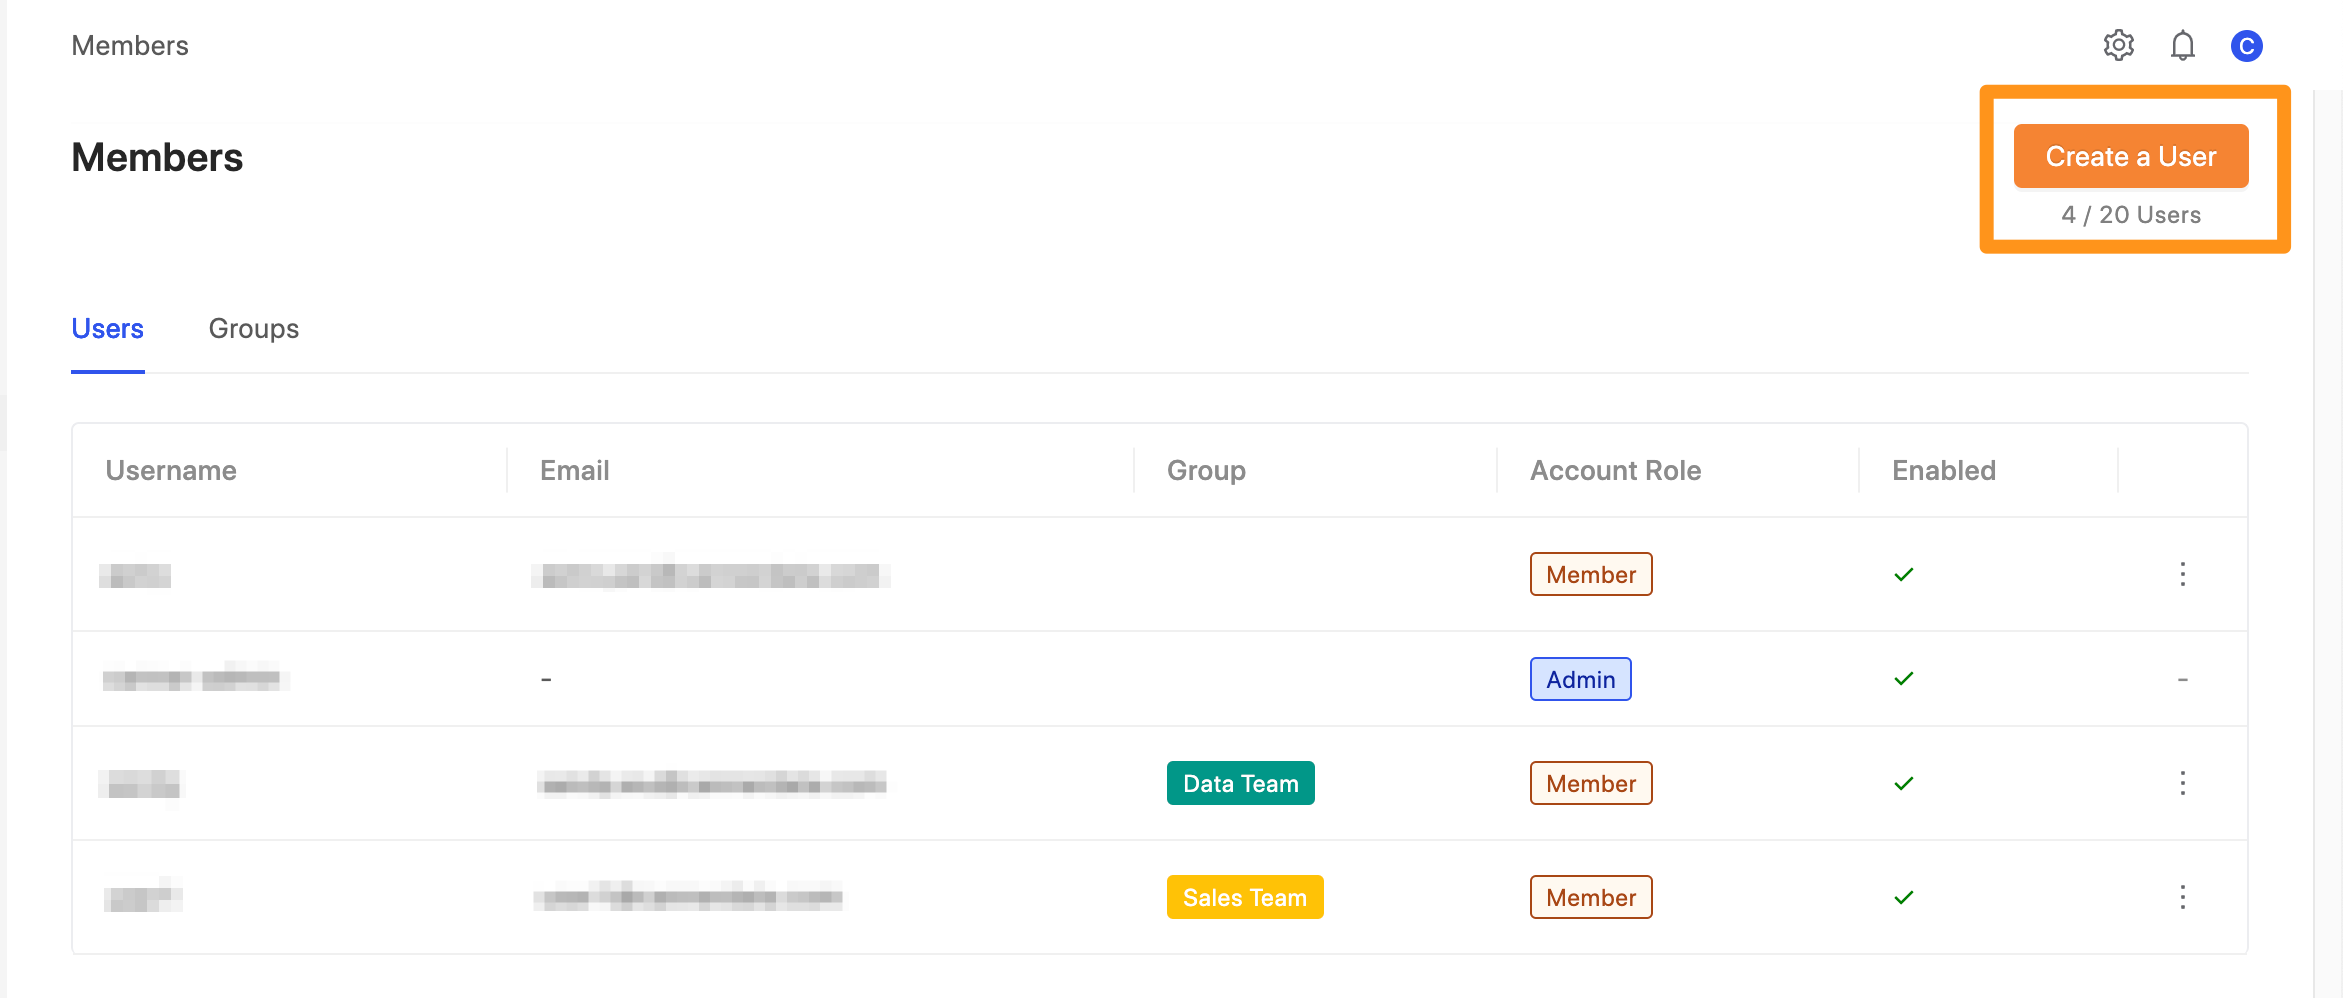
On the Members page, click the Create a User button in the upper-right corner.
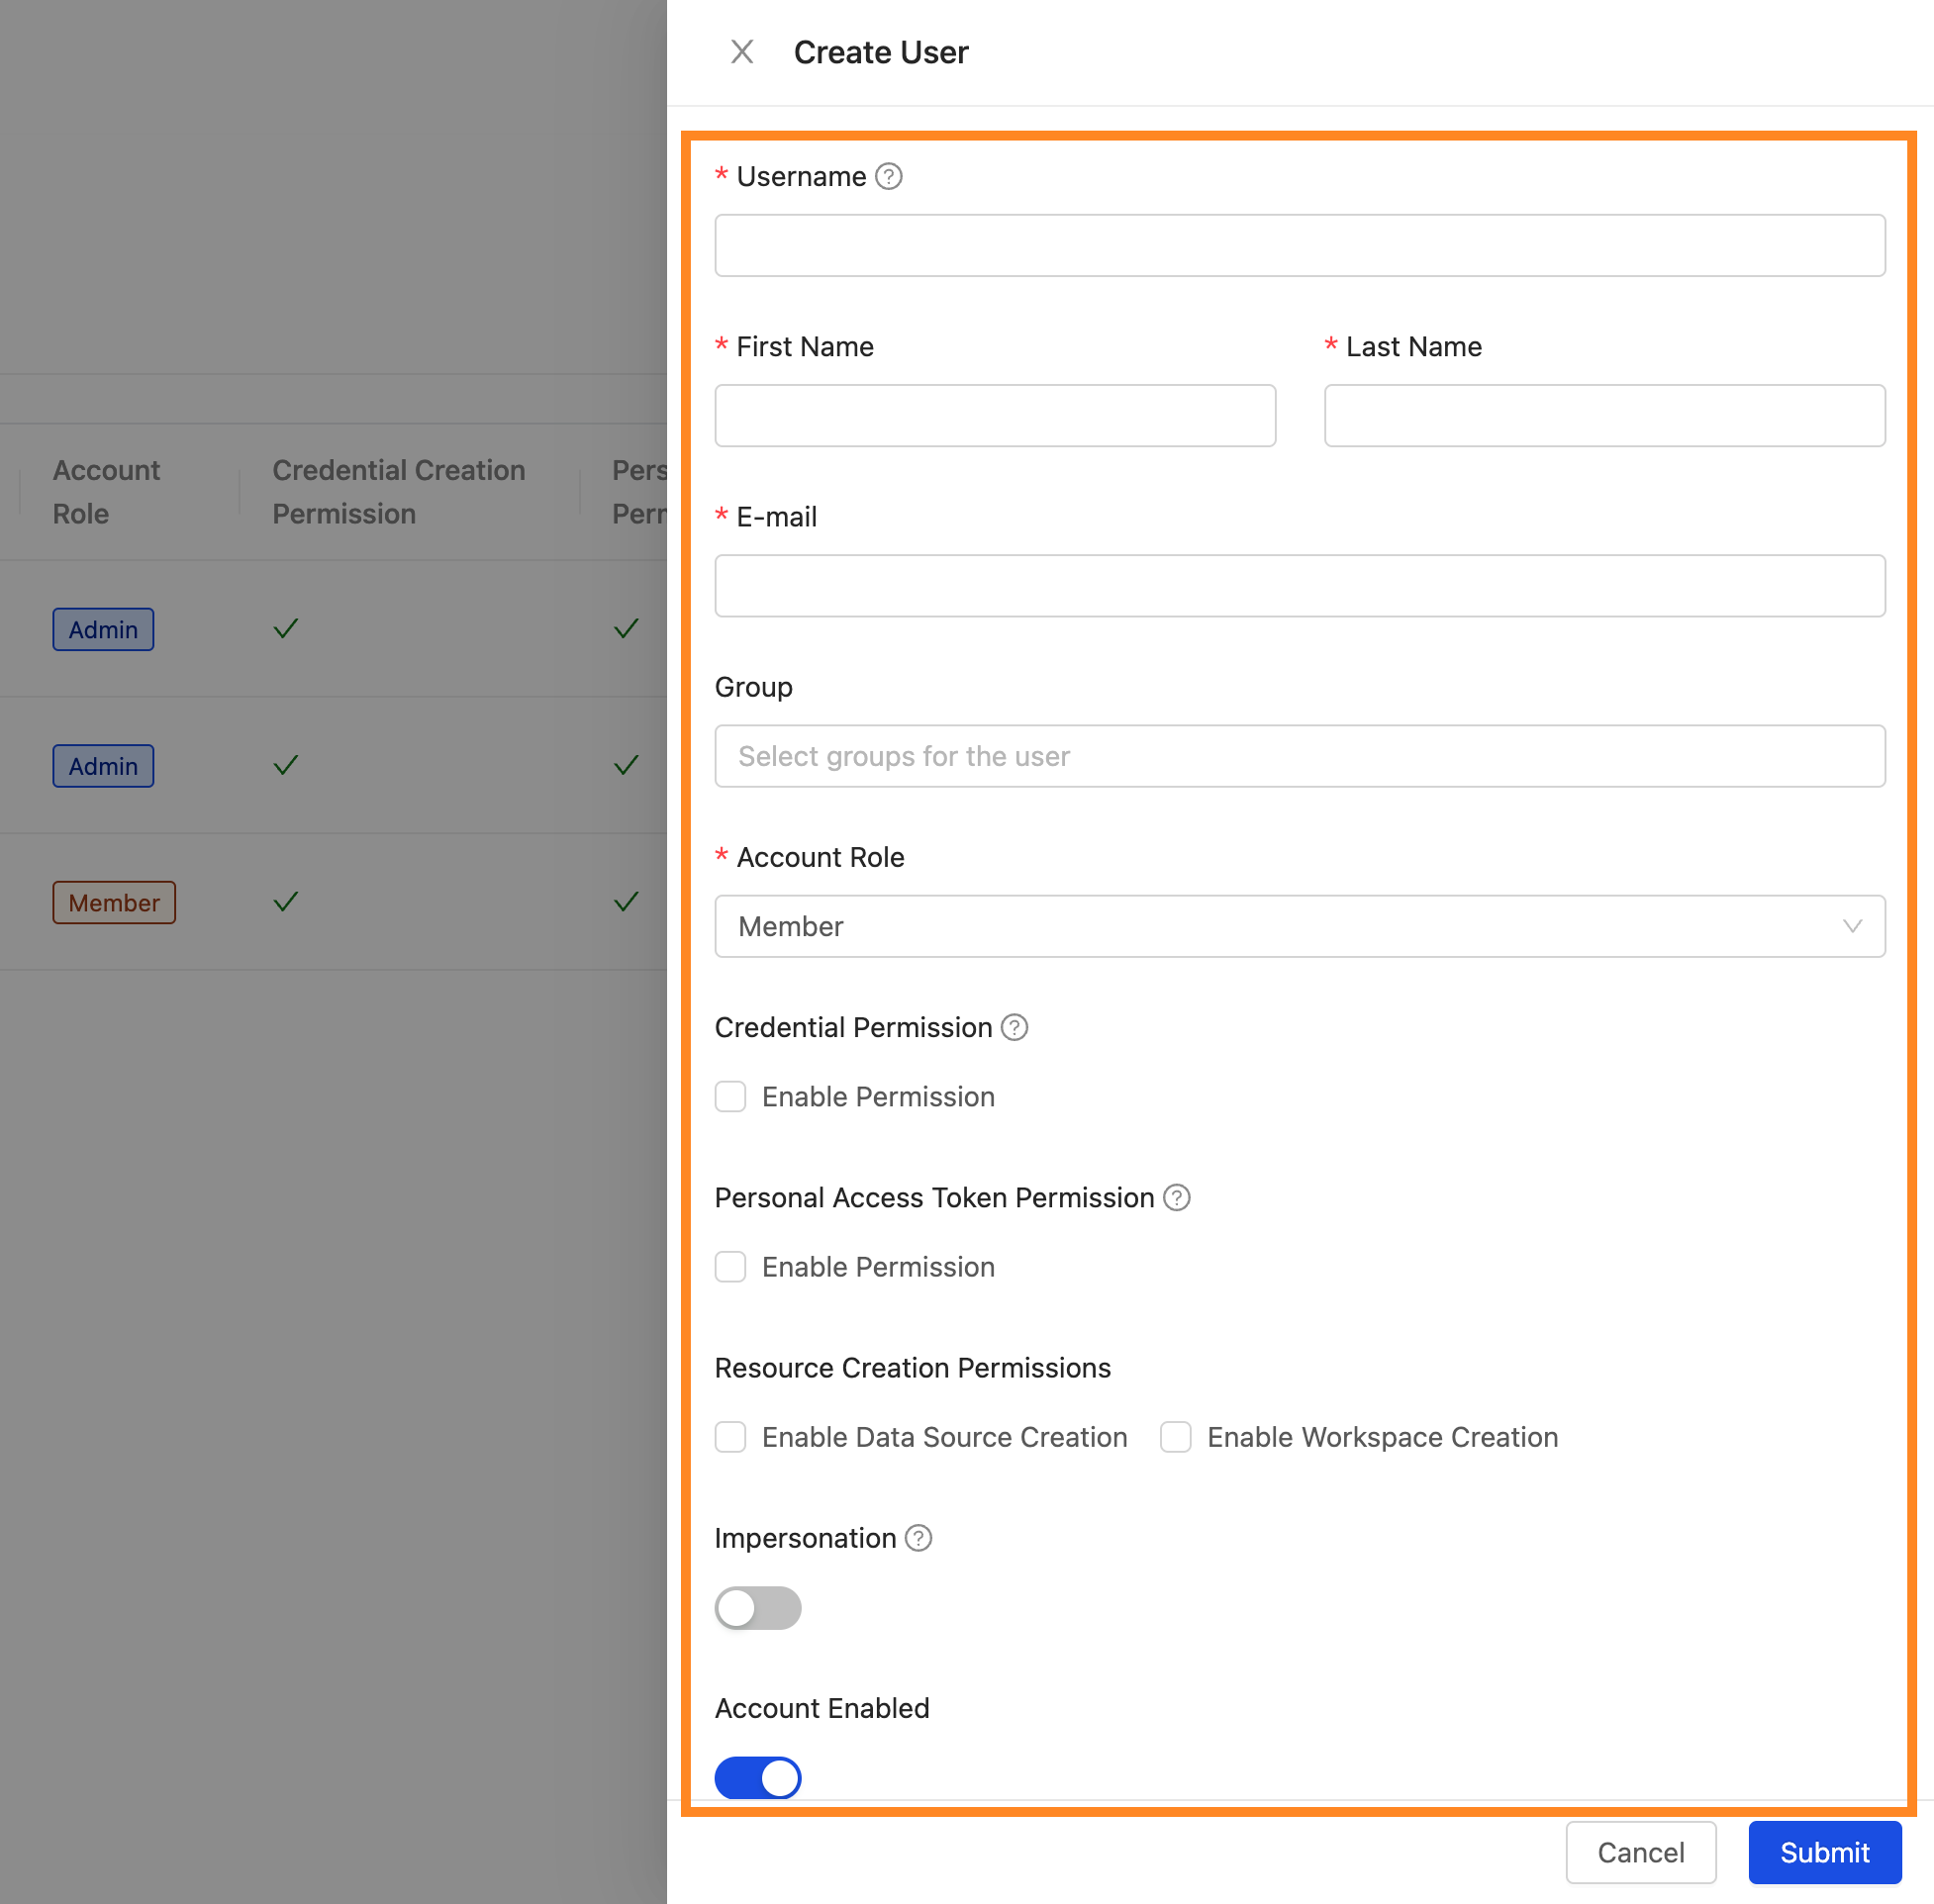
Fill in the following in the form.
- Username: We recommend lowercase letters (a-z), optionally with digits (0-9), hyphens (-), plus signs (+), and underscores (_). This is the login ID.
- First Name: The user's first name.
- Last Name: The user's last name.
- Email: The user's email. Users can also log in with their email.
- Group: Add the user to an existing group. User groups can be used in data authorization.
- Accout Role: Set the user's role to Admin, System Admin, or Member. For each role's permissions, see 2.8 System Administration & Settings.
- Personal Access Token Permission: When checked, the user can create, regenerate, and delete Personal Access Tokens.
- Credential Permission: When checked, the user can create and delete Credentials.
- Enable Data Source Creation: When checked, the user can create new data sources.
- Enable Workspace Creation: When checked, the user can create new workspaces.
- Impersonation: When enabled, this user can impersonate other users. The user that Tableau Server uses to connect to Canner Enterprise needs impersonation permission to query as other users in Canner Enterprise. See Data Sharing - Third-Party Applications / Tableau / Query Impersonation.
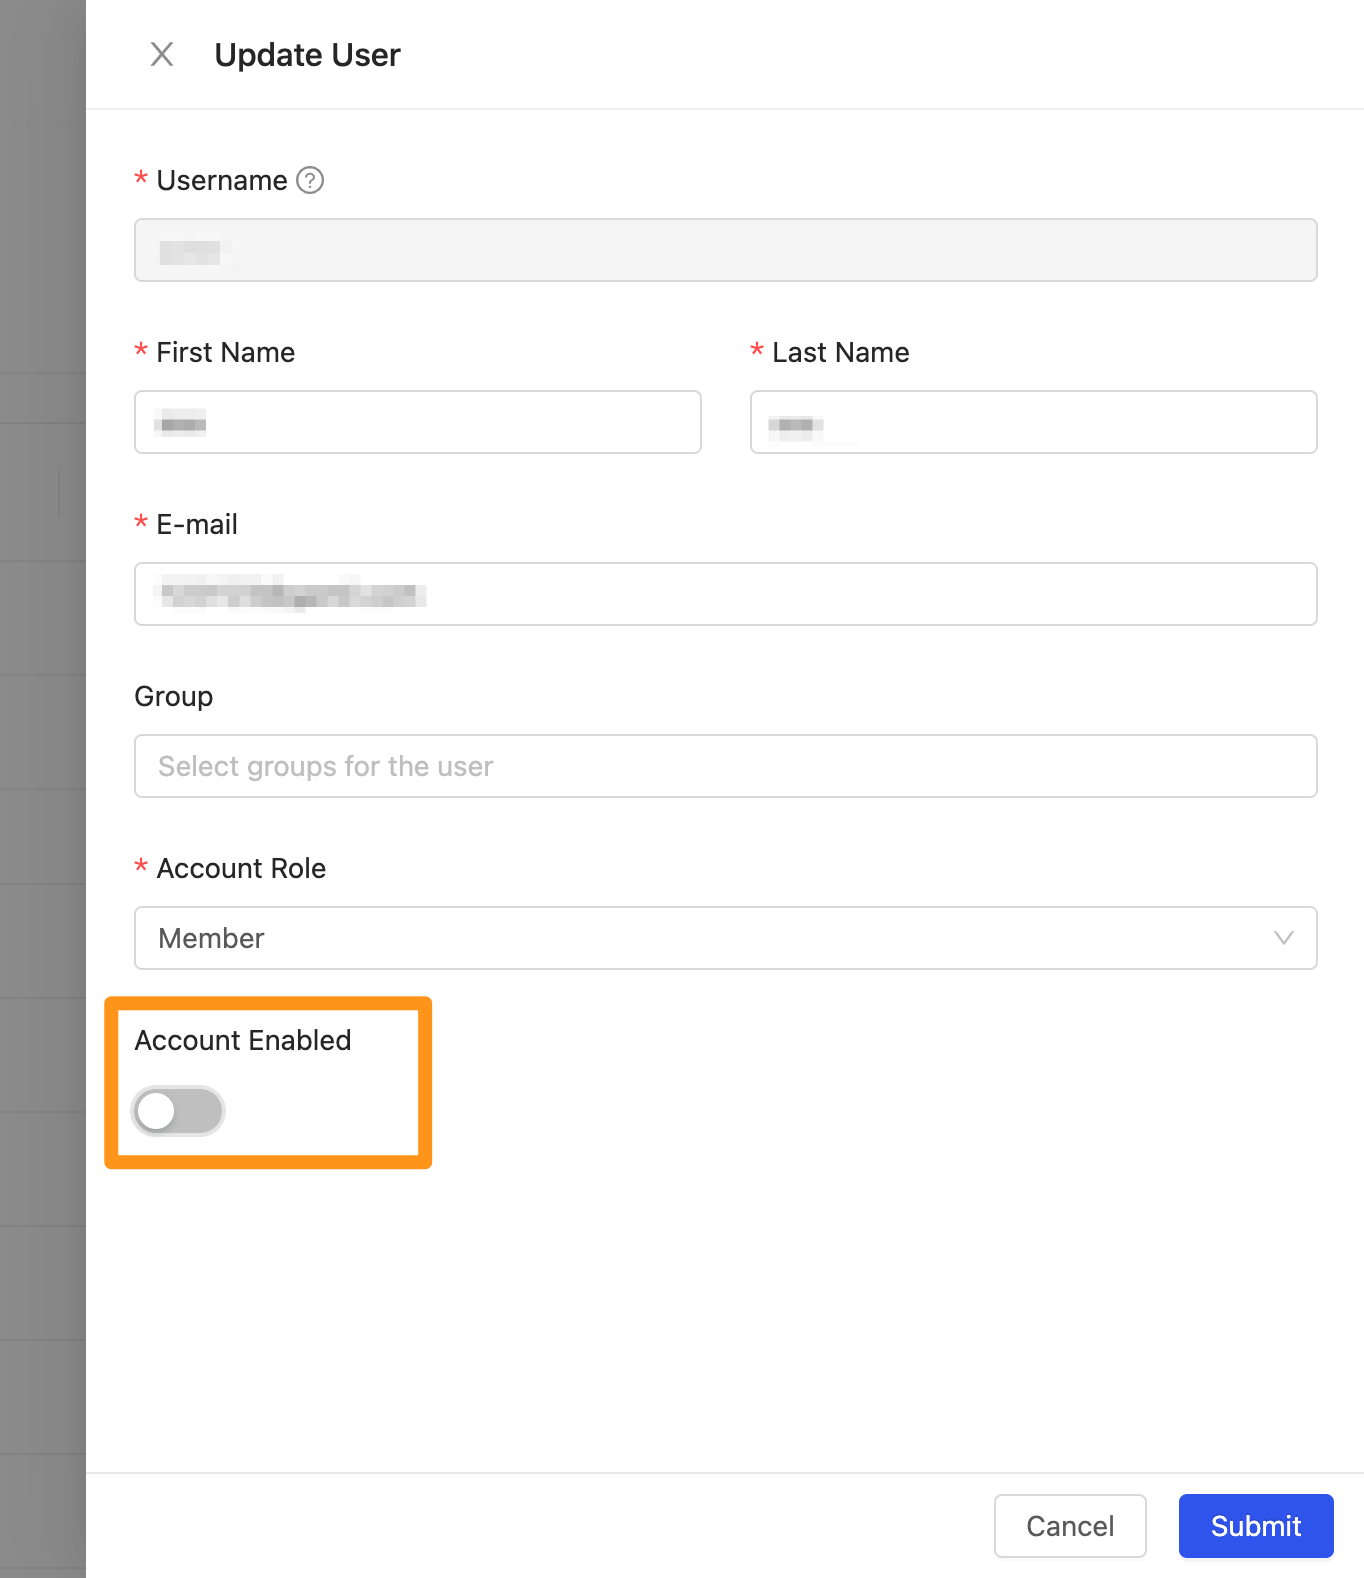
- Account Enabled: Enabled by default. Switching it off (gray) temporarily disables the user.
Step 3: Finish
Click Submit to create the user. A dialog shows an auto-generated password for the user's first login.
How to disable a user's login
As an admin, you will need to add users who collaborate in Canner Enterprise, delete users, or sometimes temporarily prevent a user from logging in. Here is how.
Find the user, click the ... button, and select Edit.
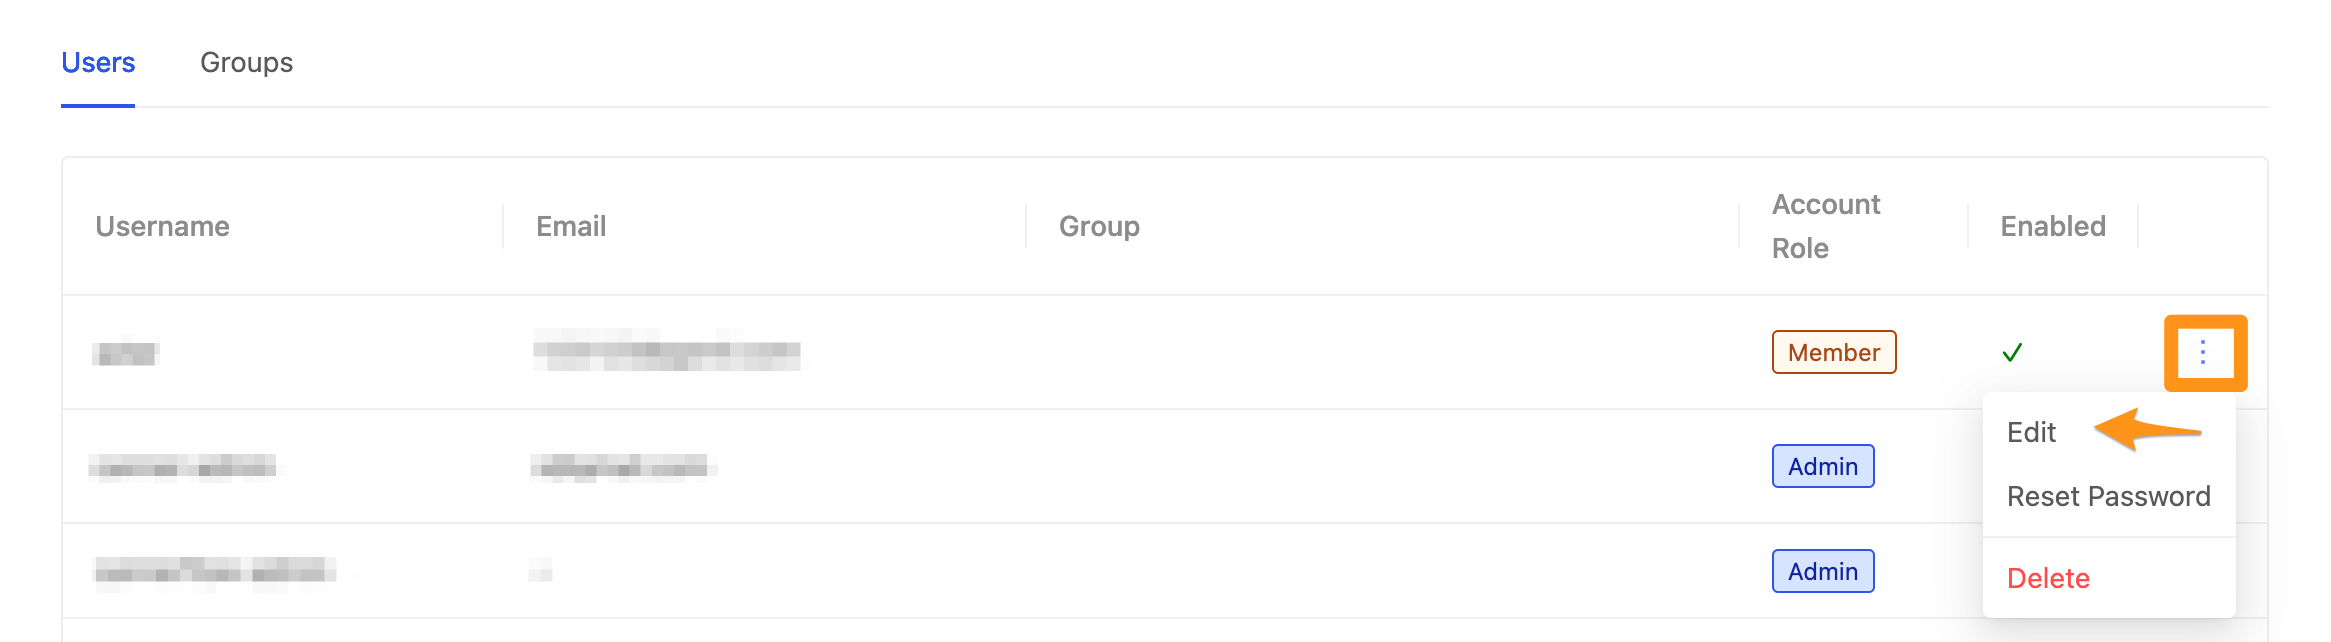
At the bottom of the form, switch the Account Enabled field off (gray), then click Submit to update the user's access. The user temporarily cannot log in.
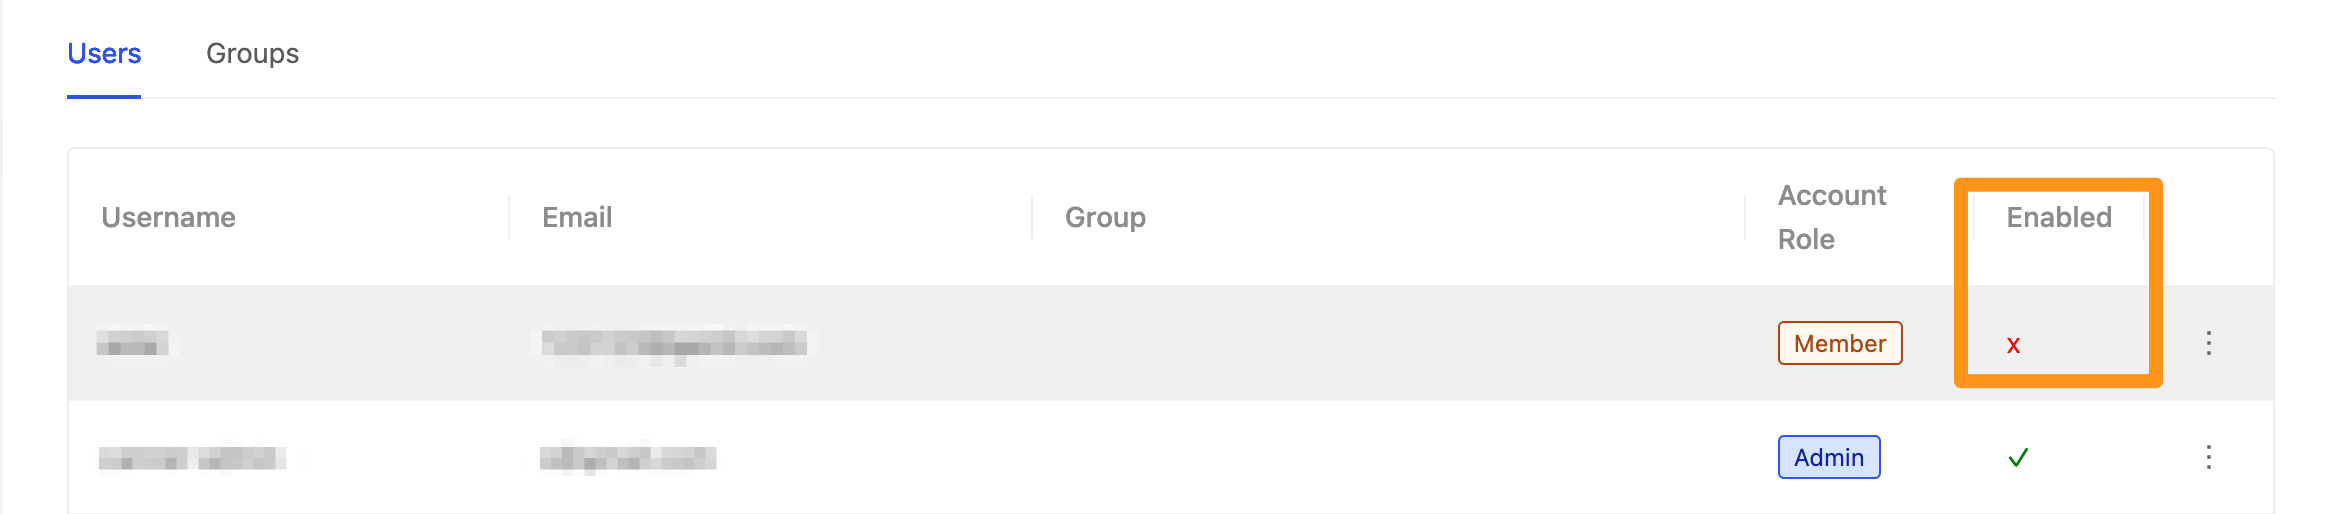
Once disabled, the user shows a cross in the Enabled column.
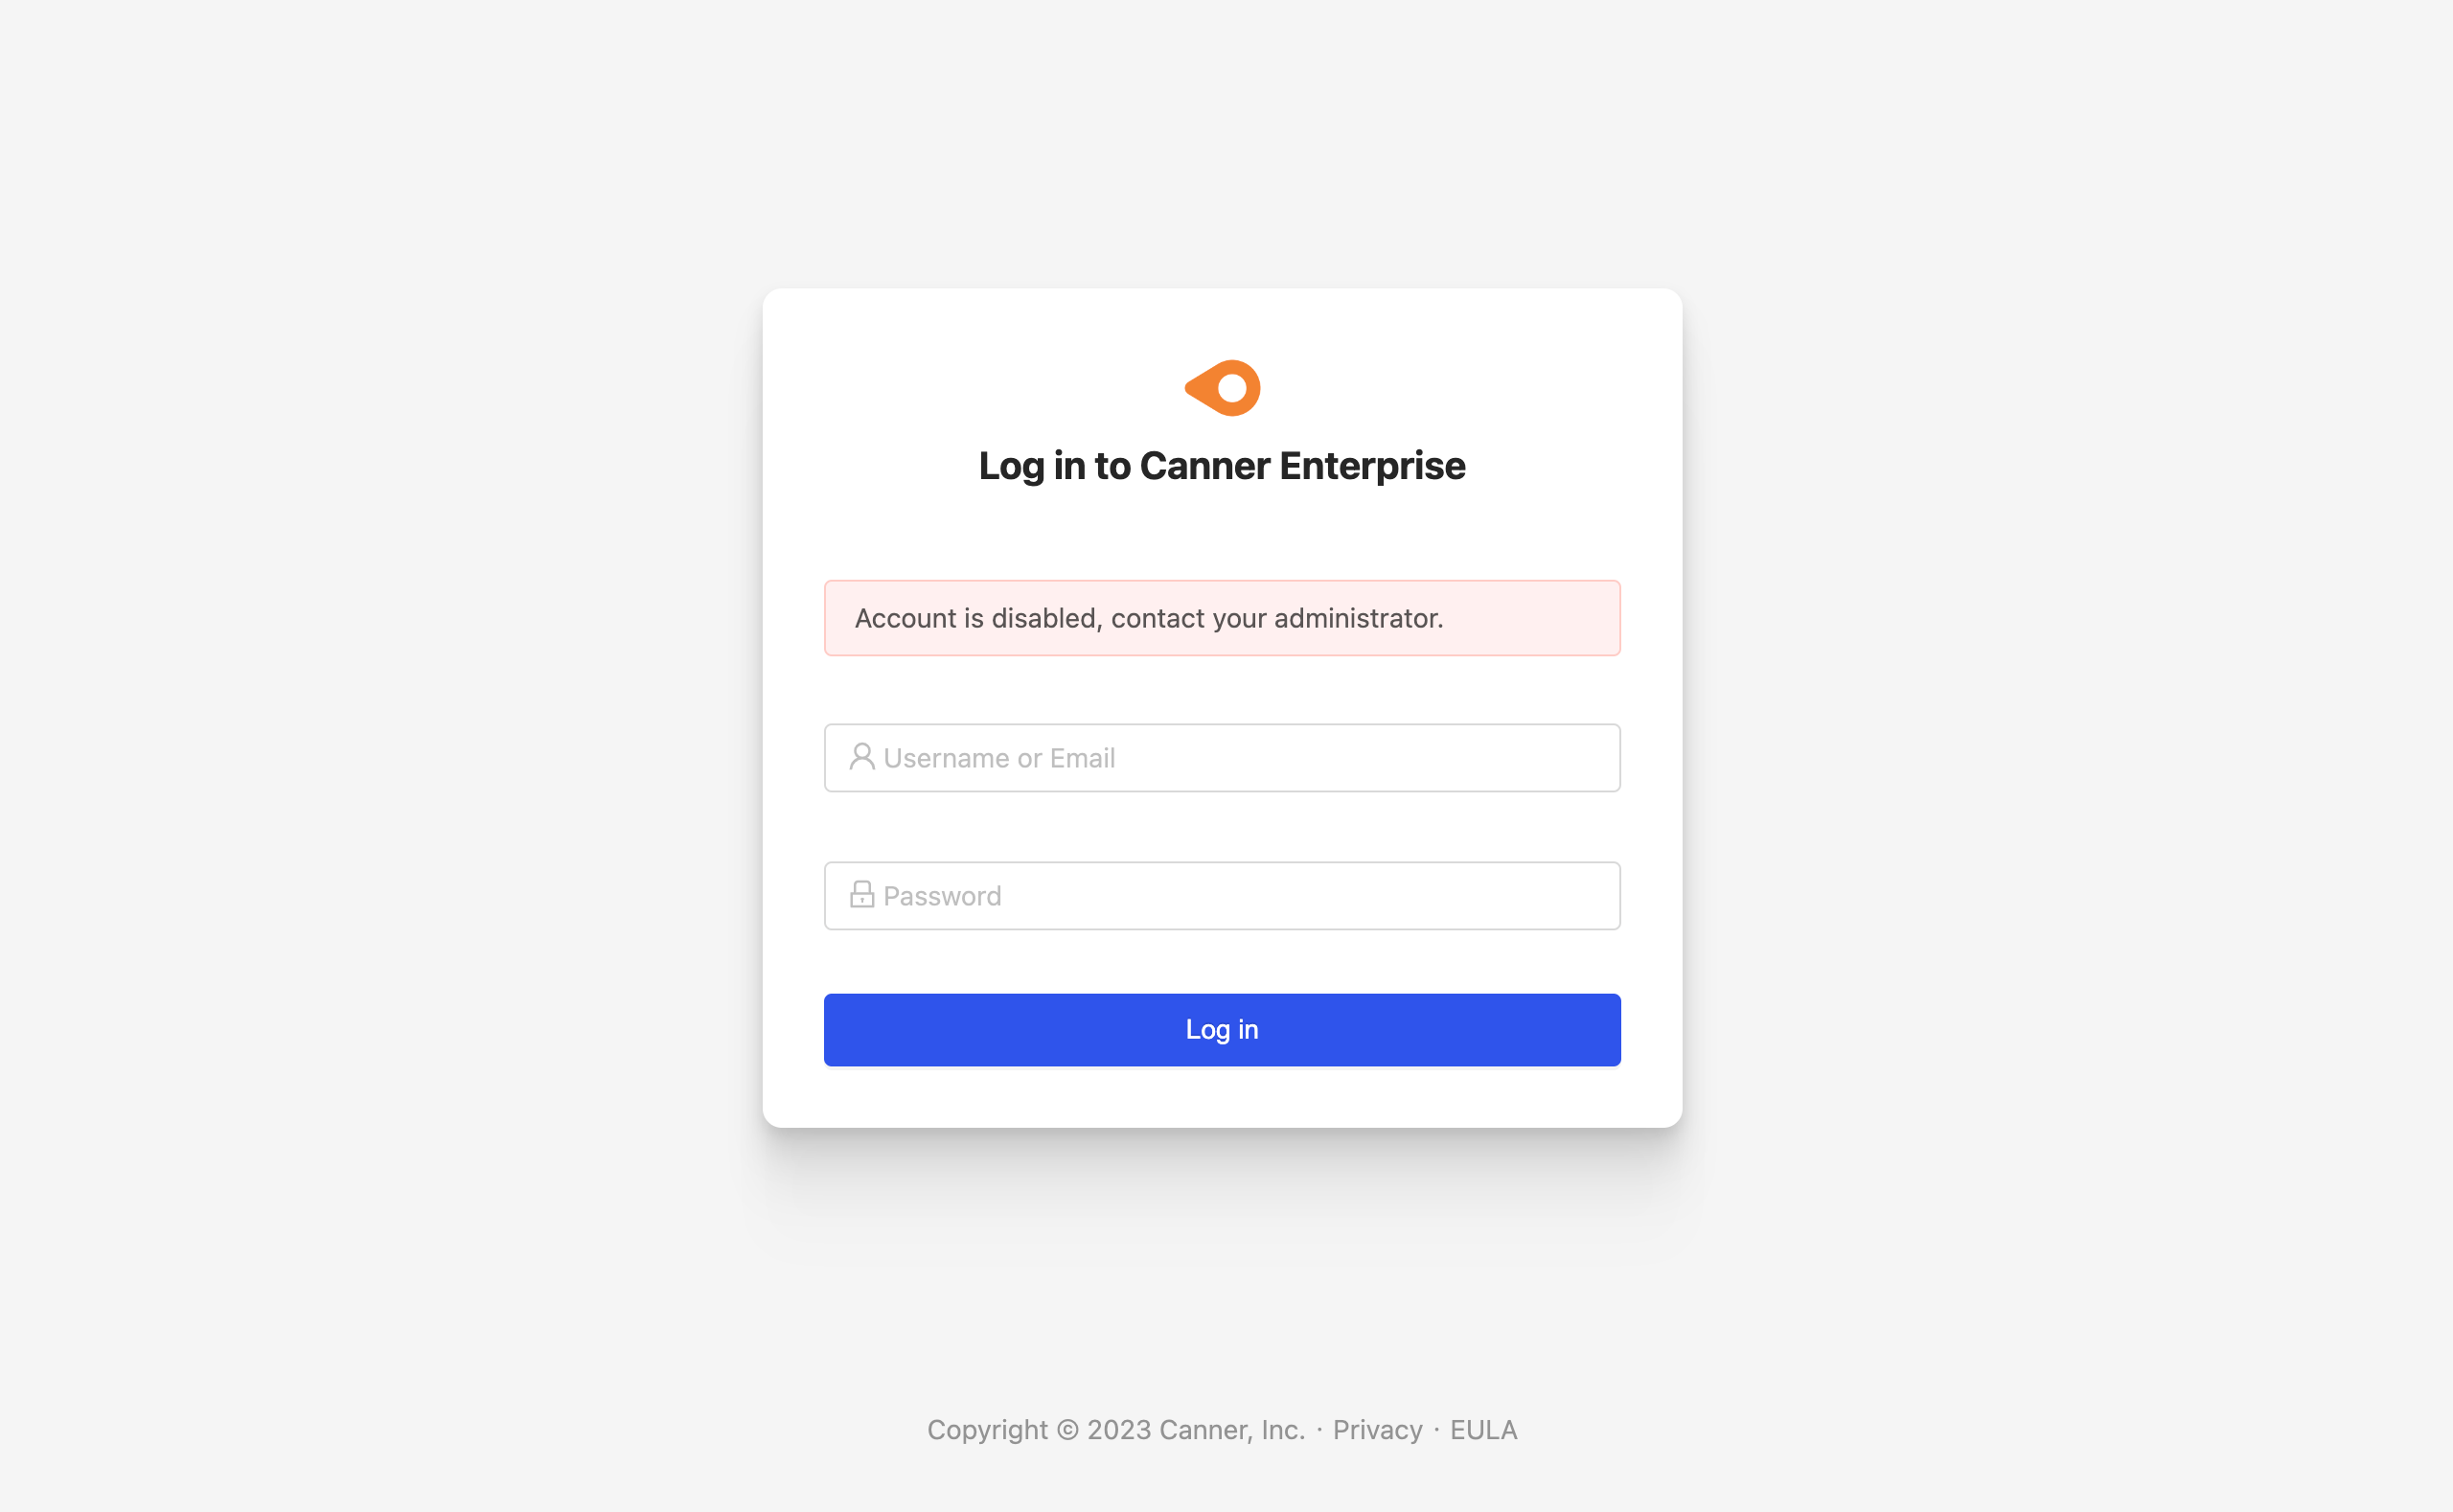
If the user tries to log in, they cannot, and see the following screen
Tip: To let the user log in again, do the same thing, switching the toggle back on (blue), then click
Submit.
How the Admin can reset a user's password
What if a user forgets their password?
Click Users in the navigation menu on the left, find the user's account, and click the corresponding Reset Password button. Then give the temporary password to the user.
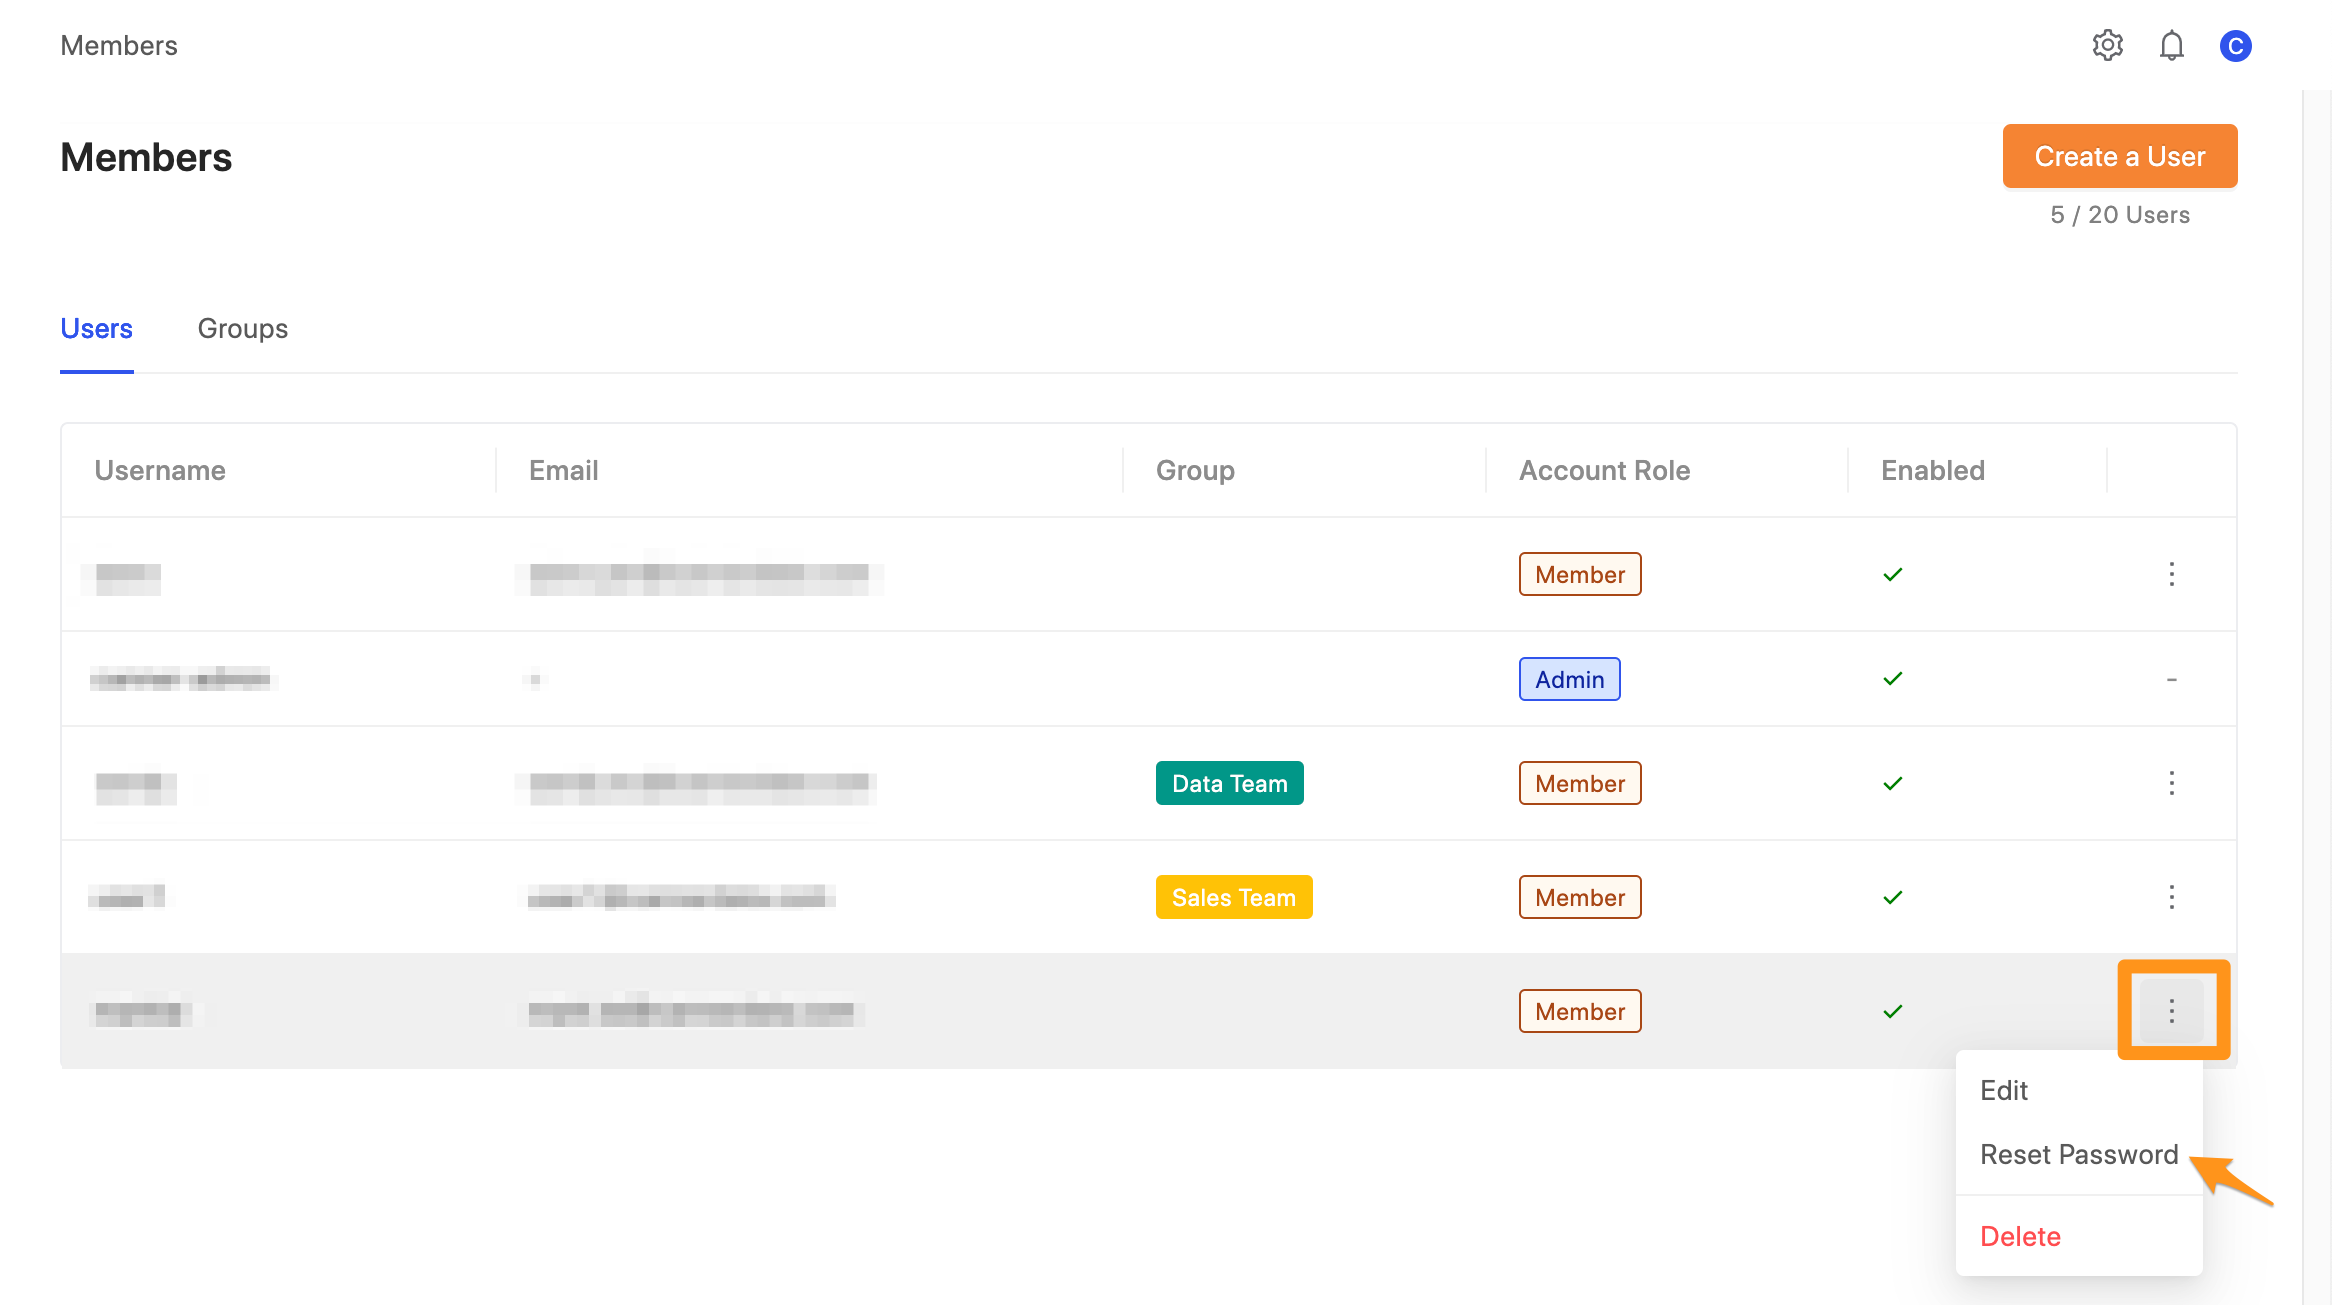
Temporary password
After the password is reset, the system automatically generates a temporary password for the user.
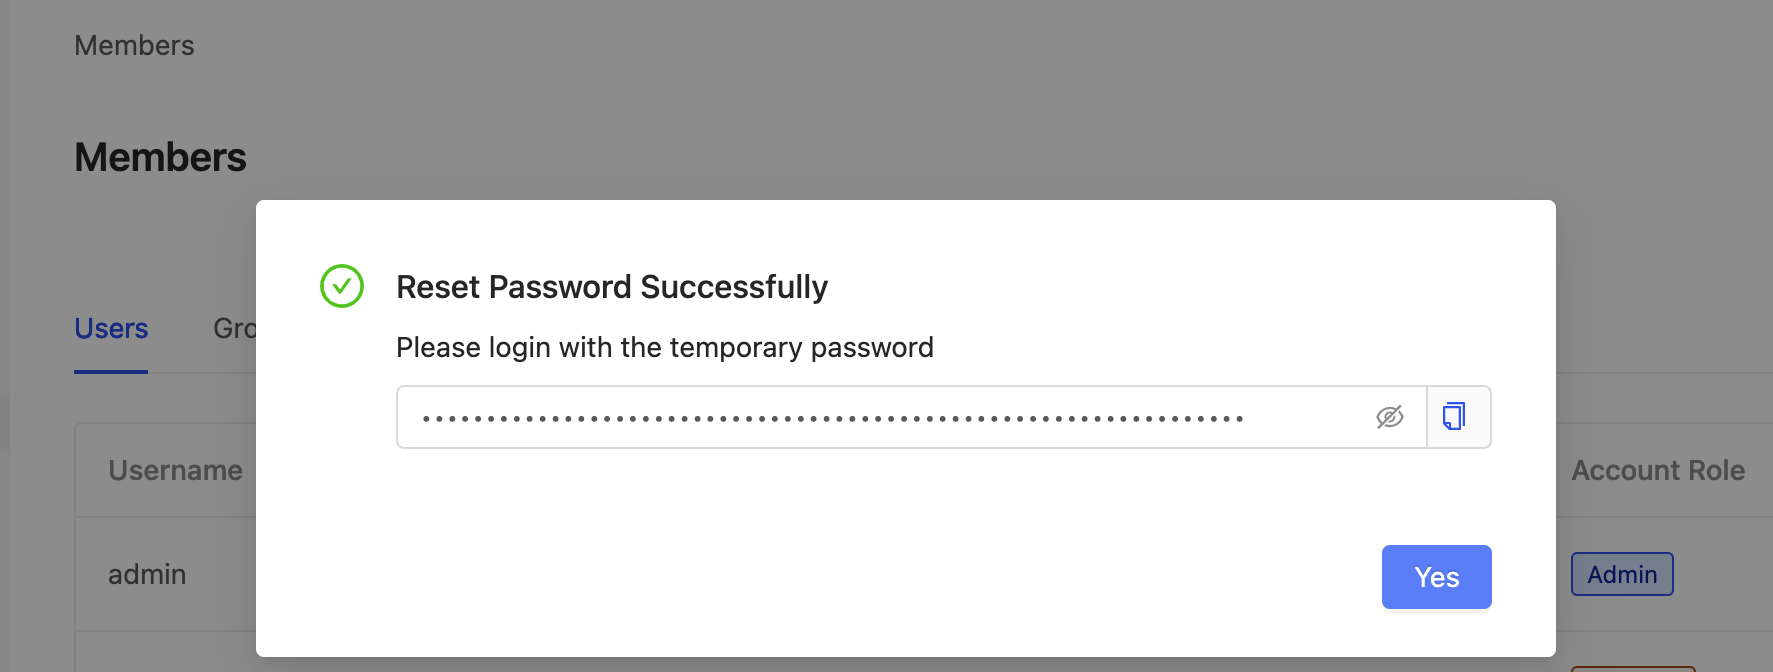
Tip: When the user logs in with the temporary password, they are asked to change their password before entering the system.