User
The user amount limitation is set at 2000, but you can request a custom amount.
Role permissions
| Admin | System Admin | Member | |
|---|---|---|---|
| User management (add and delete users and groups, set personnel roles) | ✅ | ✅ | ⛔ |
| Platform resource control (check user's traffic and usage records on the system) | ✅ | ✅ | ⛔ |
| System status | ✅ | ✅ | ⛔ |
| Billing Info | ✅ | ⛔ | ⛔ |
| UDF management (upload/set user-defined function) | ✅ | ✅ | ⛔ |
| Data Source | ✅ | ⛔ (Authorized by Admin) | ⛔ (Authorized by Admin) |
| Workspace | ✅ | ⛔ (Authorized by Admin) | ⛔ (Authorized by Admin) |
| Basic Settings Page | ✅ | ✅ | ✅ |
| Delete Credentials | ✅ | ⛔ | ⛔ |
Admin has the highest authority and can make all changes on the system. Admin can add and delete users, add data sources, and create a new workspace.
How to set role permissions
Step 1: Enter the Members page
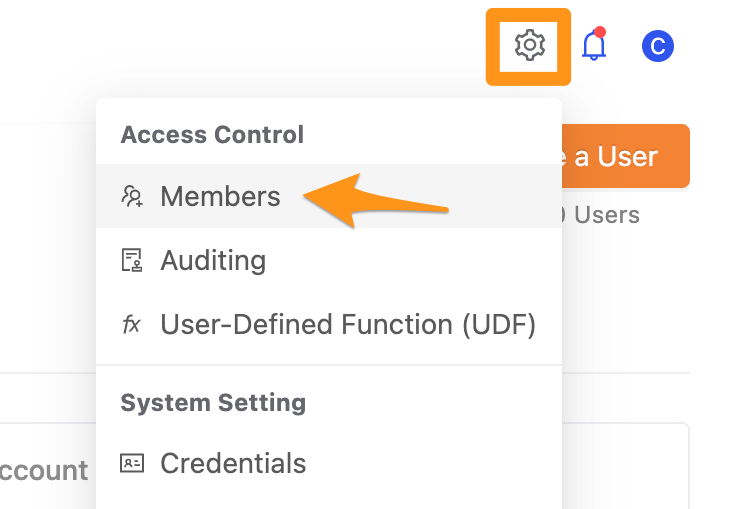
Click the gear icon in the upper right corner and select the Members page.
Step 2: Create users and permissions
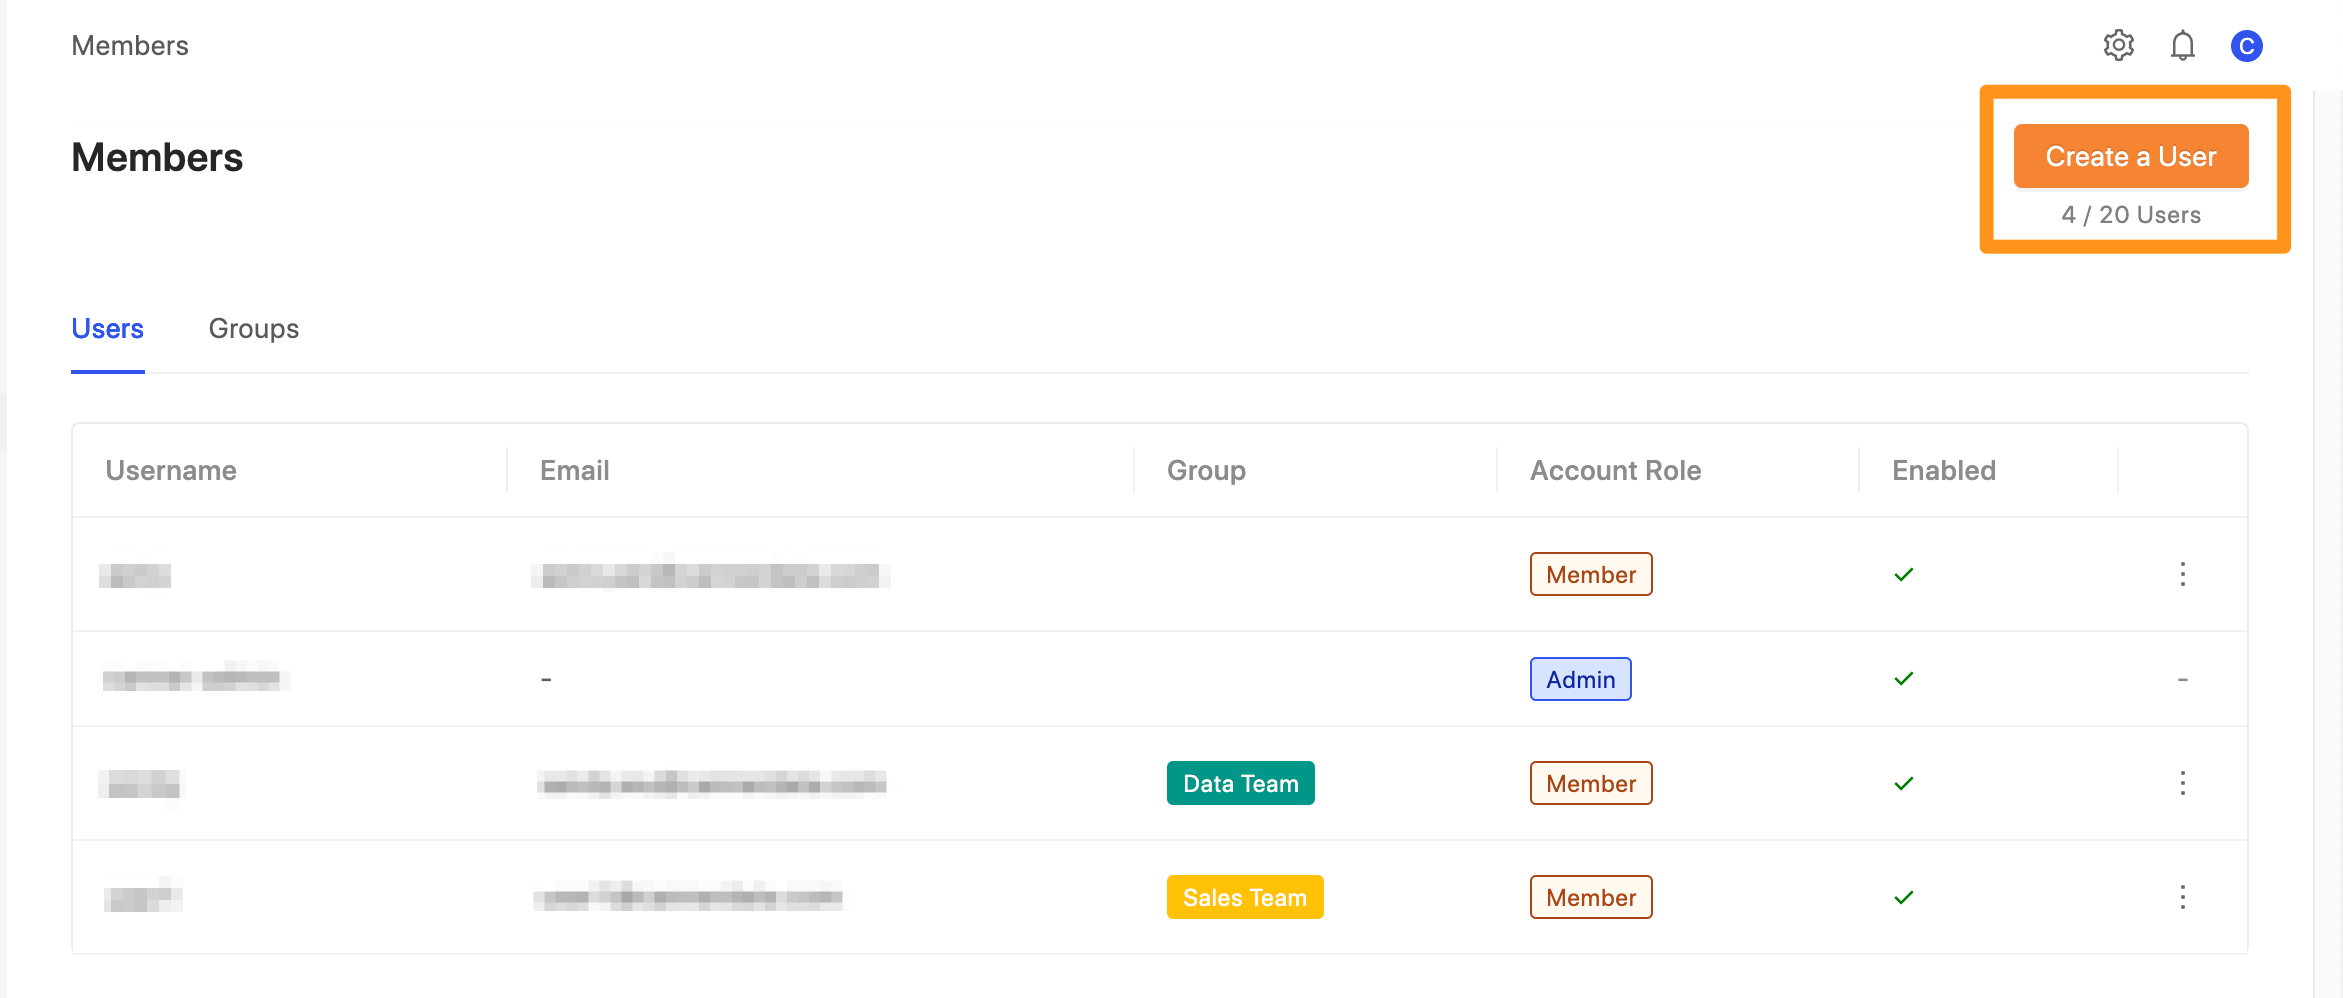
After entering the Members page, click the Create a User button in the upper right corner.
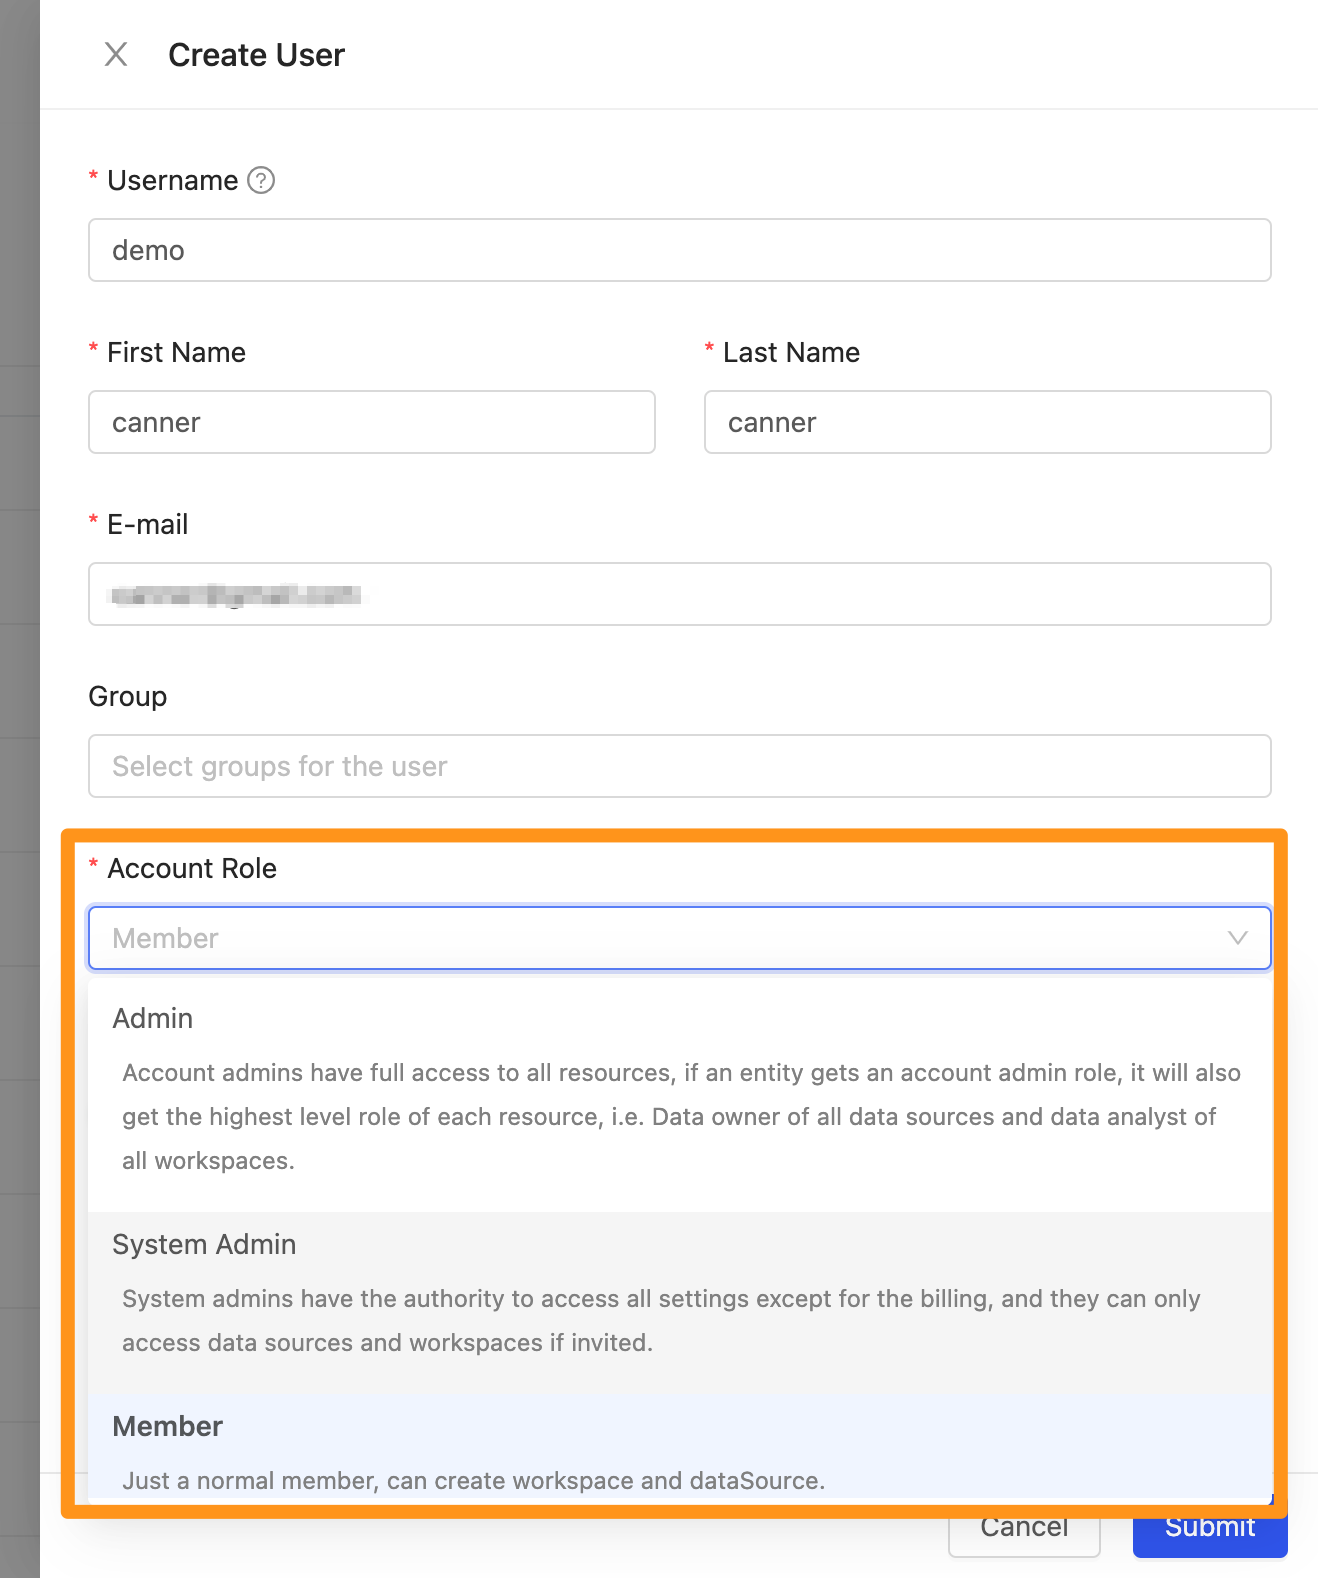
Click Account Role in the drop-down menu to set the user as an admin, system admin, or member permission role.
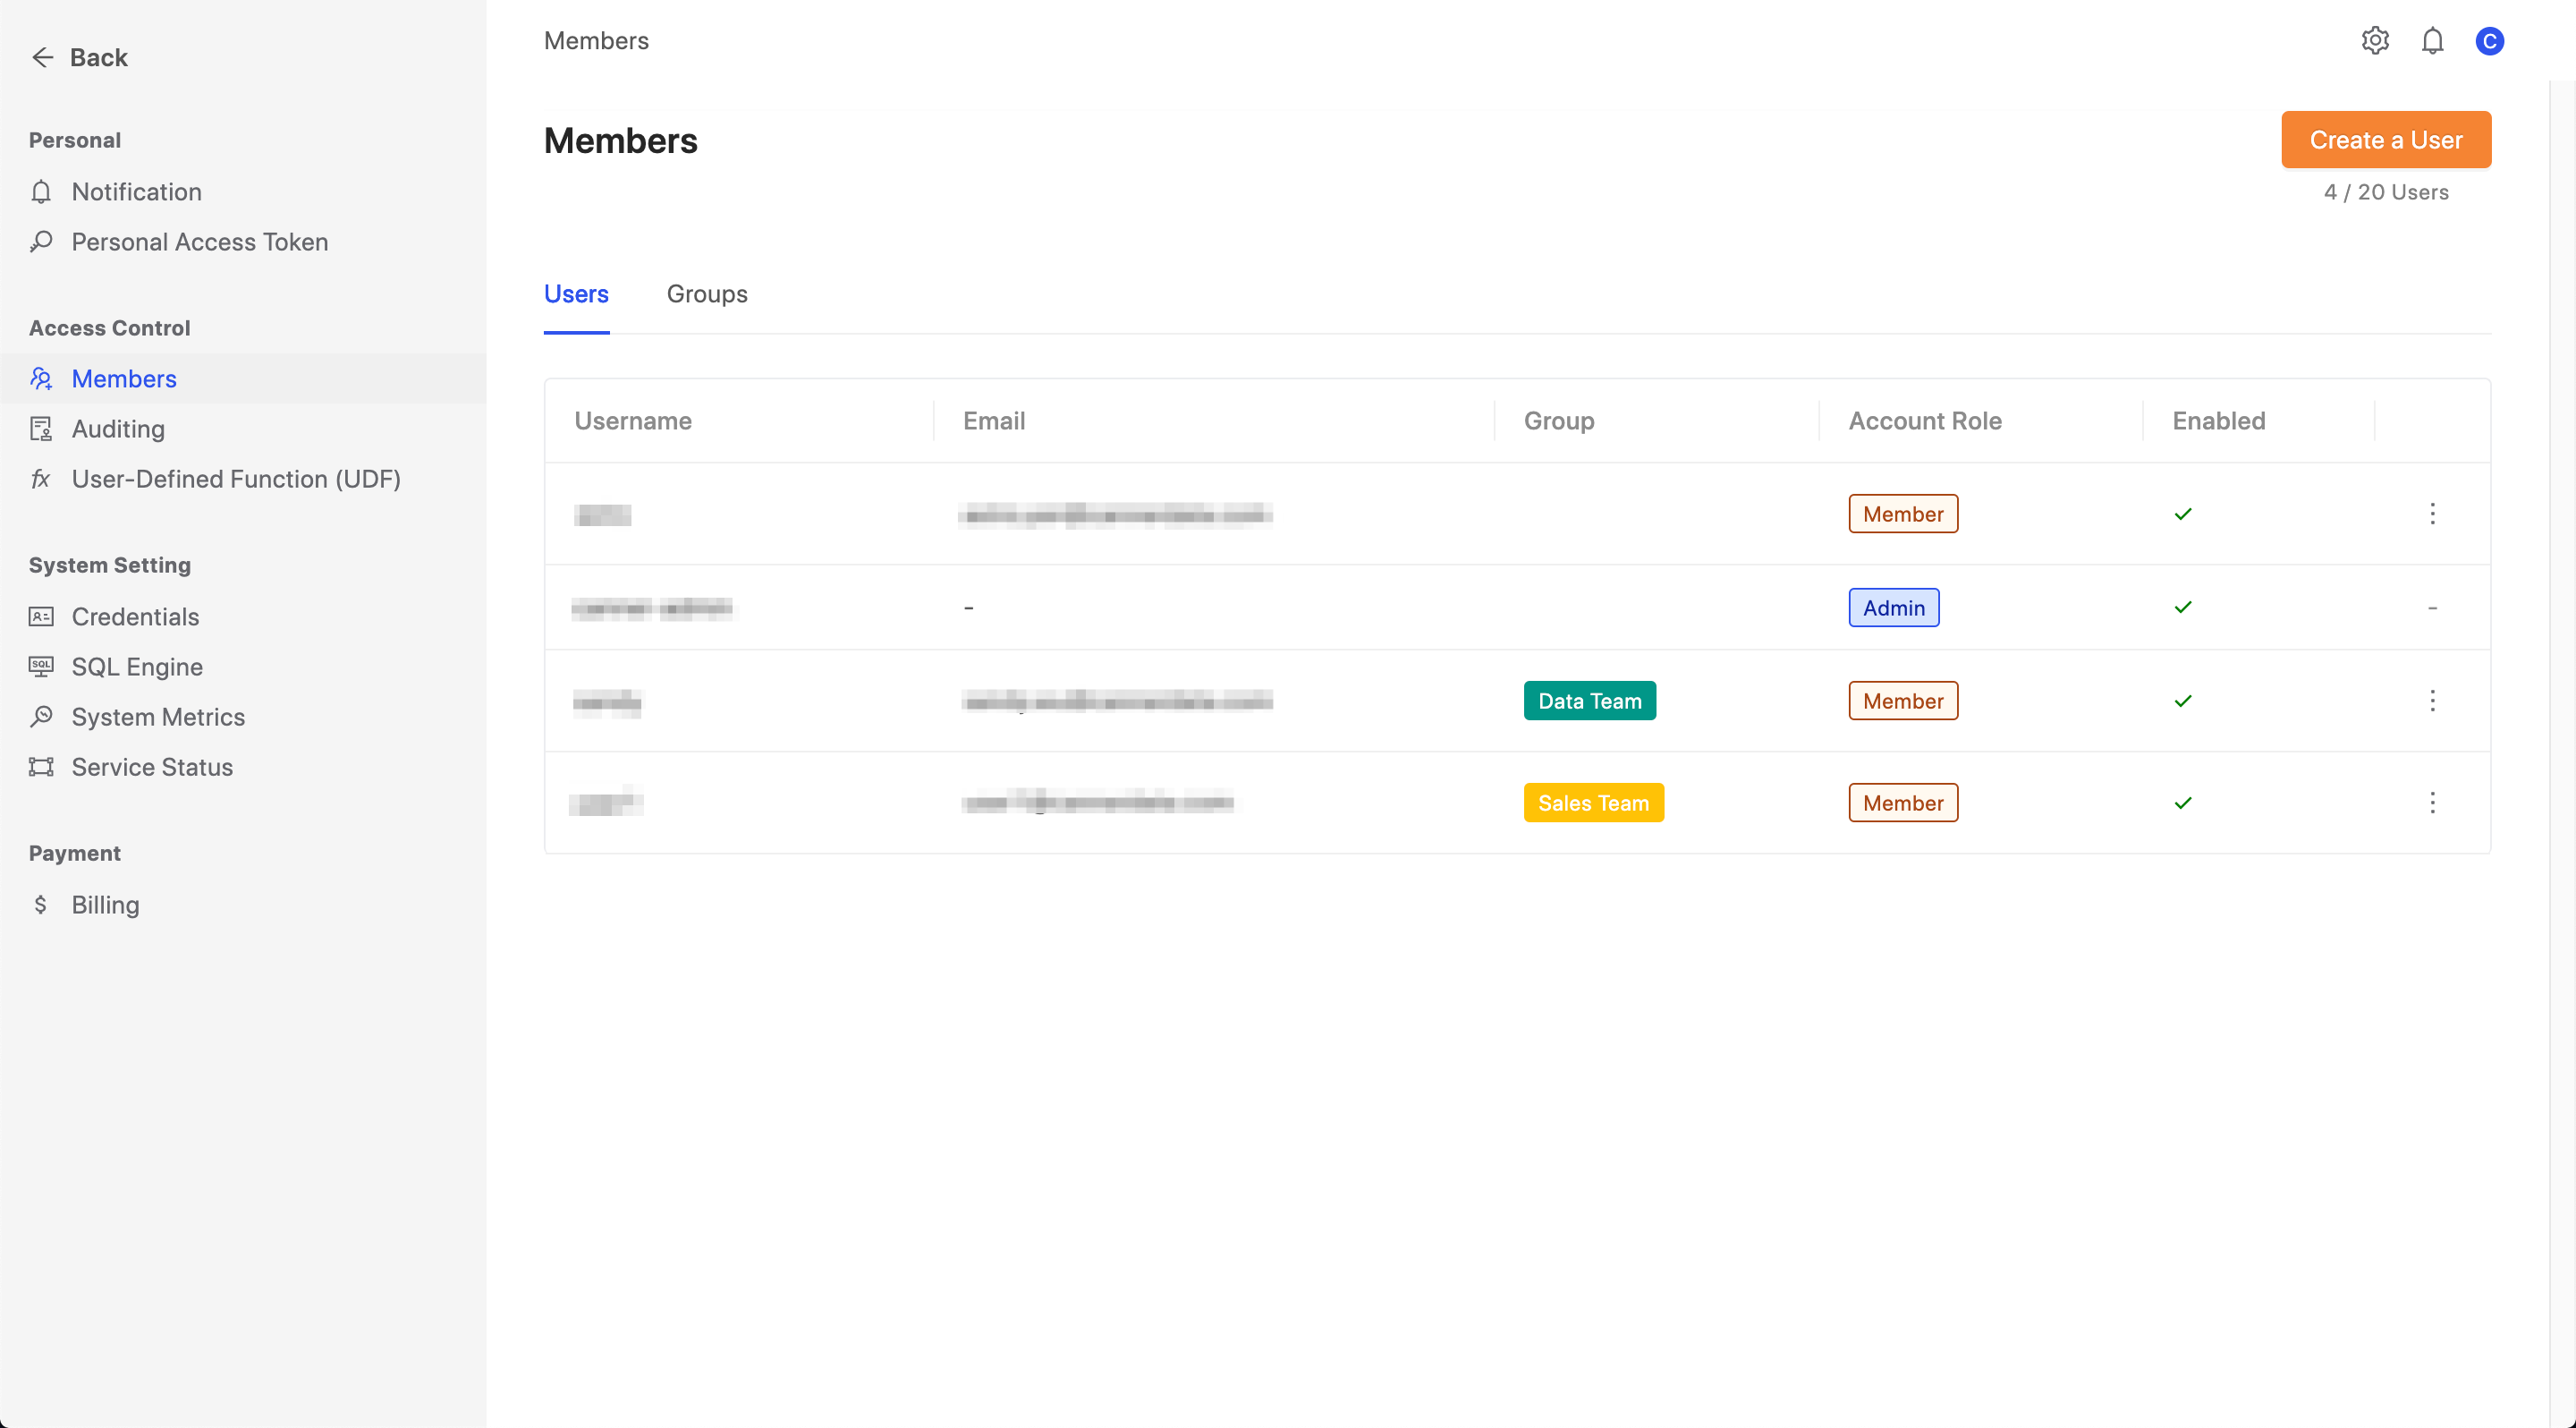
After entering the user page, you can edit the user information in the system; you can set the user as admin or assign the user to the right group.
Step 3: Grant Data Sources creation permission
Once checked, users will be able to create Data Sources.
Step 4: Grant Workspace creation permission
Once checked, users will be able to create Workspaces.
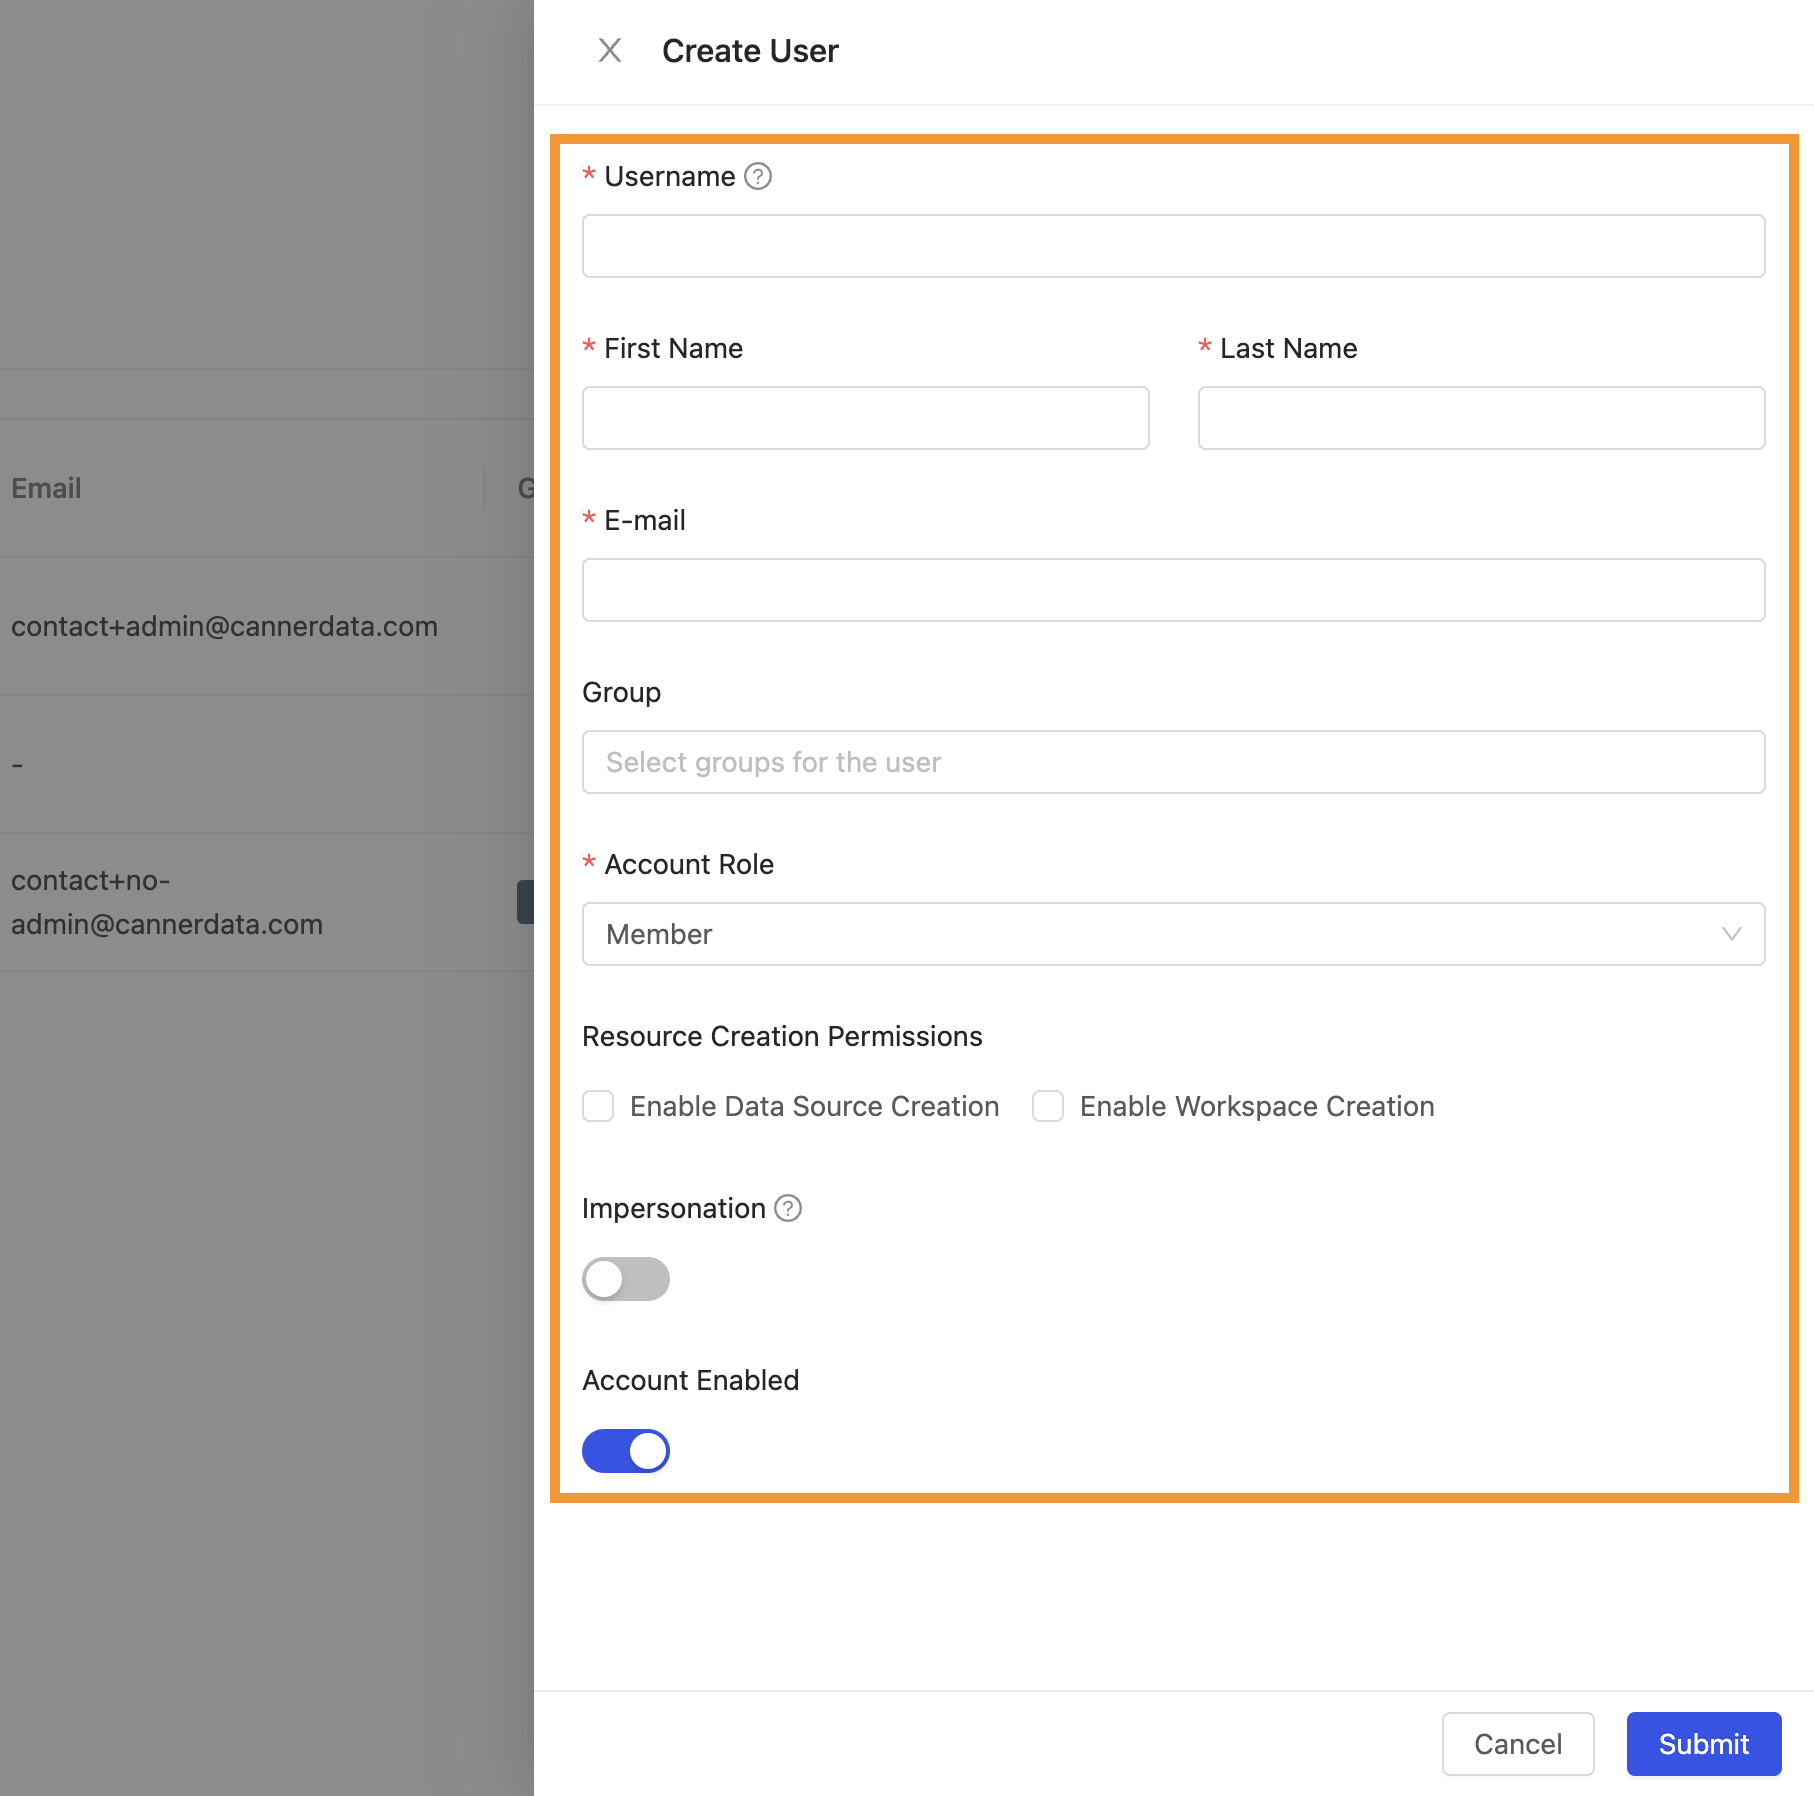
How to add a new user?
Click the gear icon in the upper right corner and select the Members page.

Then click the Create a User button.

Enter the information required in the form, and finally click the Submit button to add successfully.
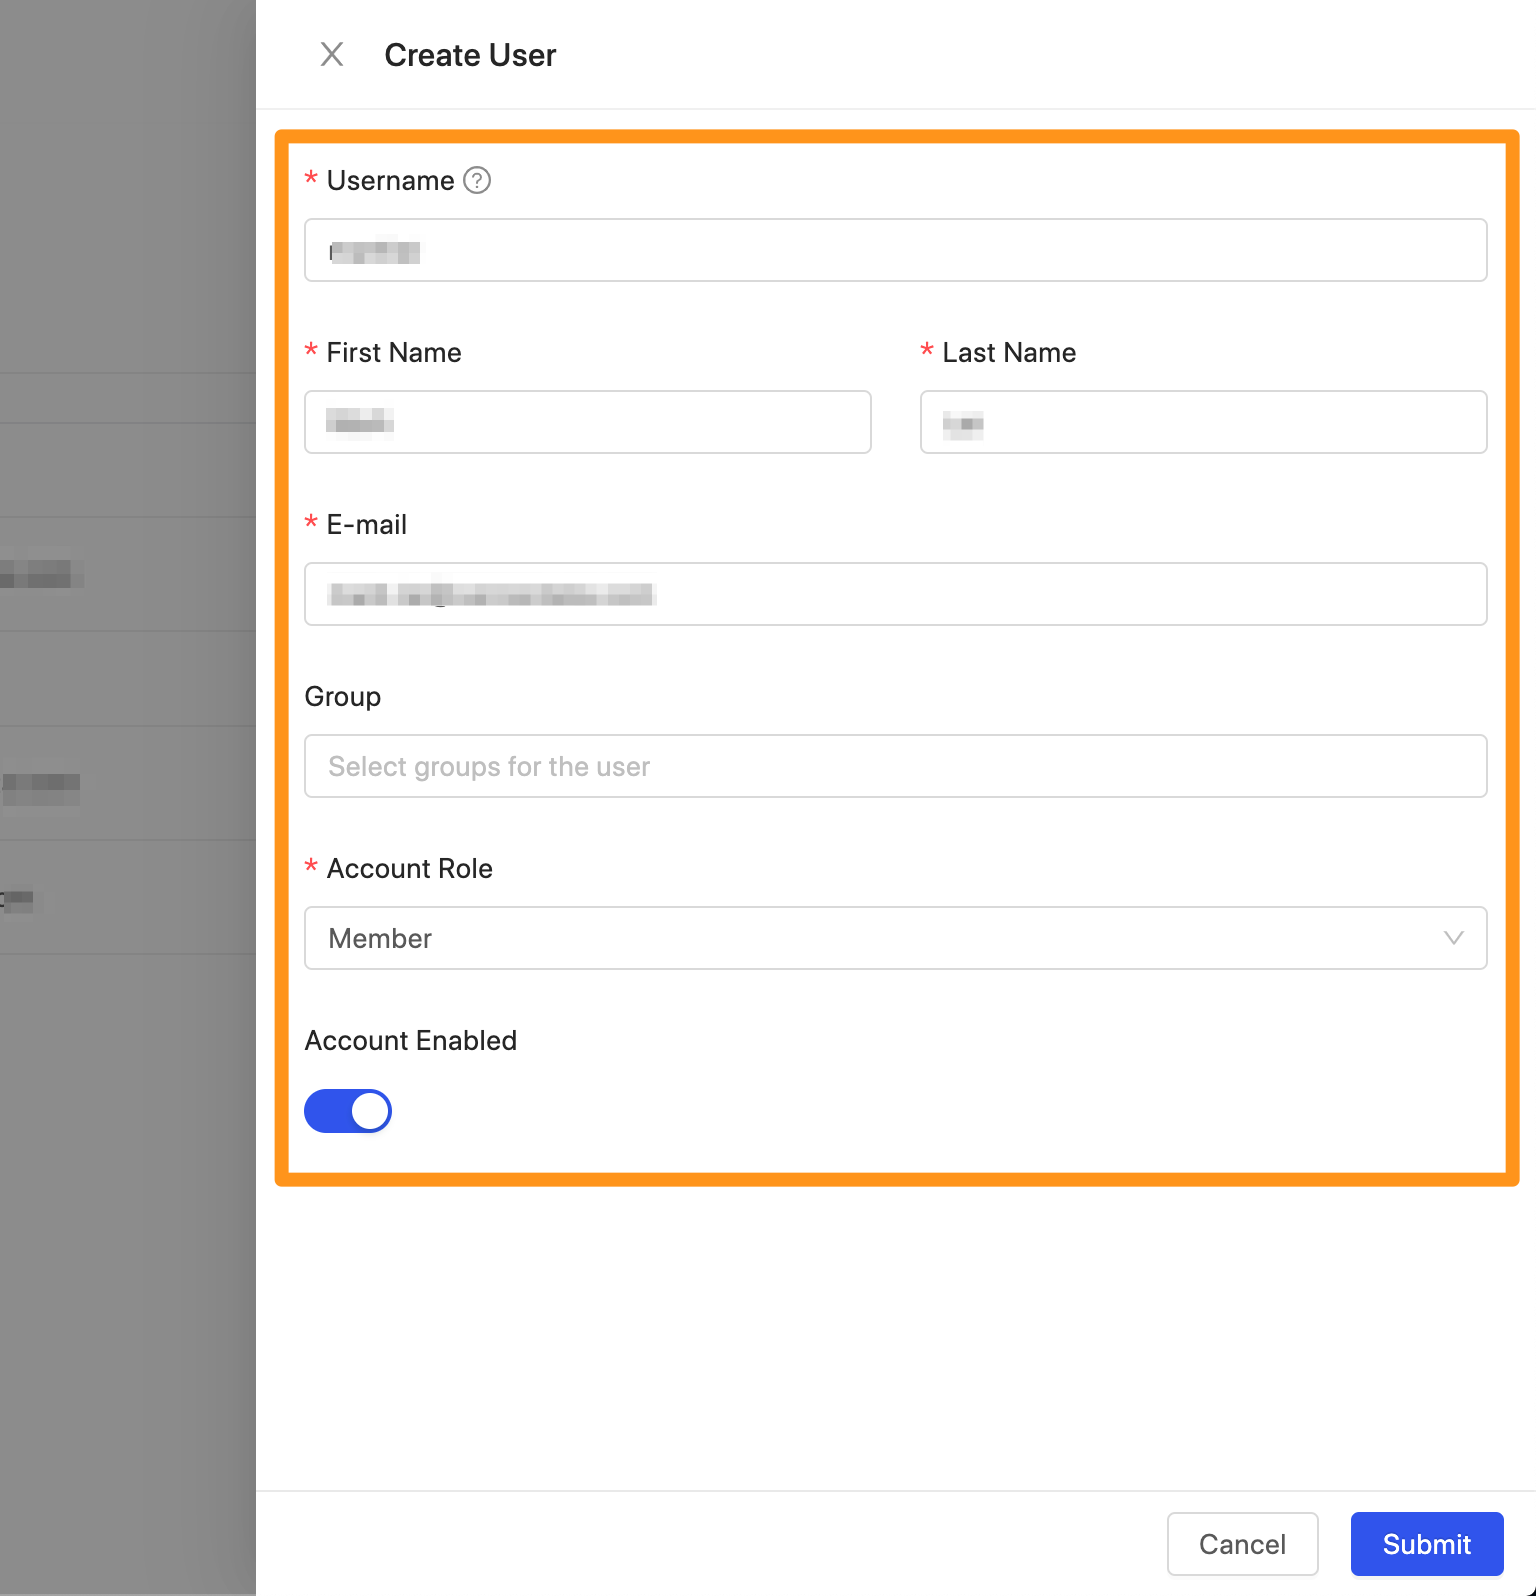
Tips:
- When filling out the new user form, the Username field is required to use lowercase English letters (a-z), which match with numbers (0-9), dotted lines (-), plus signs (+), and underscores (_), The system will automatically generate a random number symbol for the first-time login user.
- When filling out the new user form, please assign the role directly. If you need to add or delete roles later, you can make adjustments through editing.
How to disable user login?
Regarding management, how do you do it for users who need to join Canner Enterprise to collaborate, delete users, or even encounter situations where you need to ban users from logging in temporarily?
Find the user you want to ban, click the ... button, and select the Edit option.

Click on the Account Enabled column at the bottom of the form to turn it to gray, and finally, click the Submit button to update the user's access rights so that the user cannot log in temporarily.
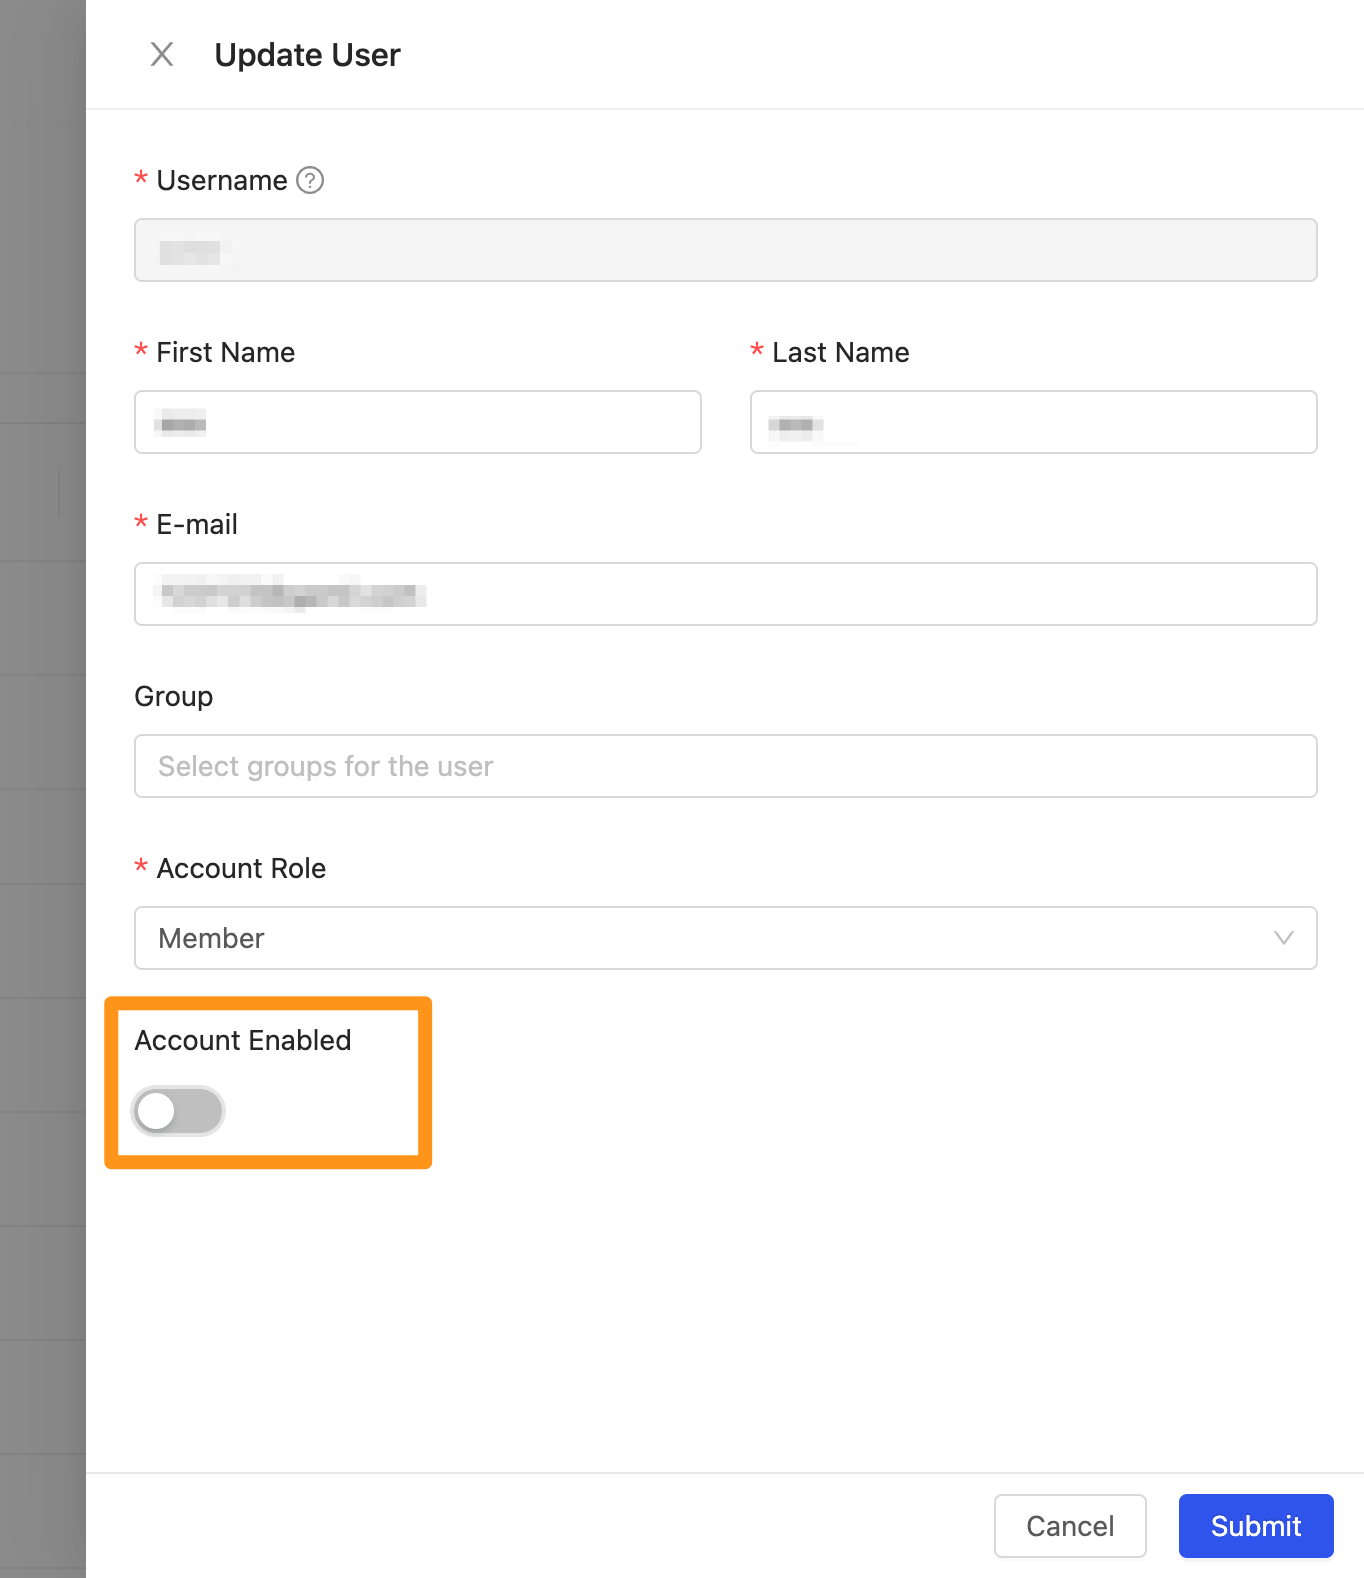
In the Enabled field, it is shown as "cross" when banned.

If the user logs in, he cannot log in, and the following screen appears.
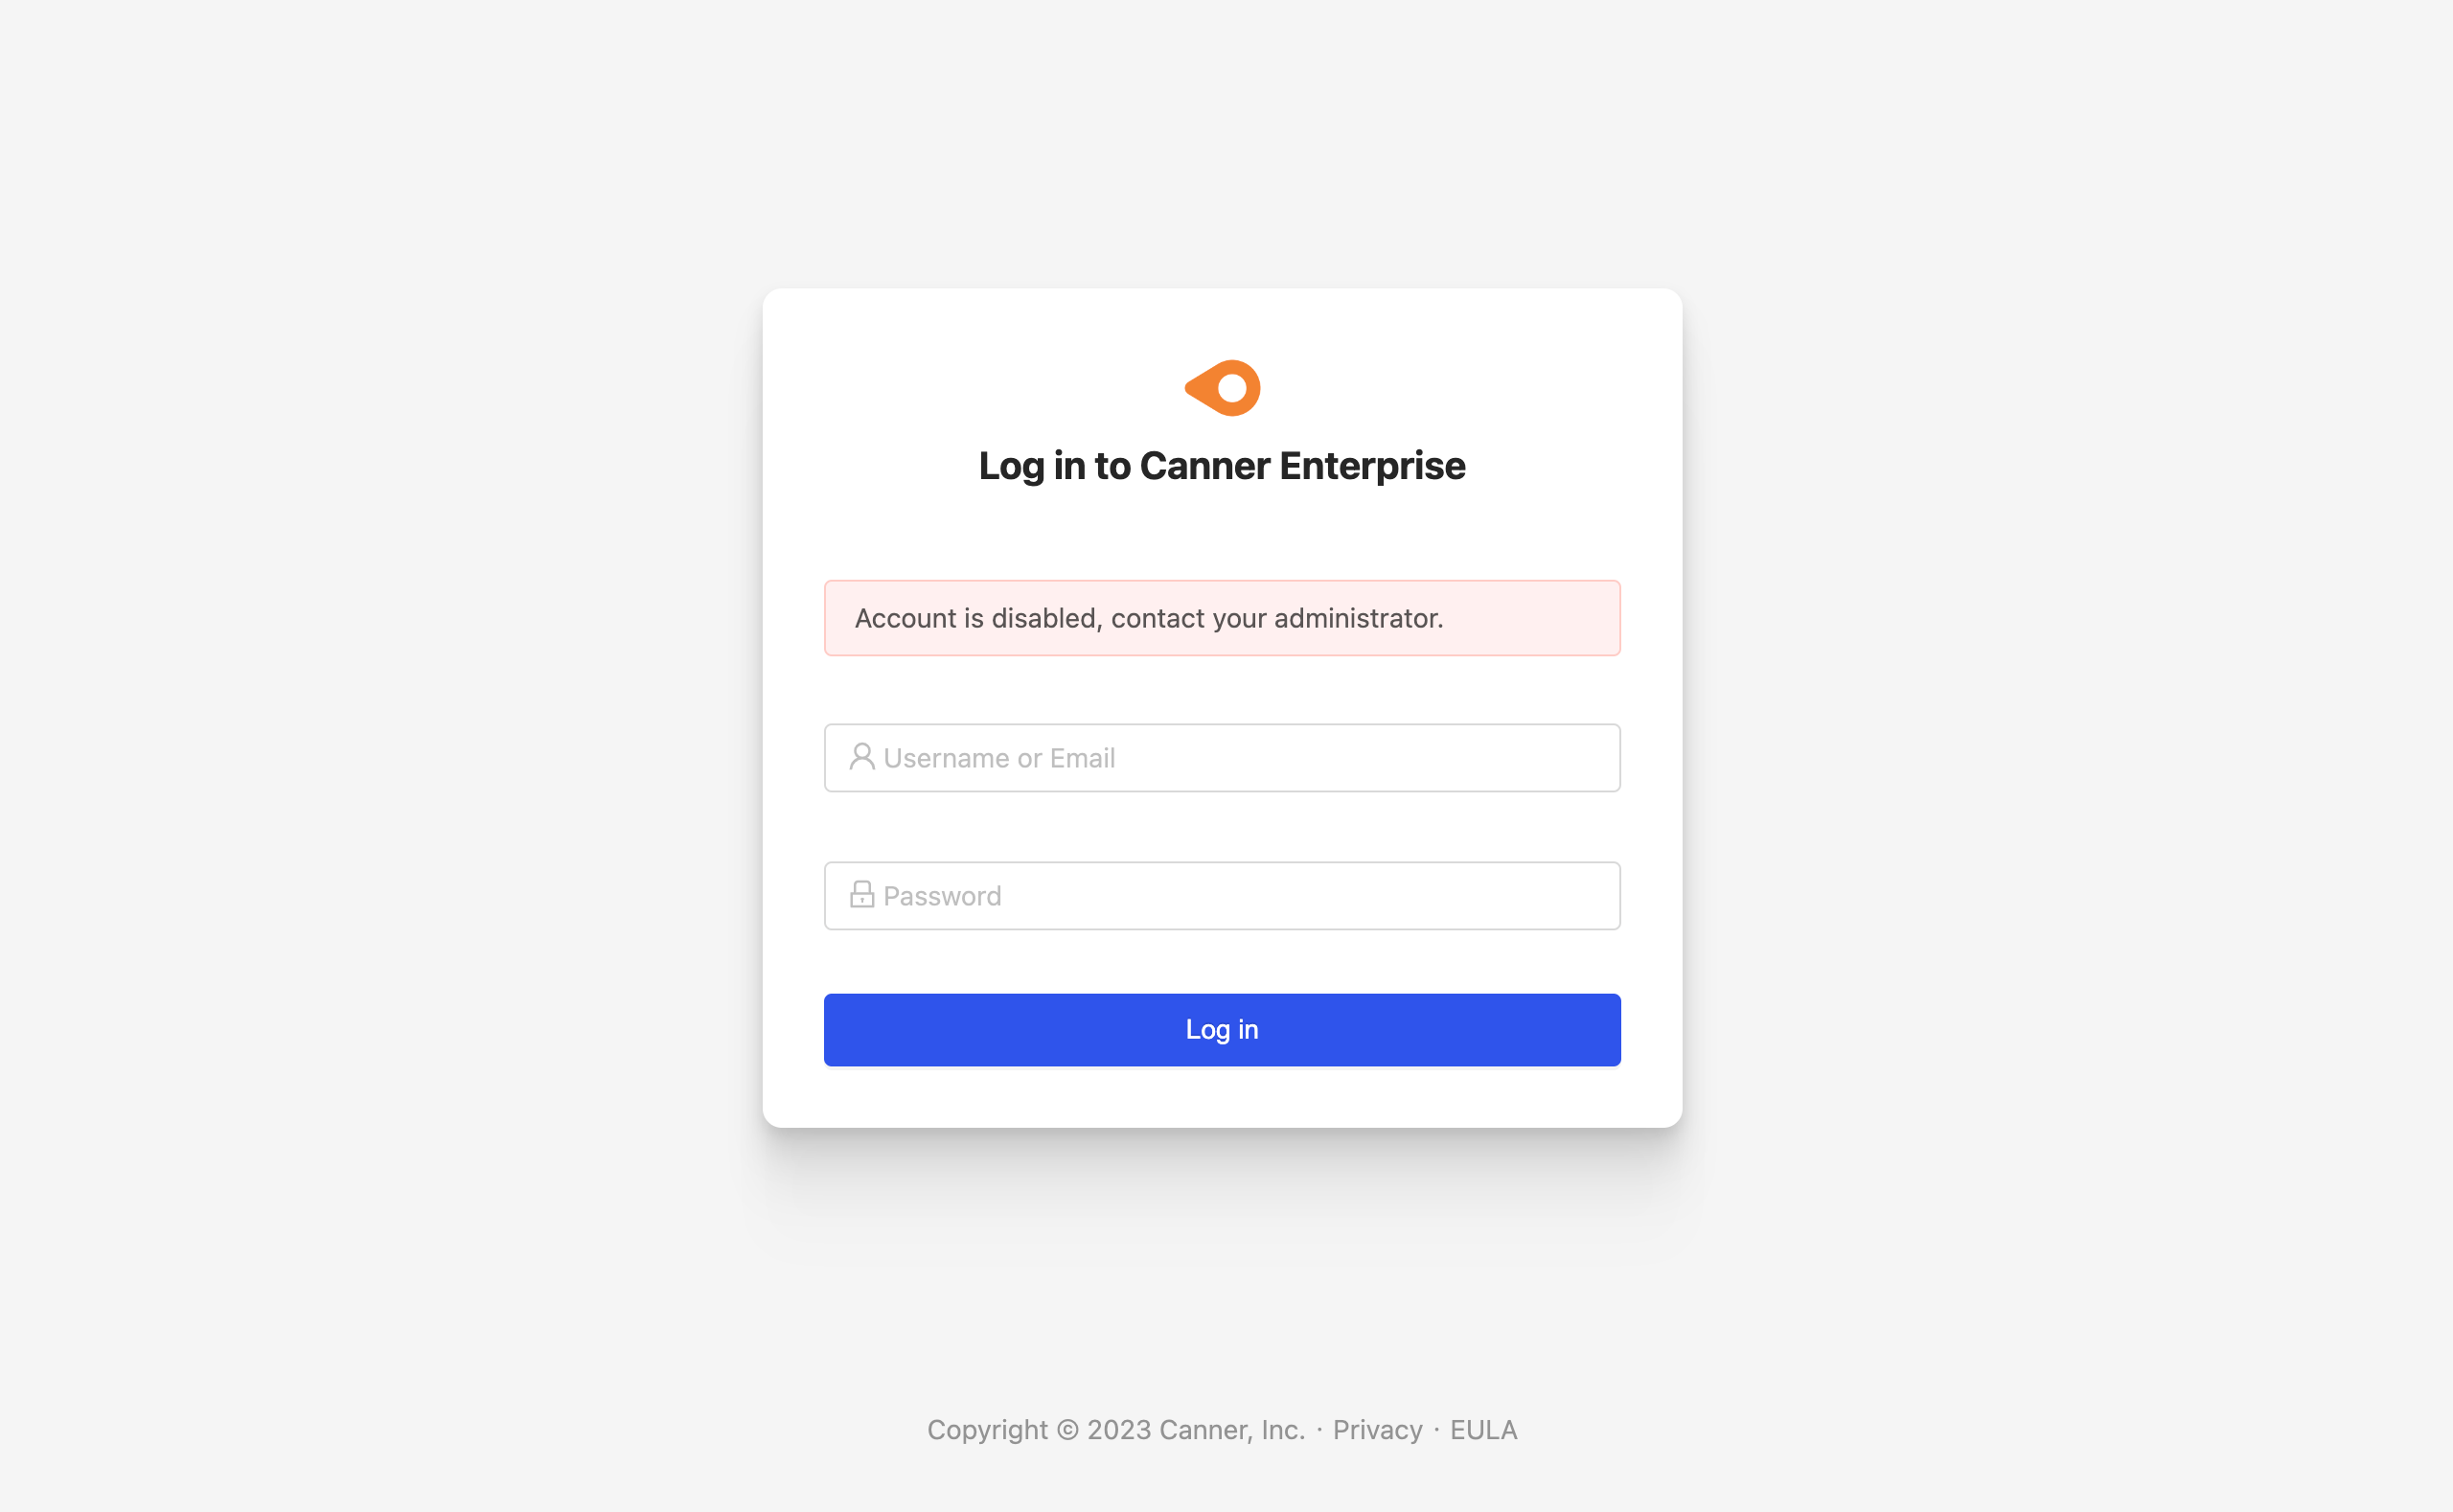
Reminder: The way to restore users to log in is the same as above; switch to blue and click the
Submitbutton.
How can admin help users reset their passwords?
What should I do if the user needs to reset the login password?
First, click Users in the navigation menu on the left side of the page, find the user account, click the corresponding Reset Password button to reset the password, and then inform the user's temporary password to complete.
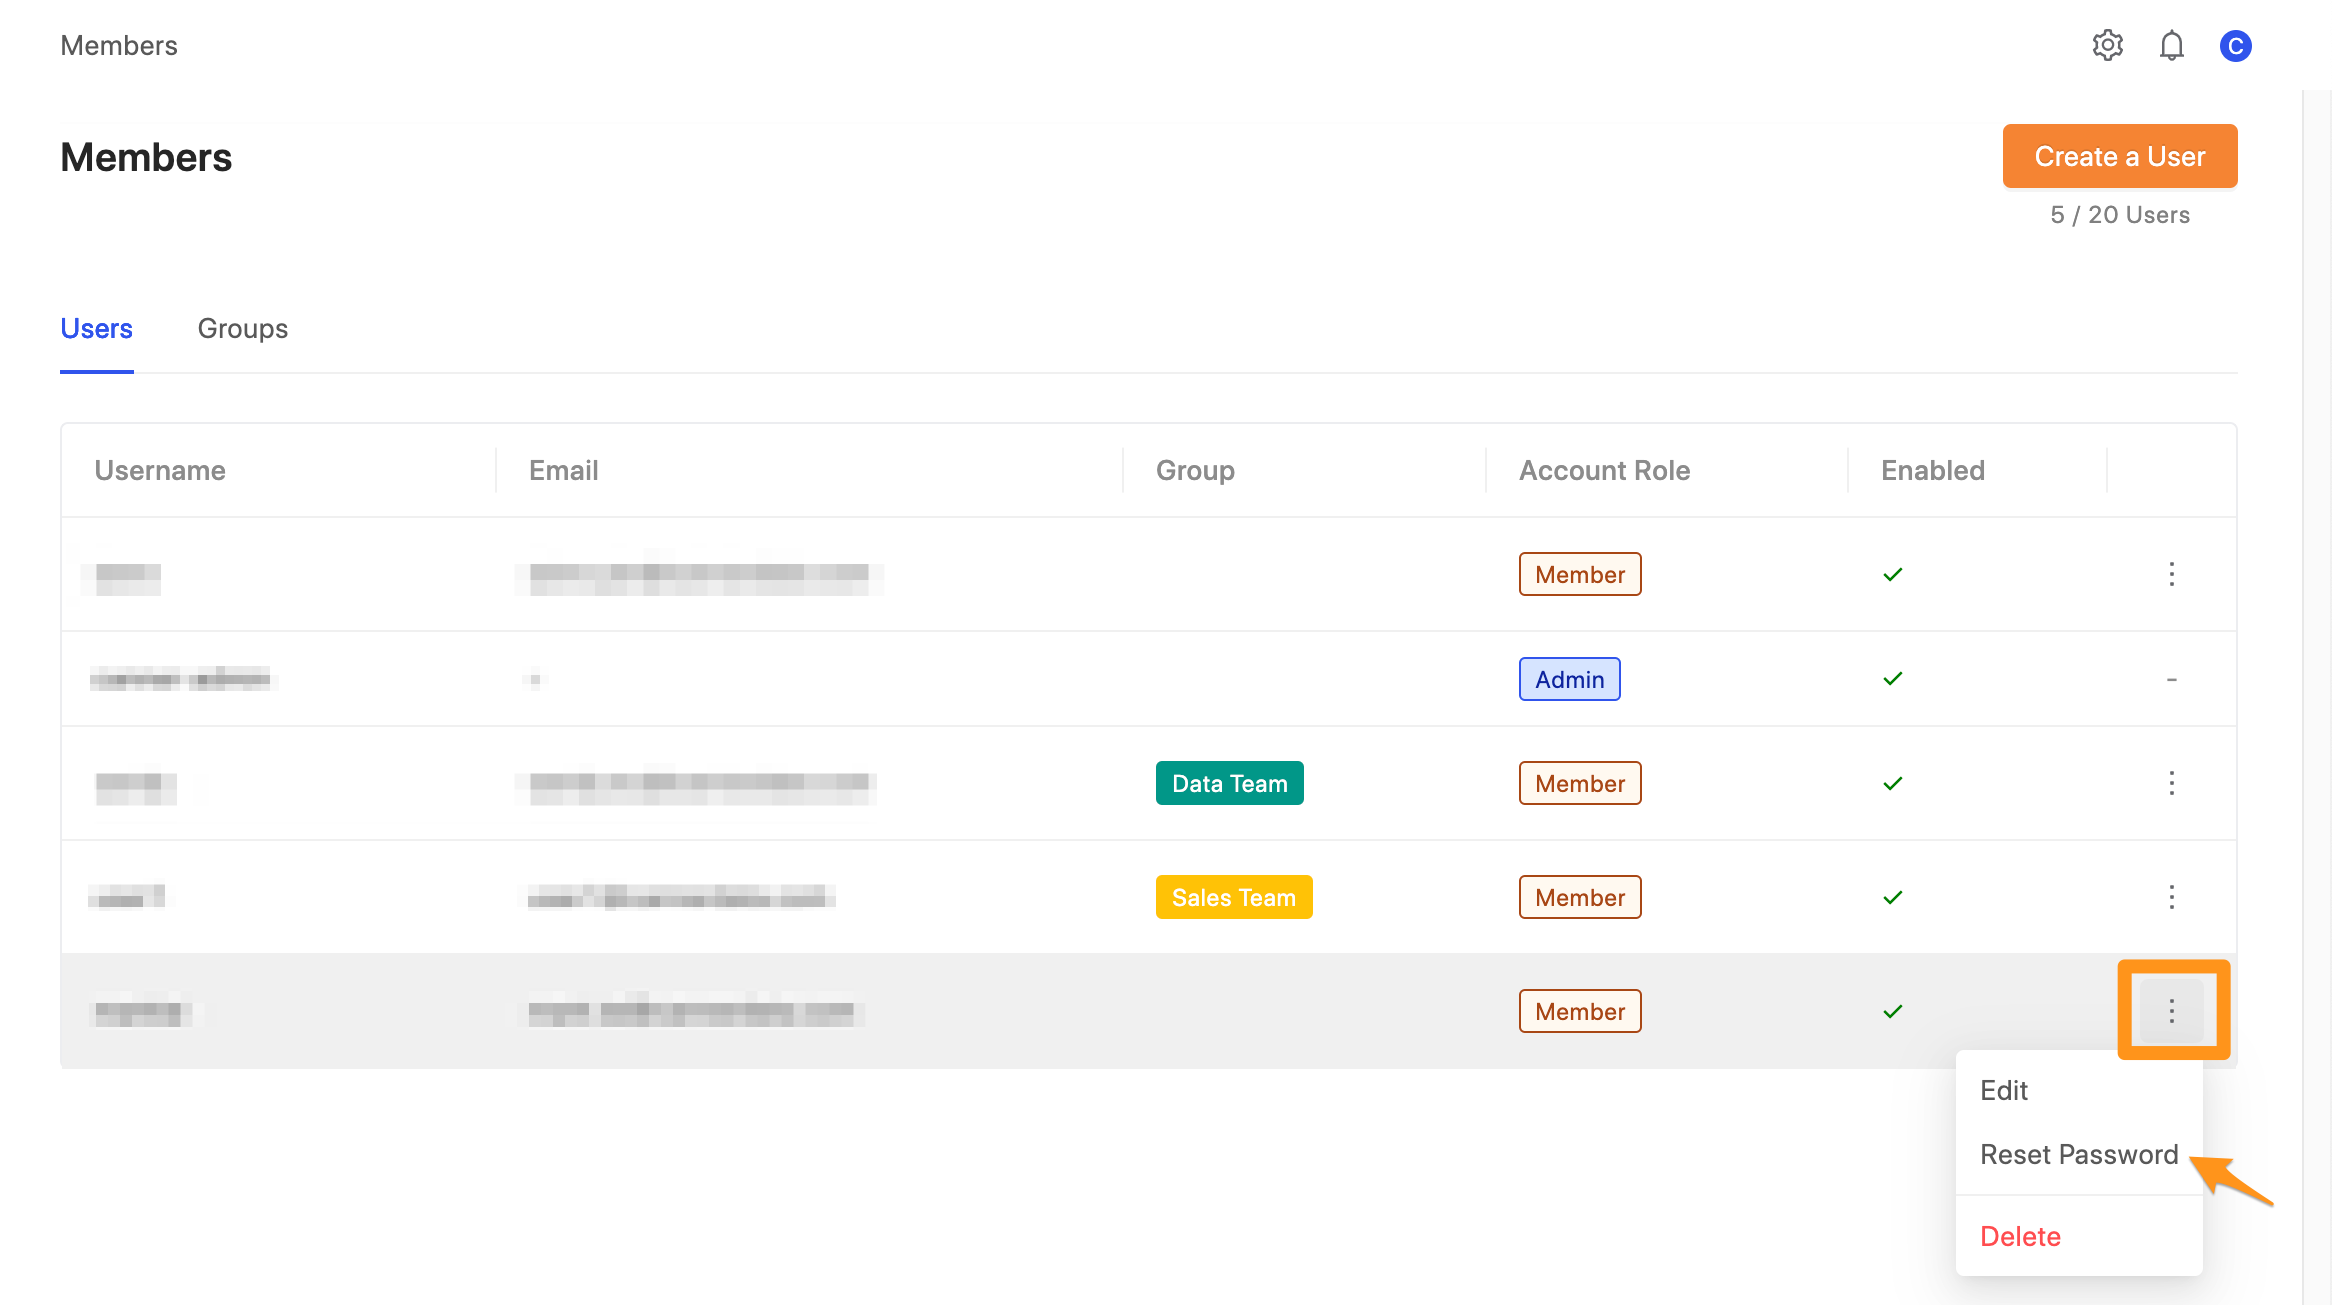
Generate a temporary password
After resetting the password, the system automatically generates a temporary password for the user.
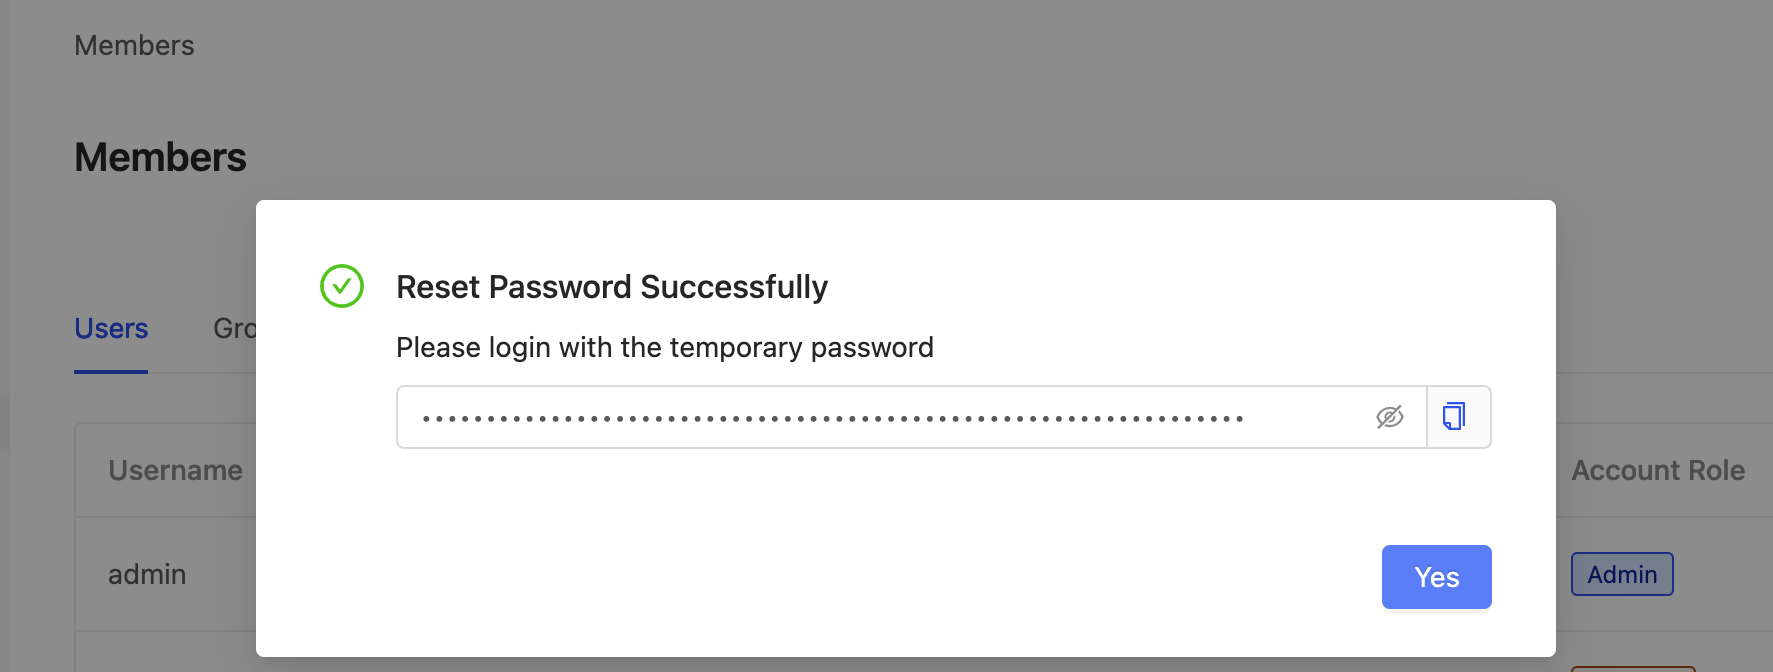
Reminder: When users log in with a temporary password, they must change it before logging in to the system.