Qlik Analytics Services
In this article, you can learn how to get data from Qlik Analytics Services to Canner Enterprise.
Set Canner Enterprise as the Qlik Analytics Services data source
Step 1: Set the data source
After entering the Qlik page:
Click the Add new button in the upper right corner.
Expand the menu.
Select the Dataset option.
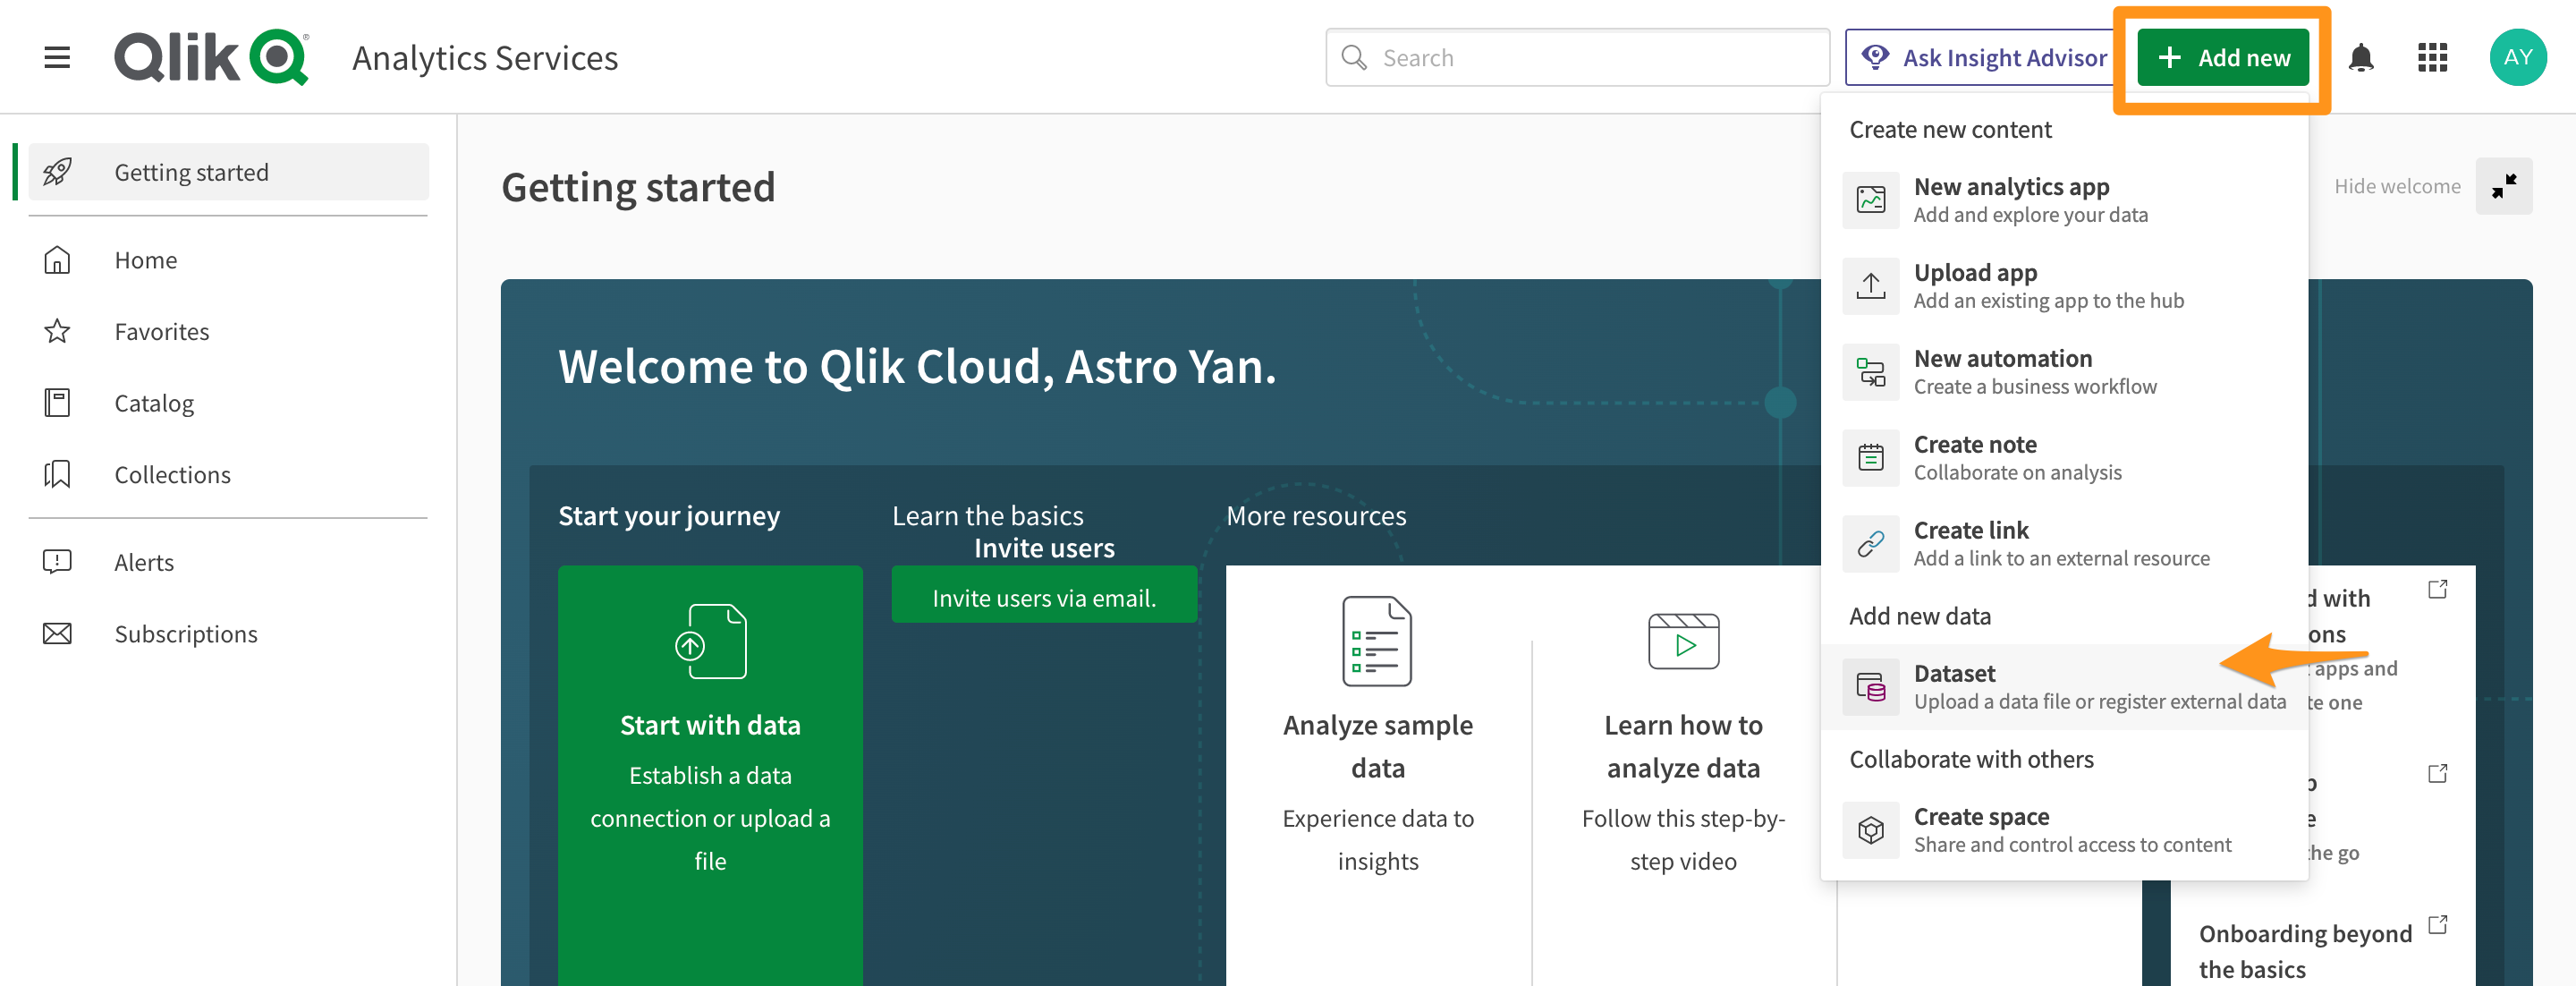
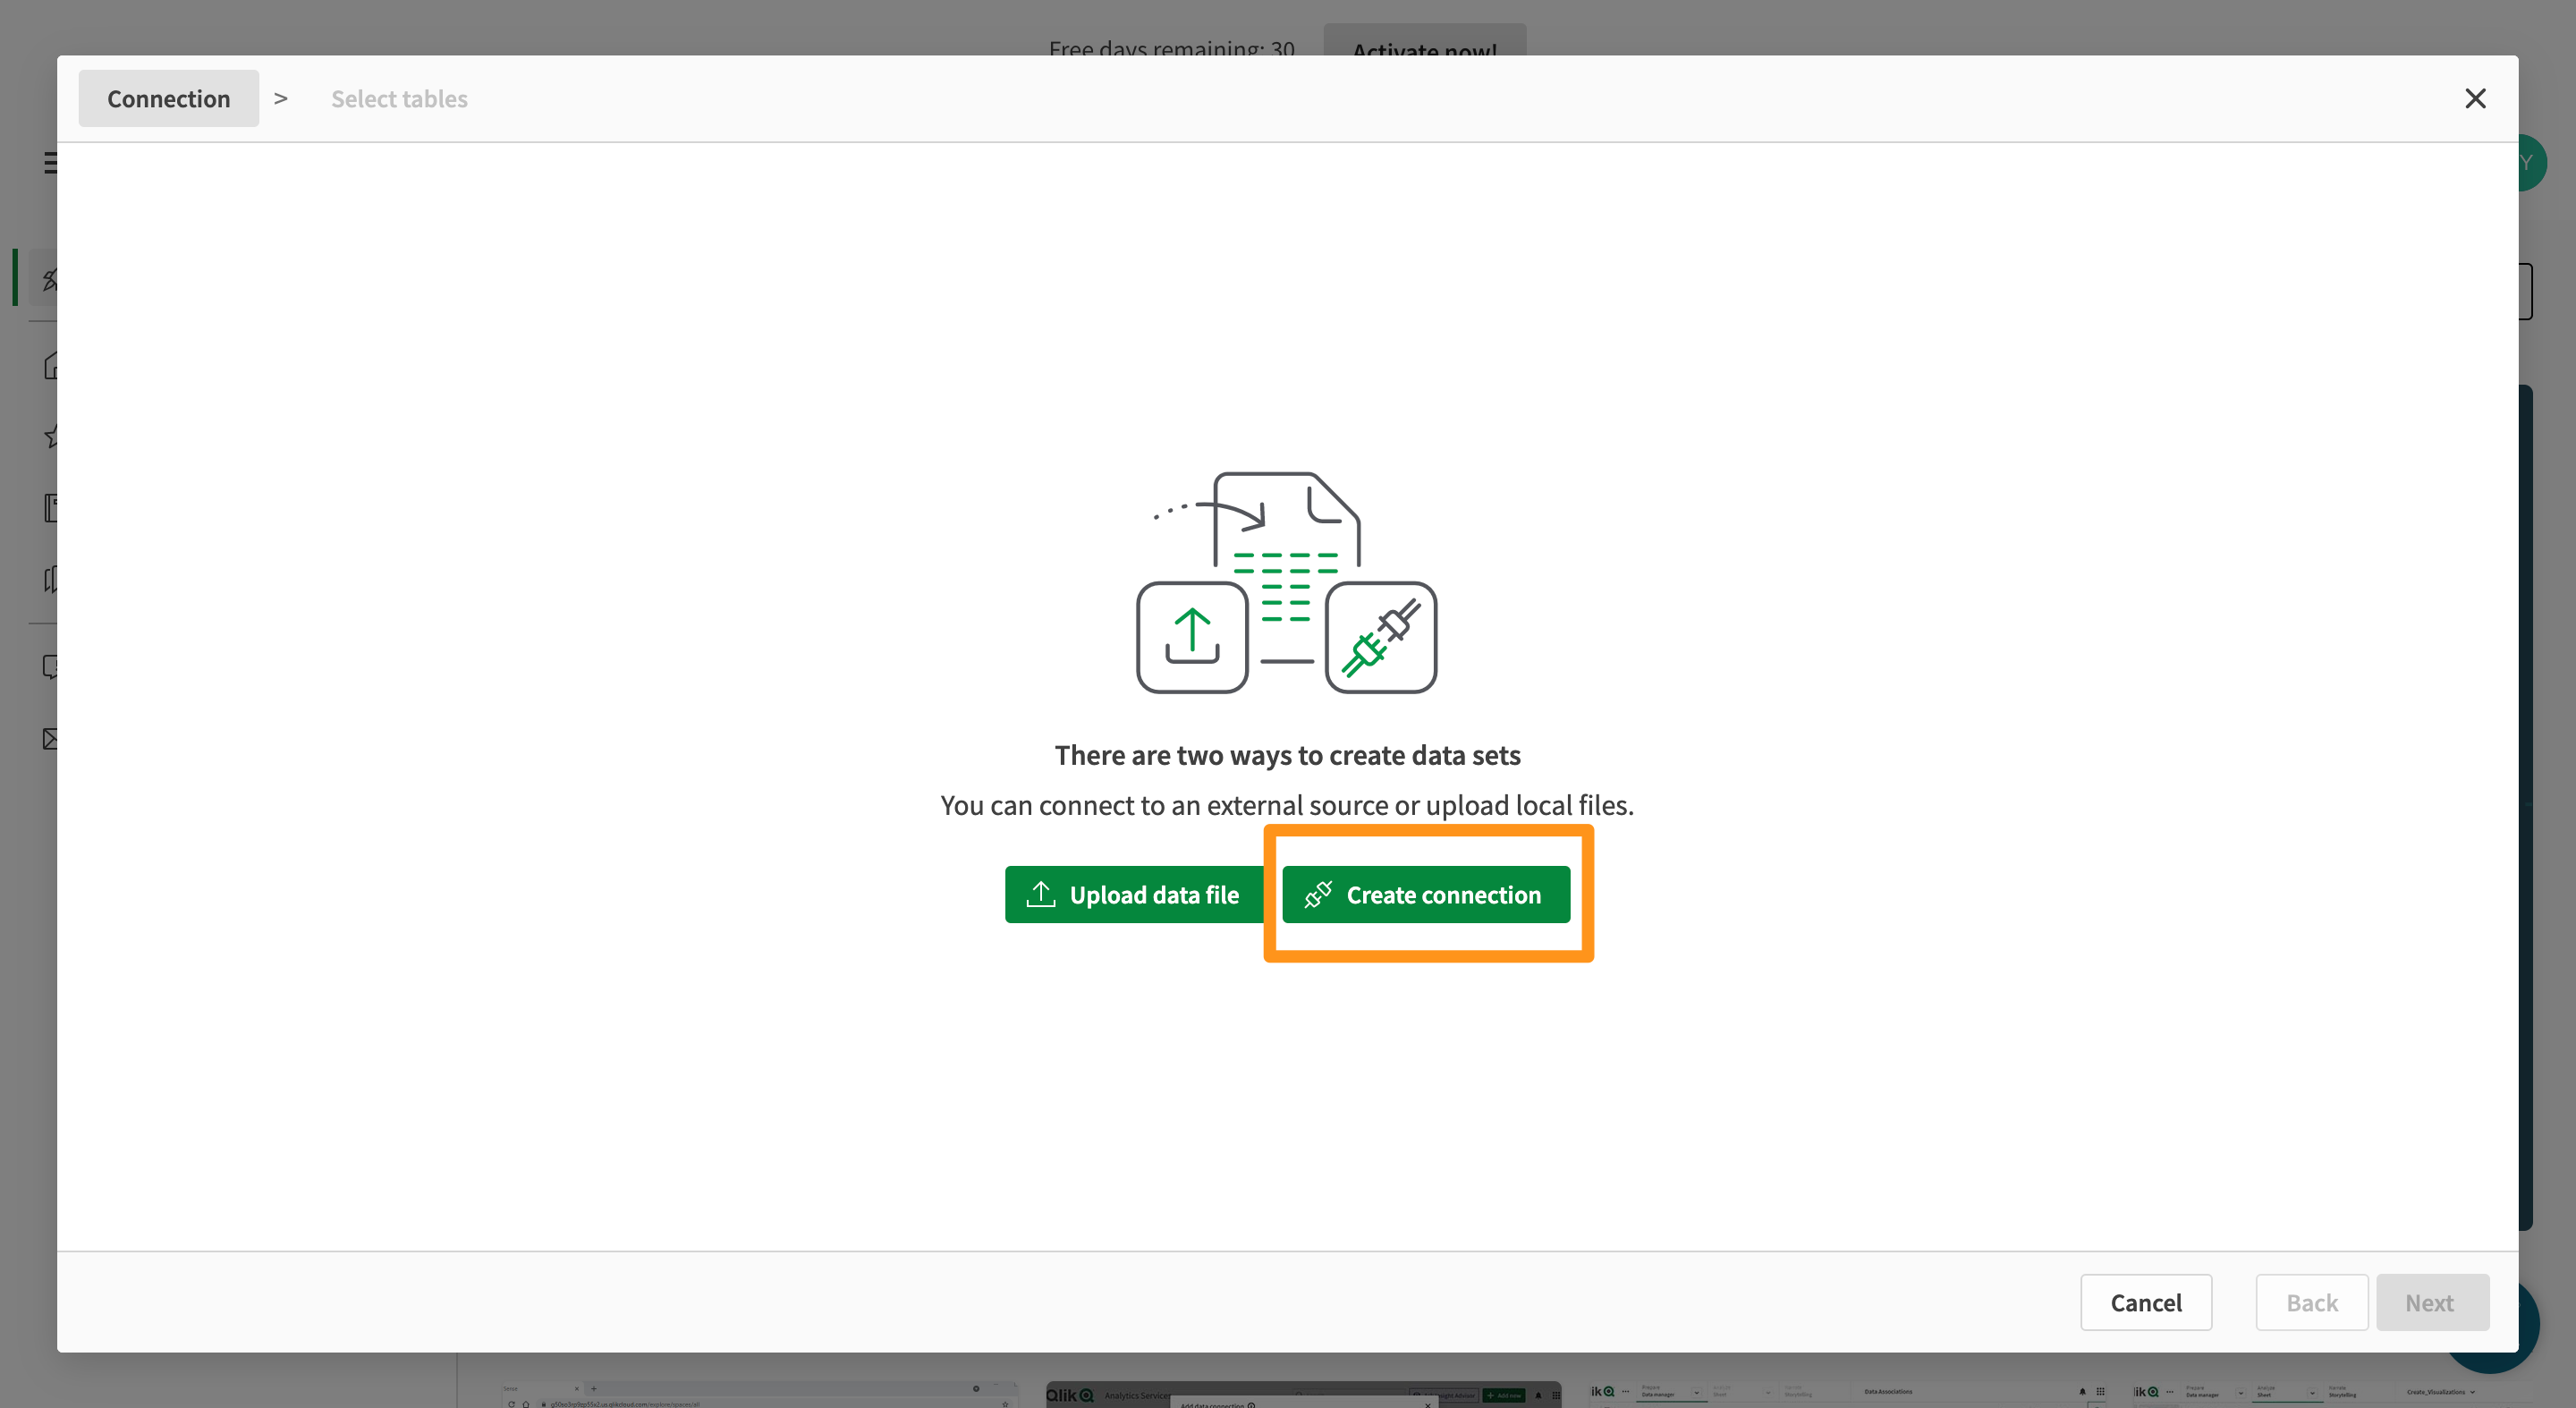
After selecting the Dataset option, enter this screen and click the Create connection button.
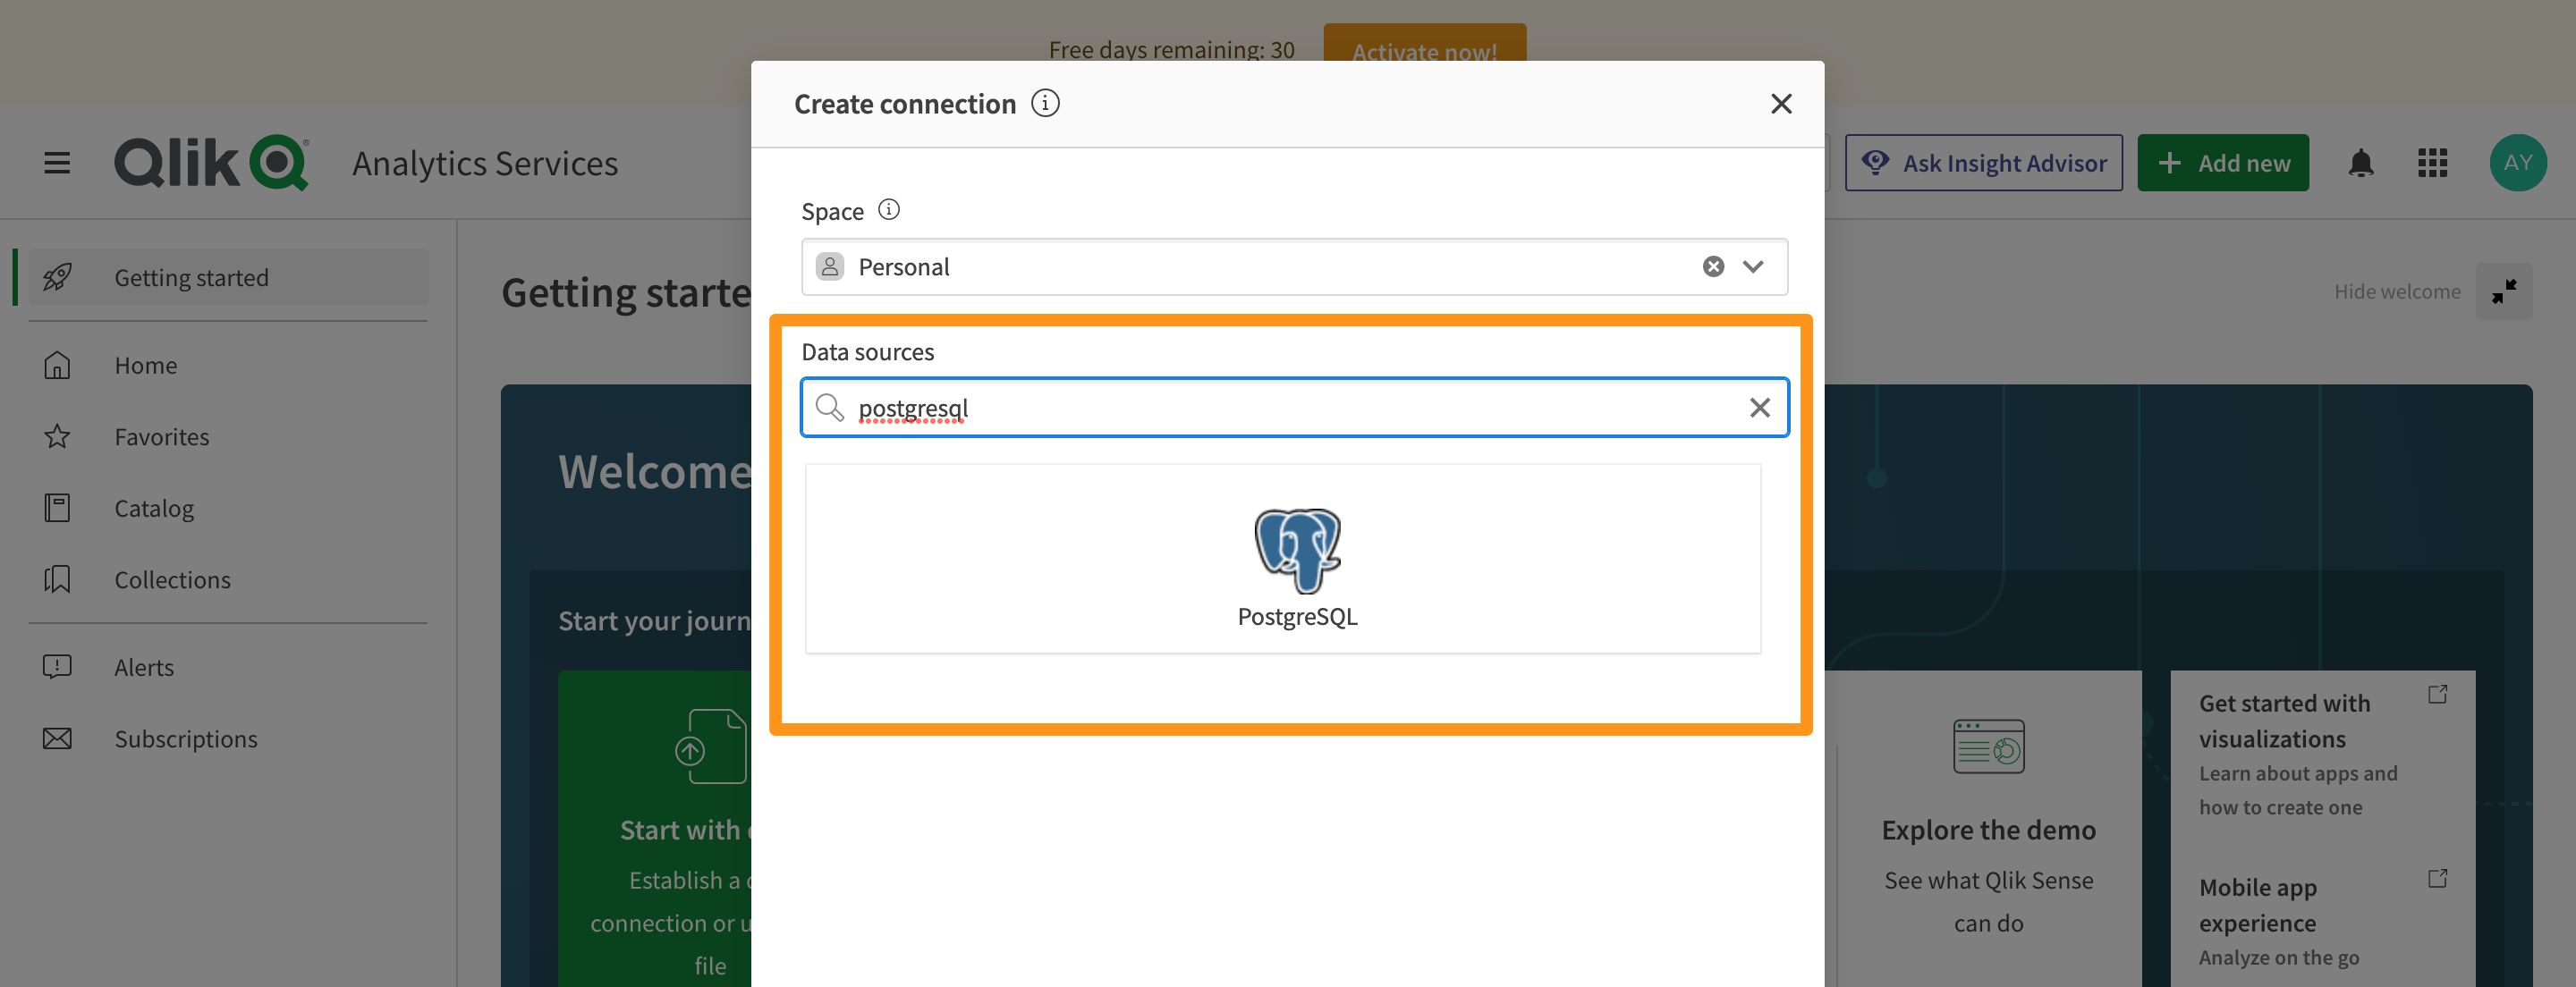
Once clicked, select PostgreSQL as the data source.
Step 2: Set connection information
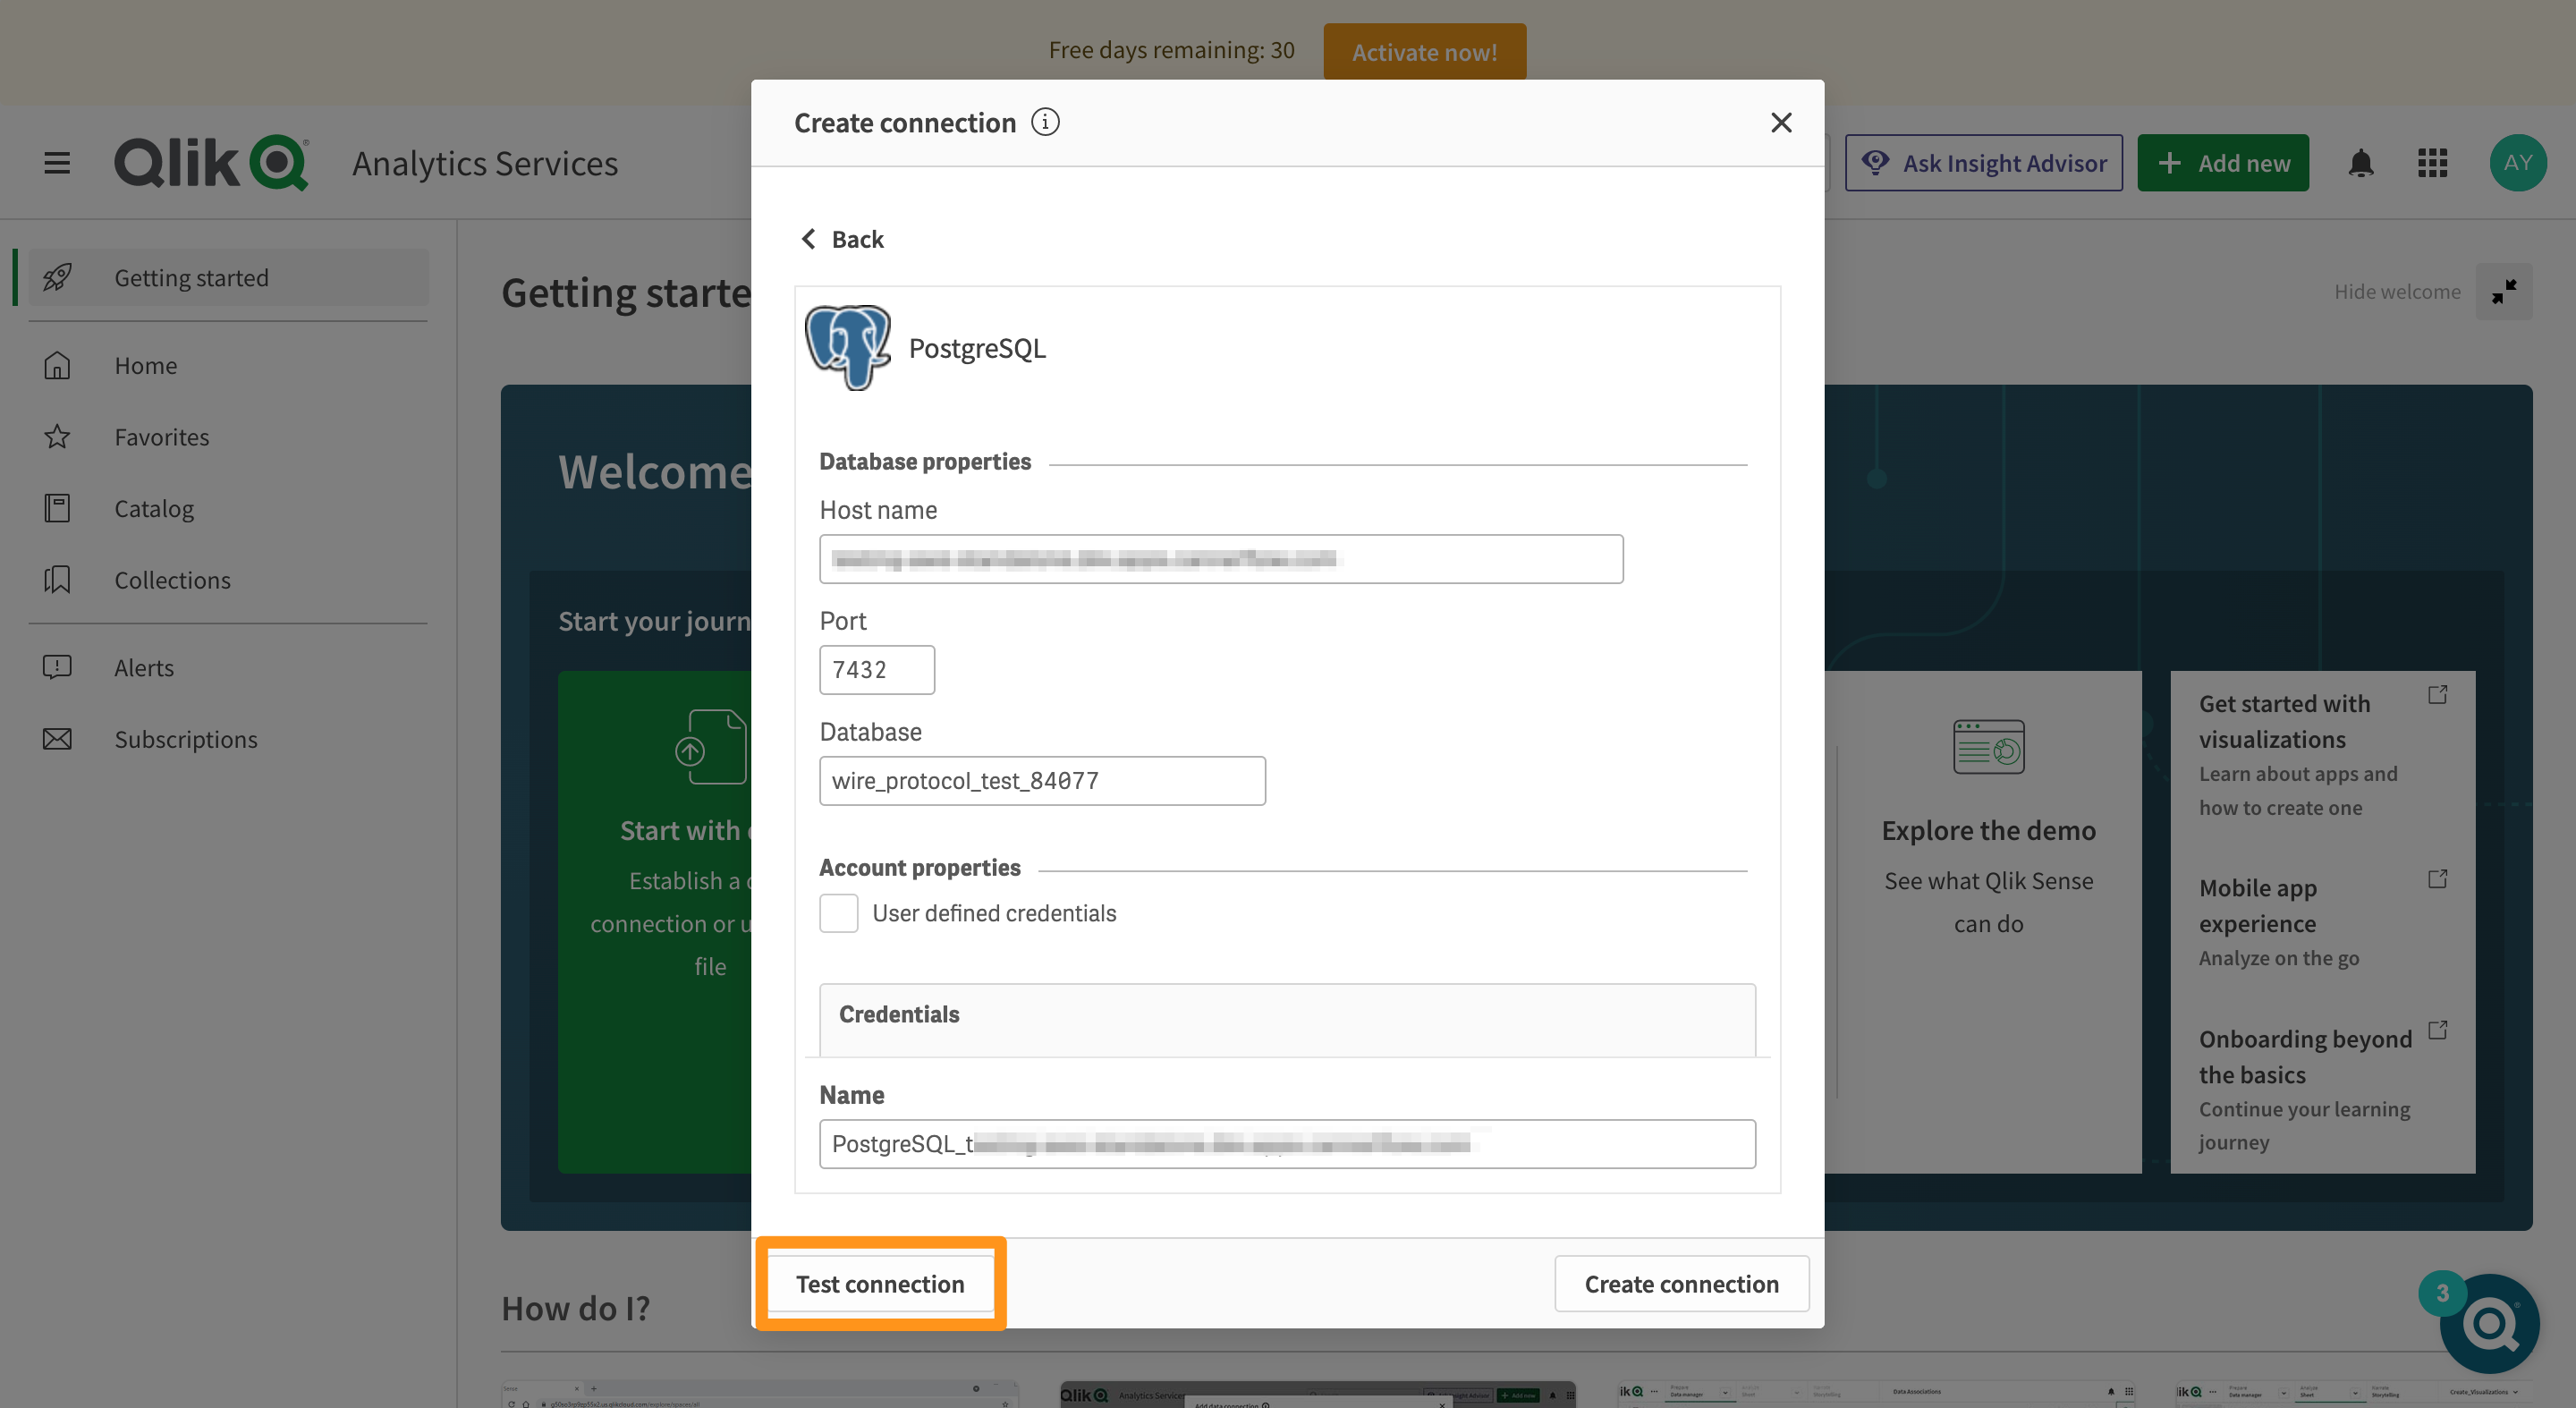
Set the connection information on the following screen.
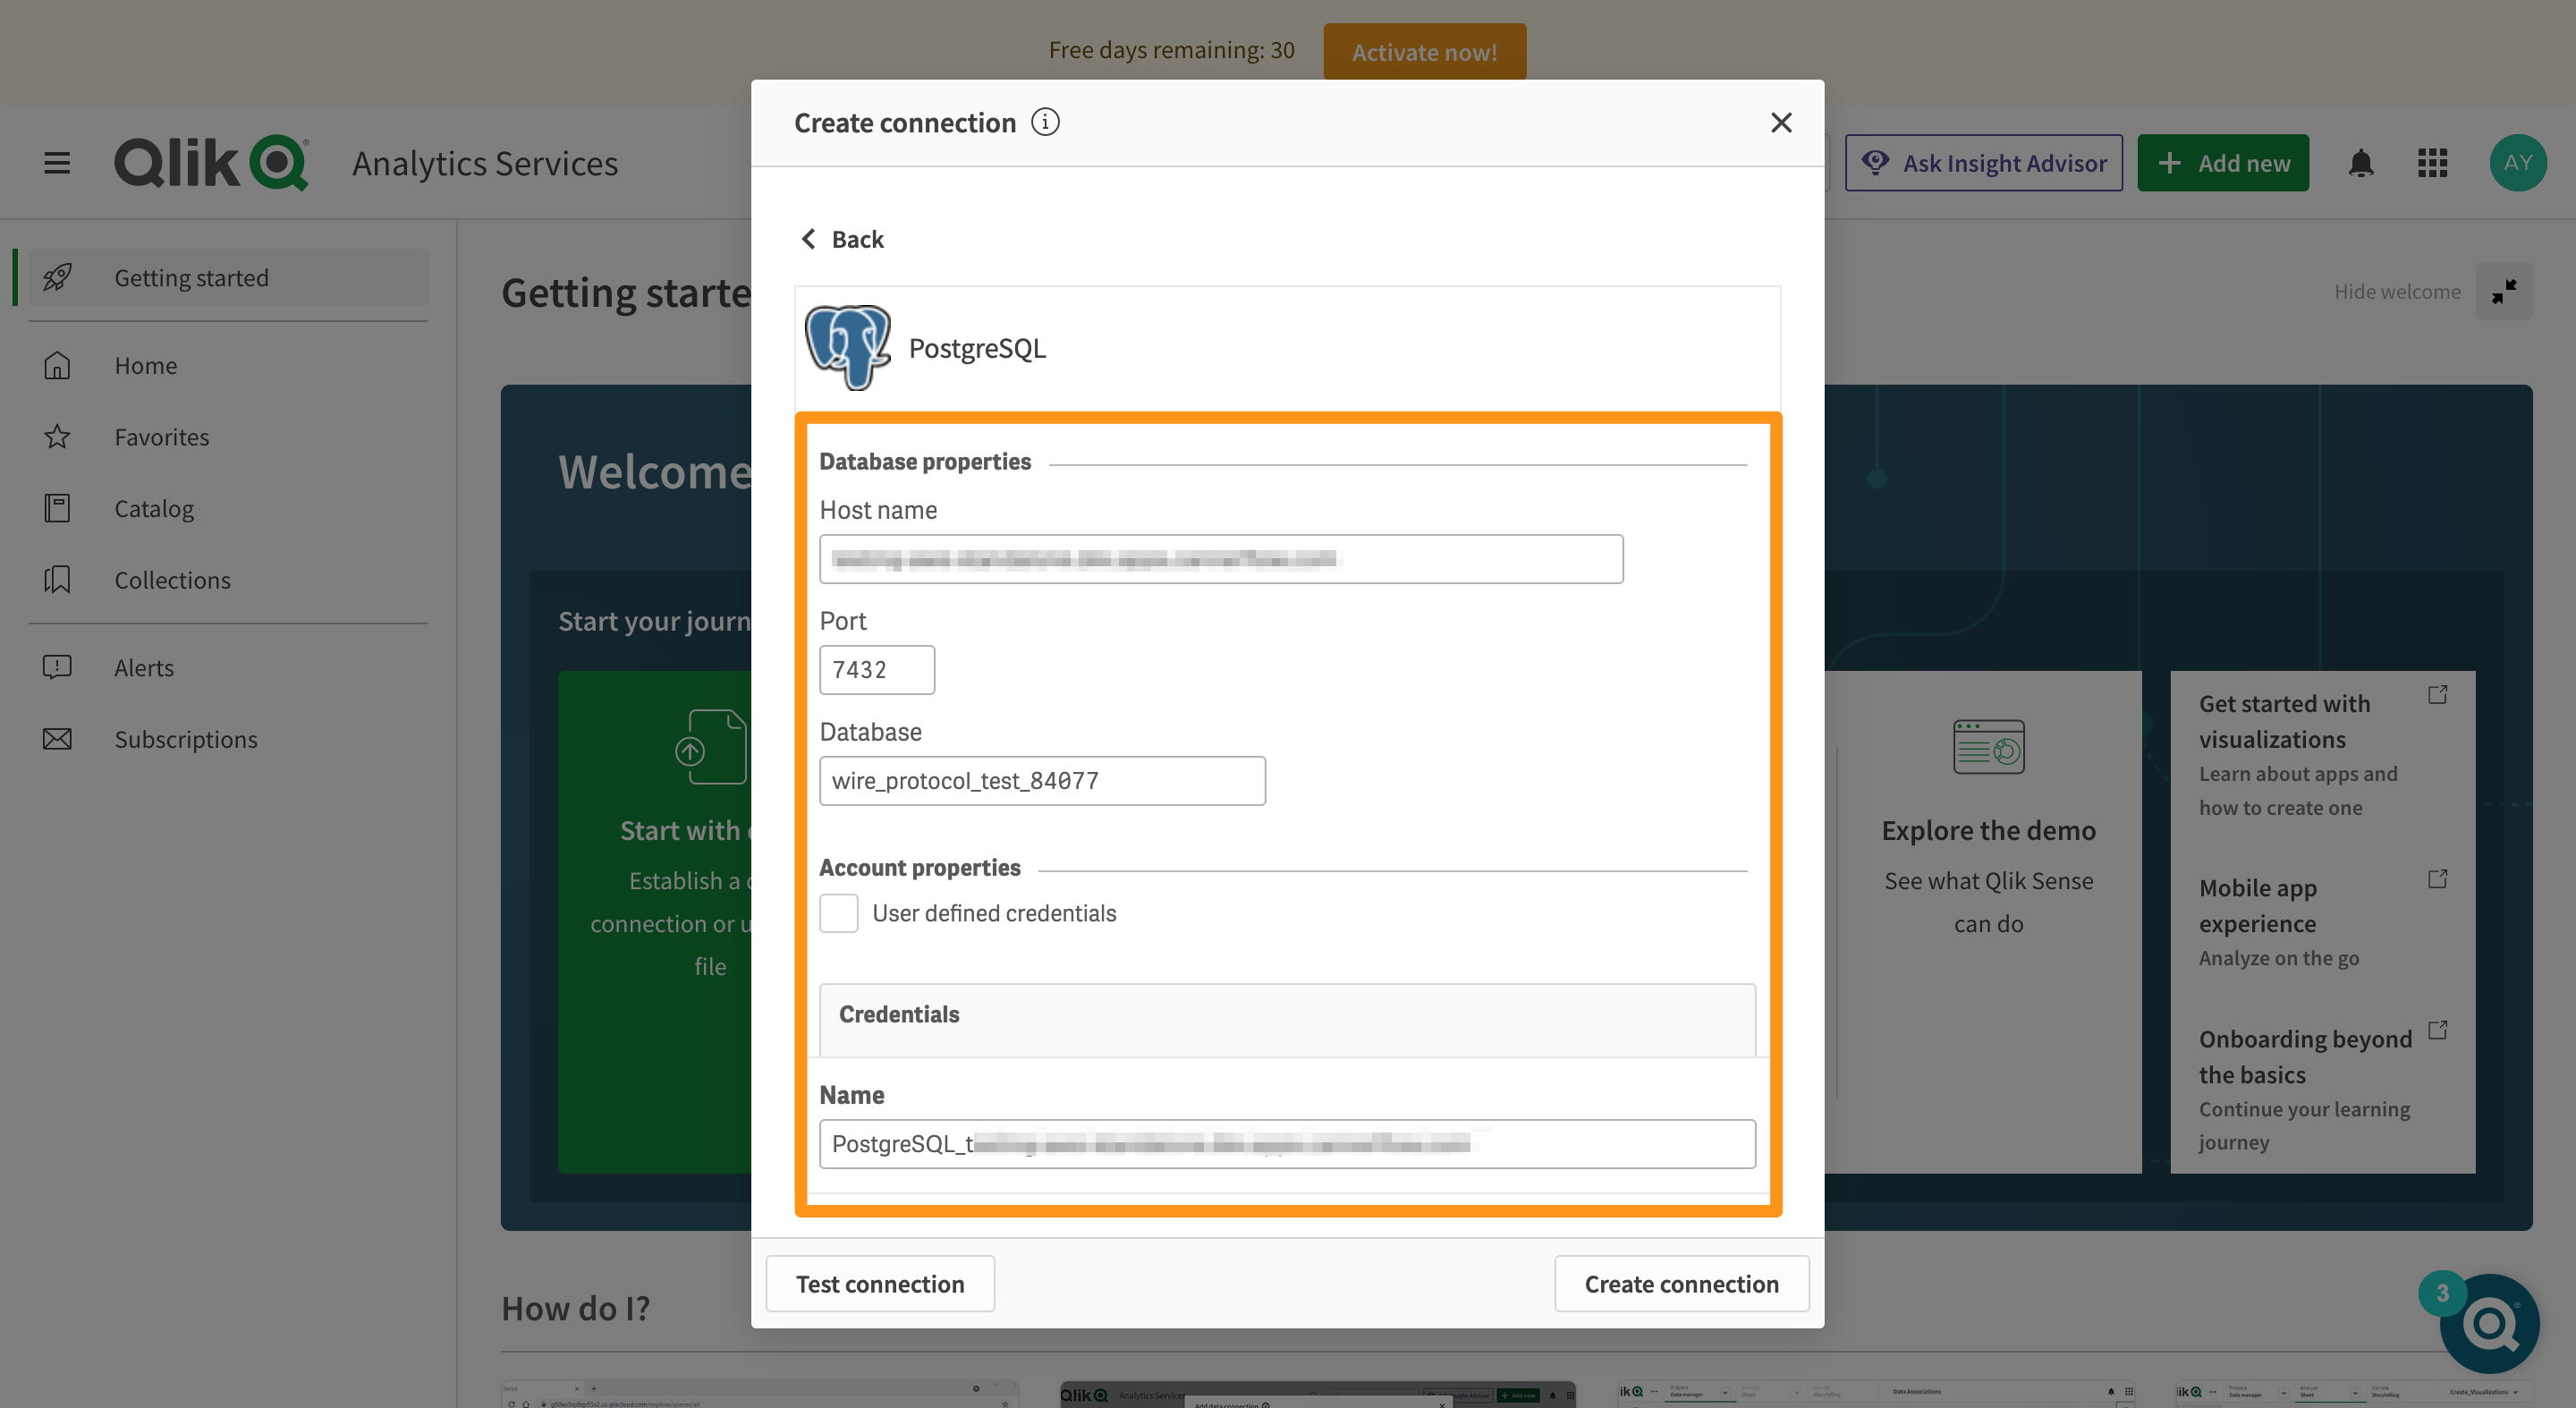
- Host: Fill in the Host or IP address of Canner Enterprise
- Port: usually
7432; if there is a particular port setting, please pay attention to this field - Database name: Enter the SQL Name in Workspace
- Username:
canner - Password: Fill in Personal Access Token to create Personal Access Token Way
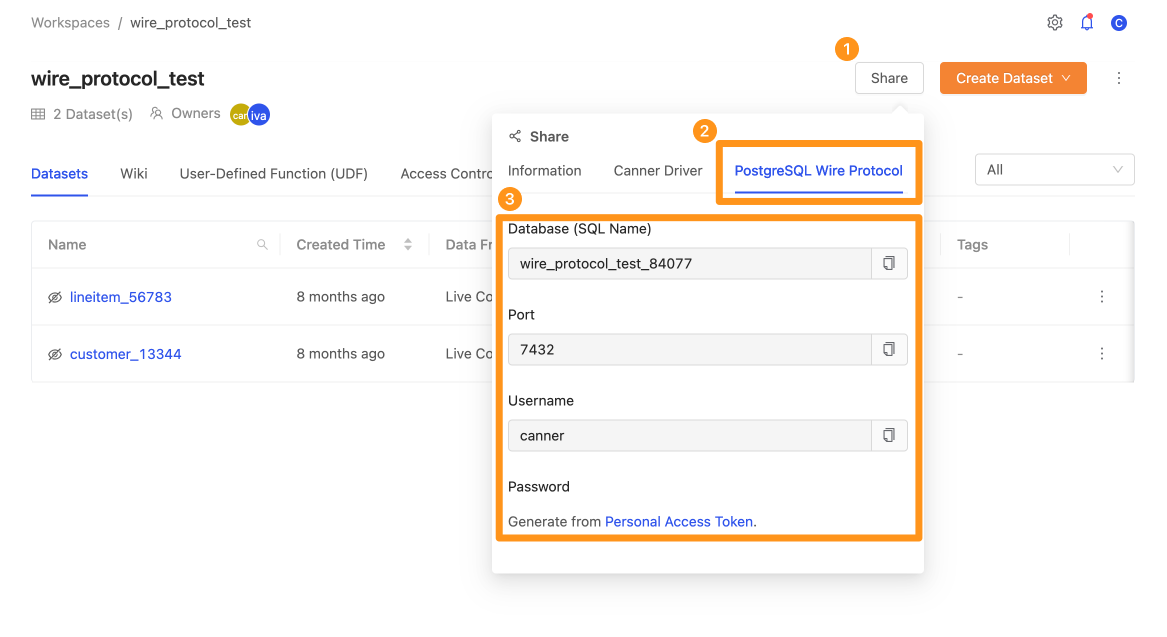
When setting relevant field information, you can click the Share button on the upper right of the workspace you want to connect to Qlik Analytics Services in Canner Enterprise and switch to PostgreSQL Wire Protocol to view its connection information.
After filling in the above information, click Test Connection.
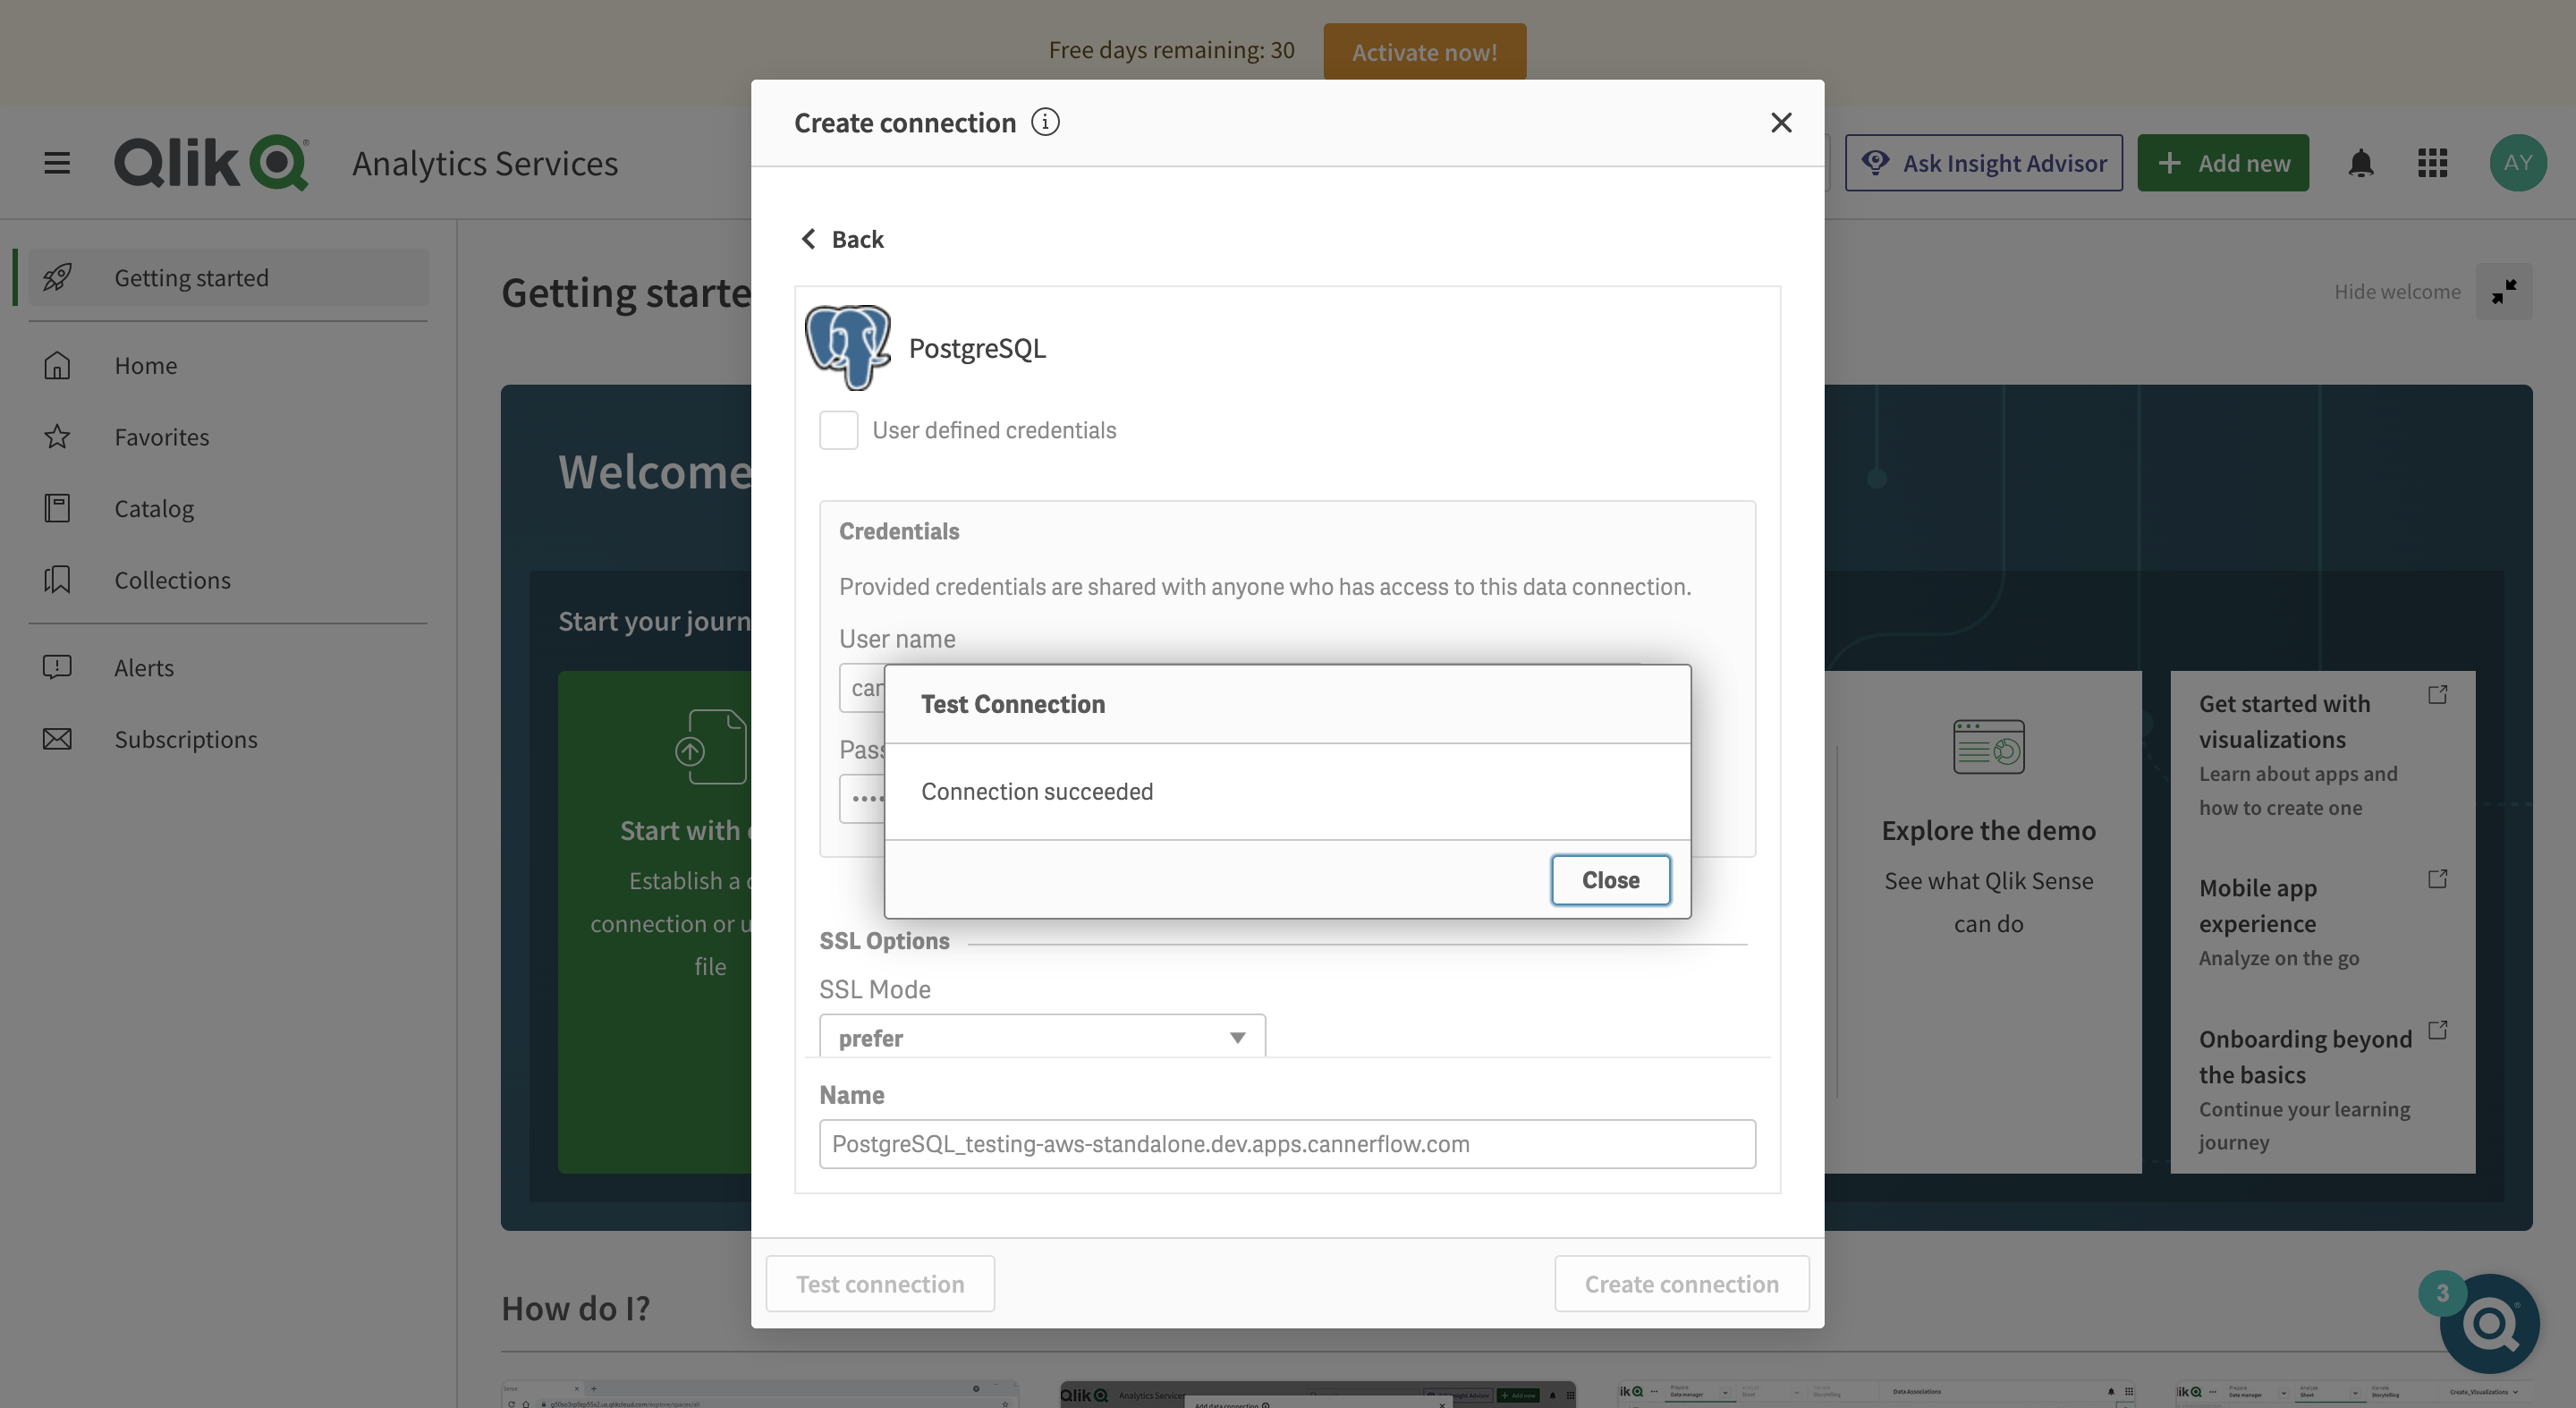
The test connection is successful.
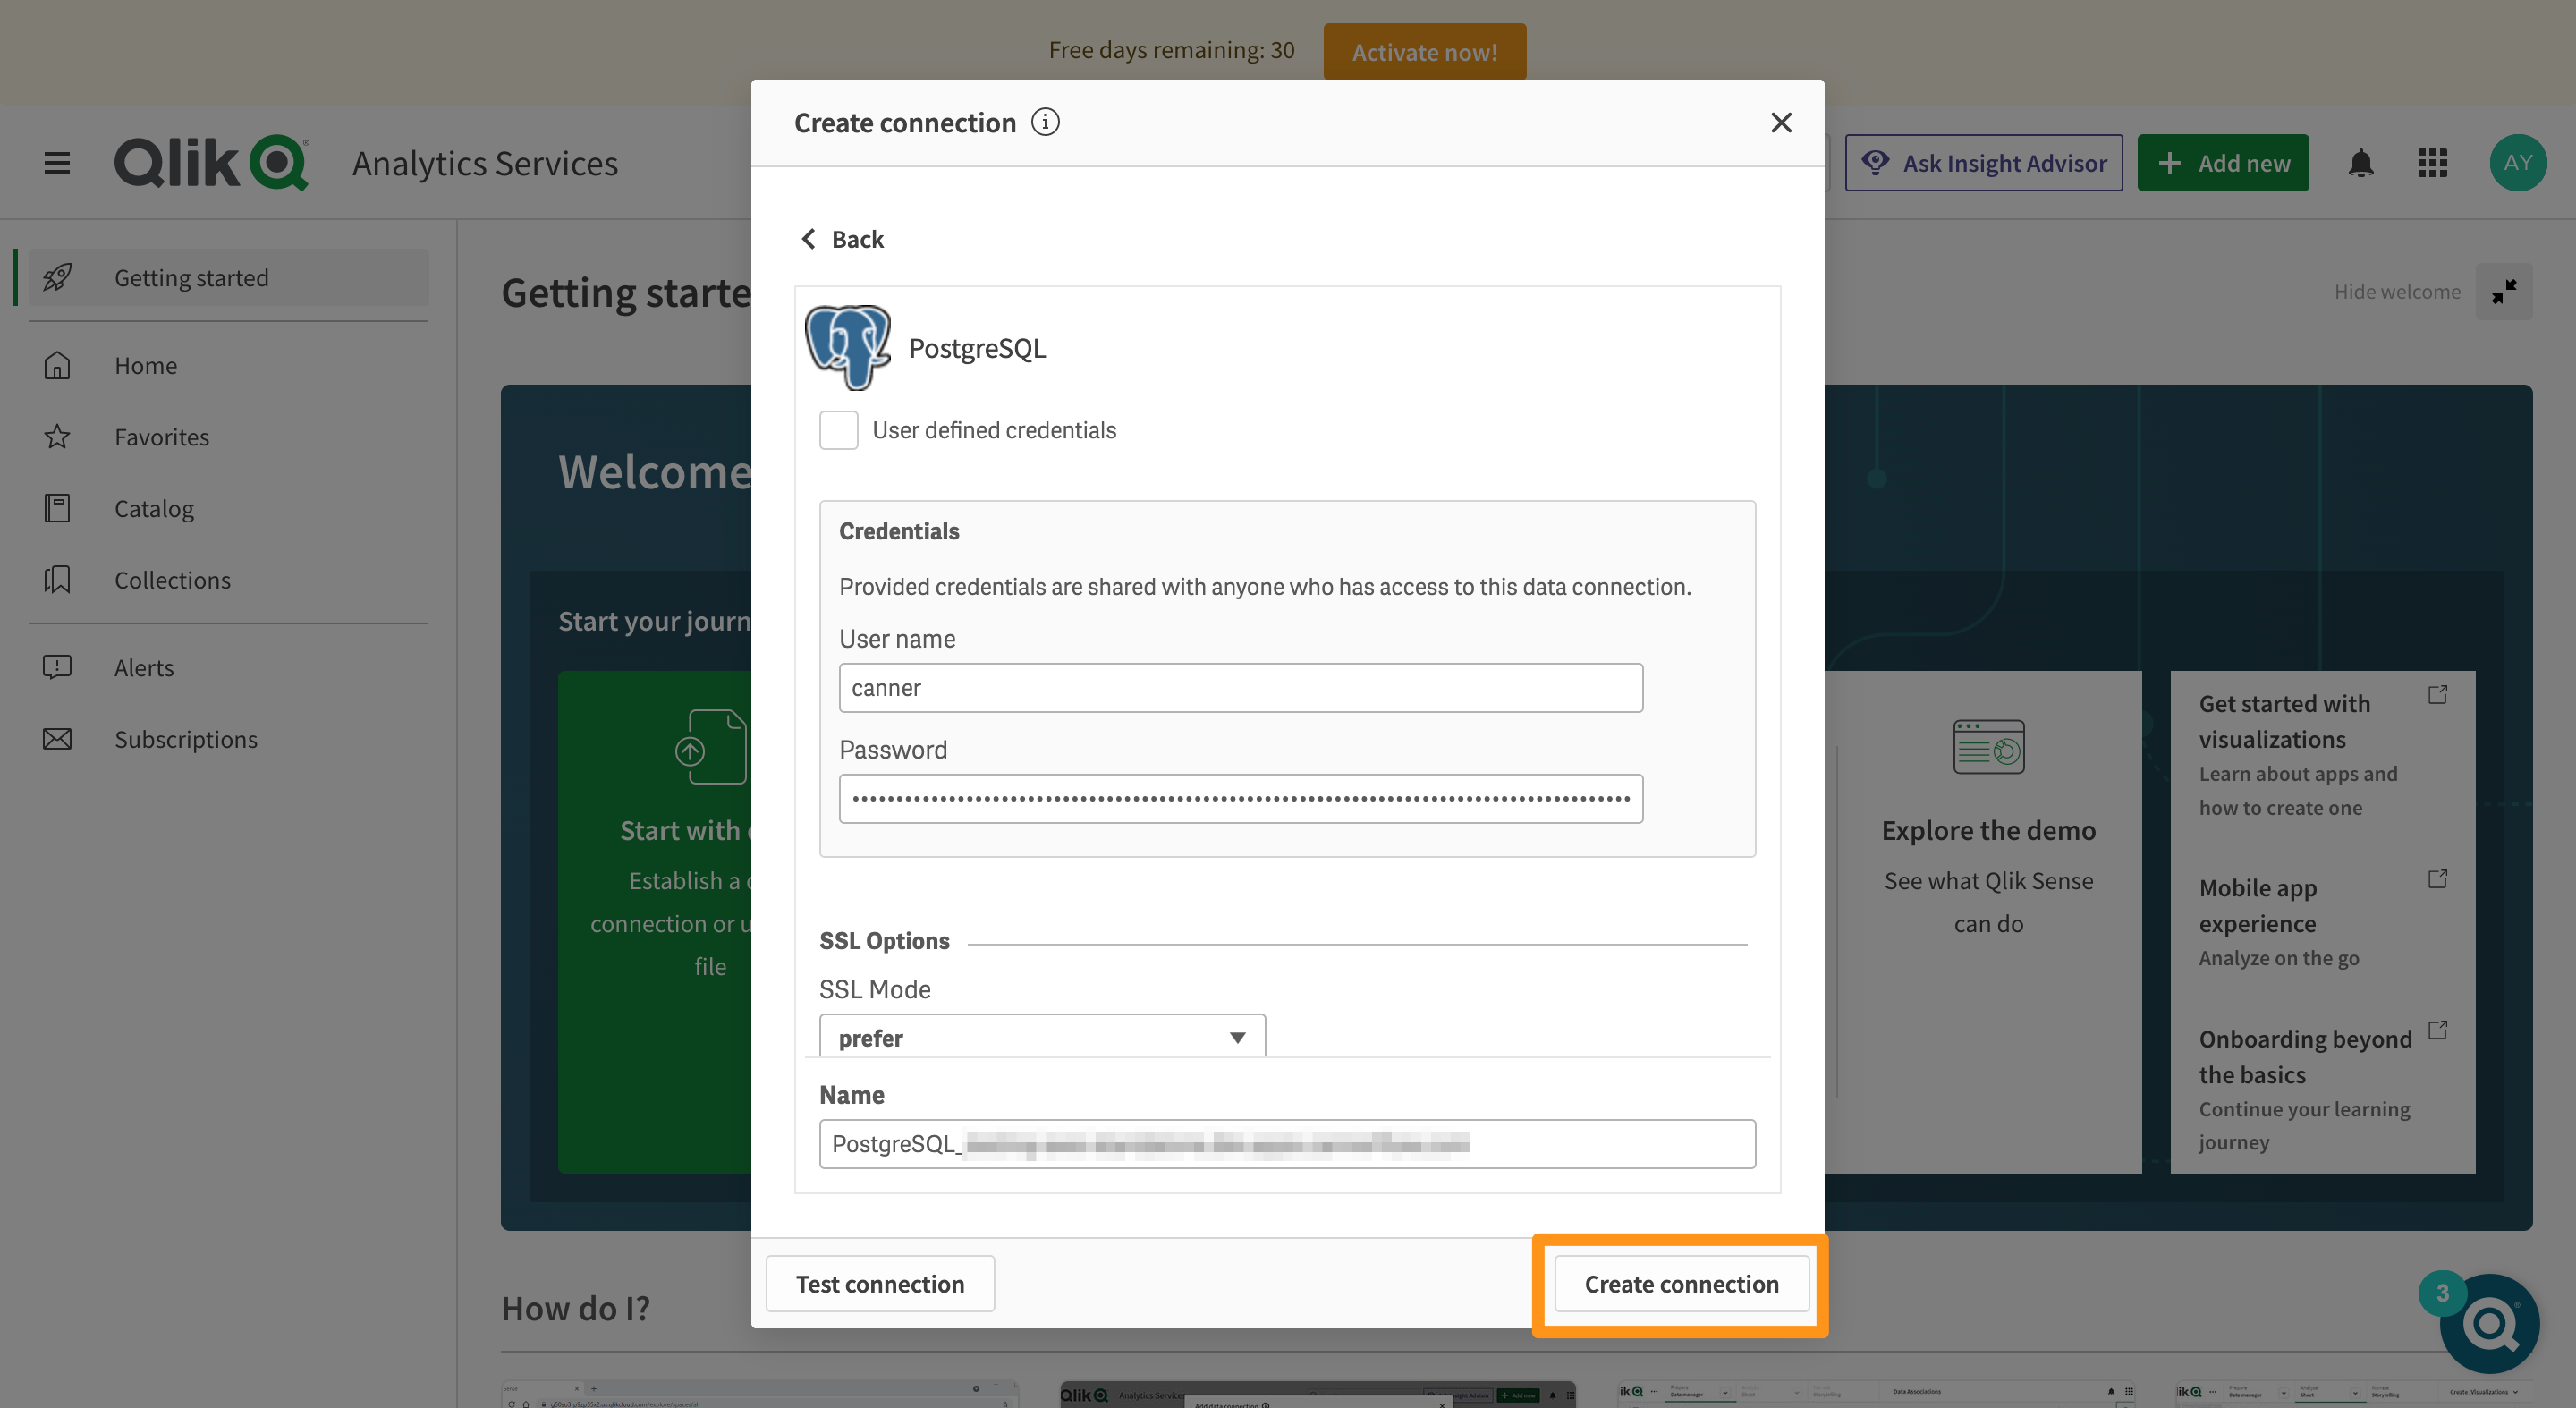
Click Create Connection.
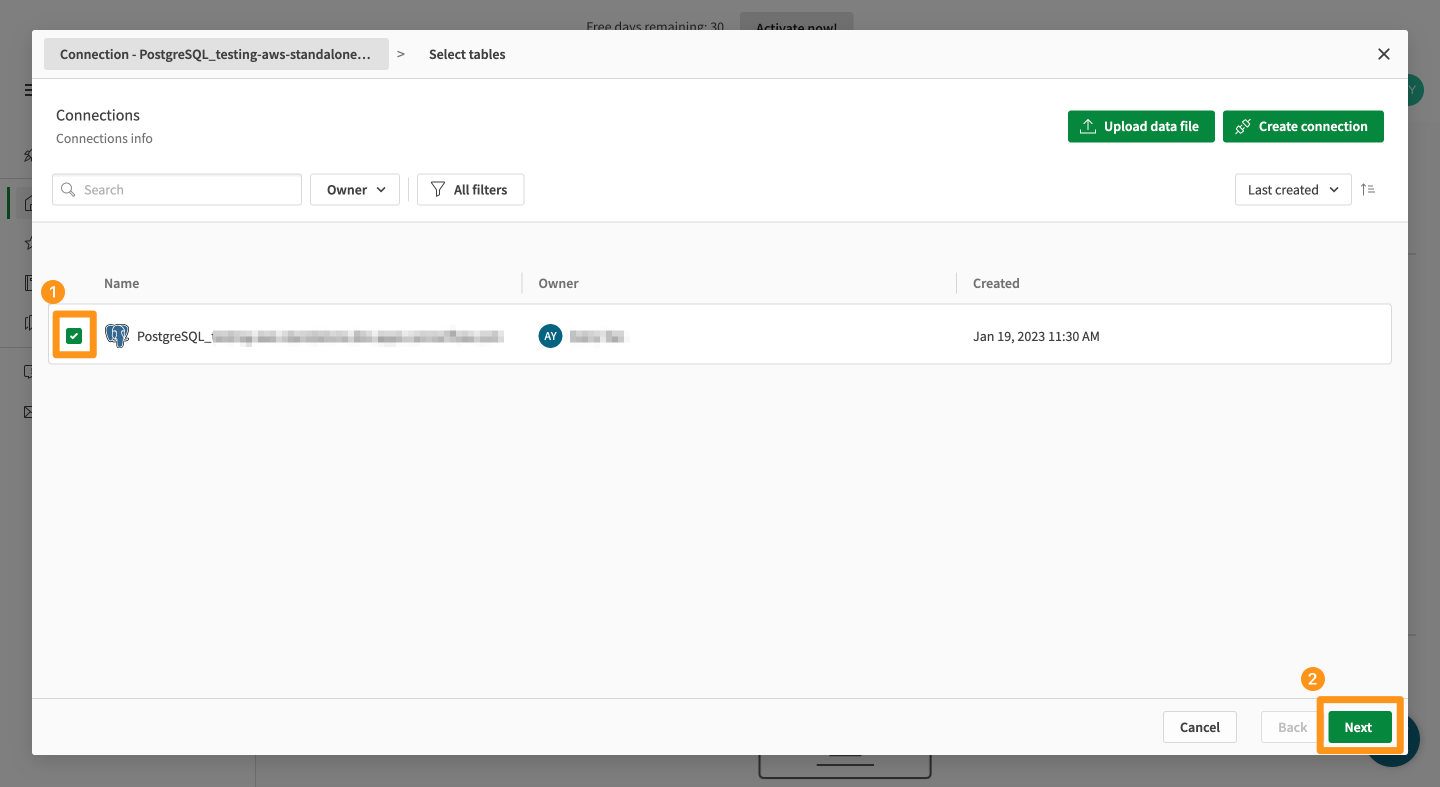
After the connection is successful, the data source we are connected to can be seen on the screen, select and click Next.
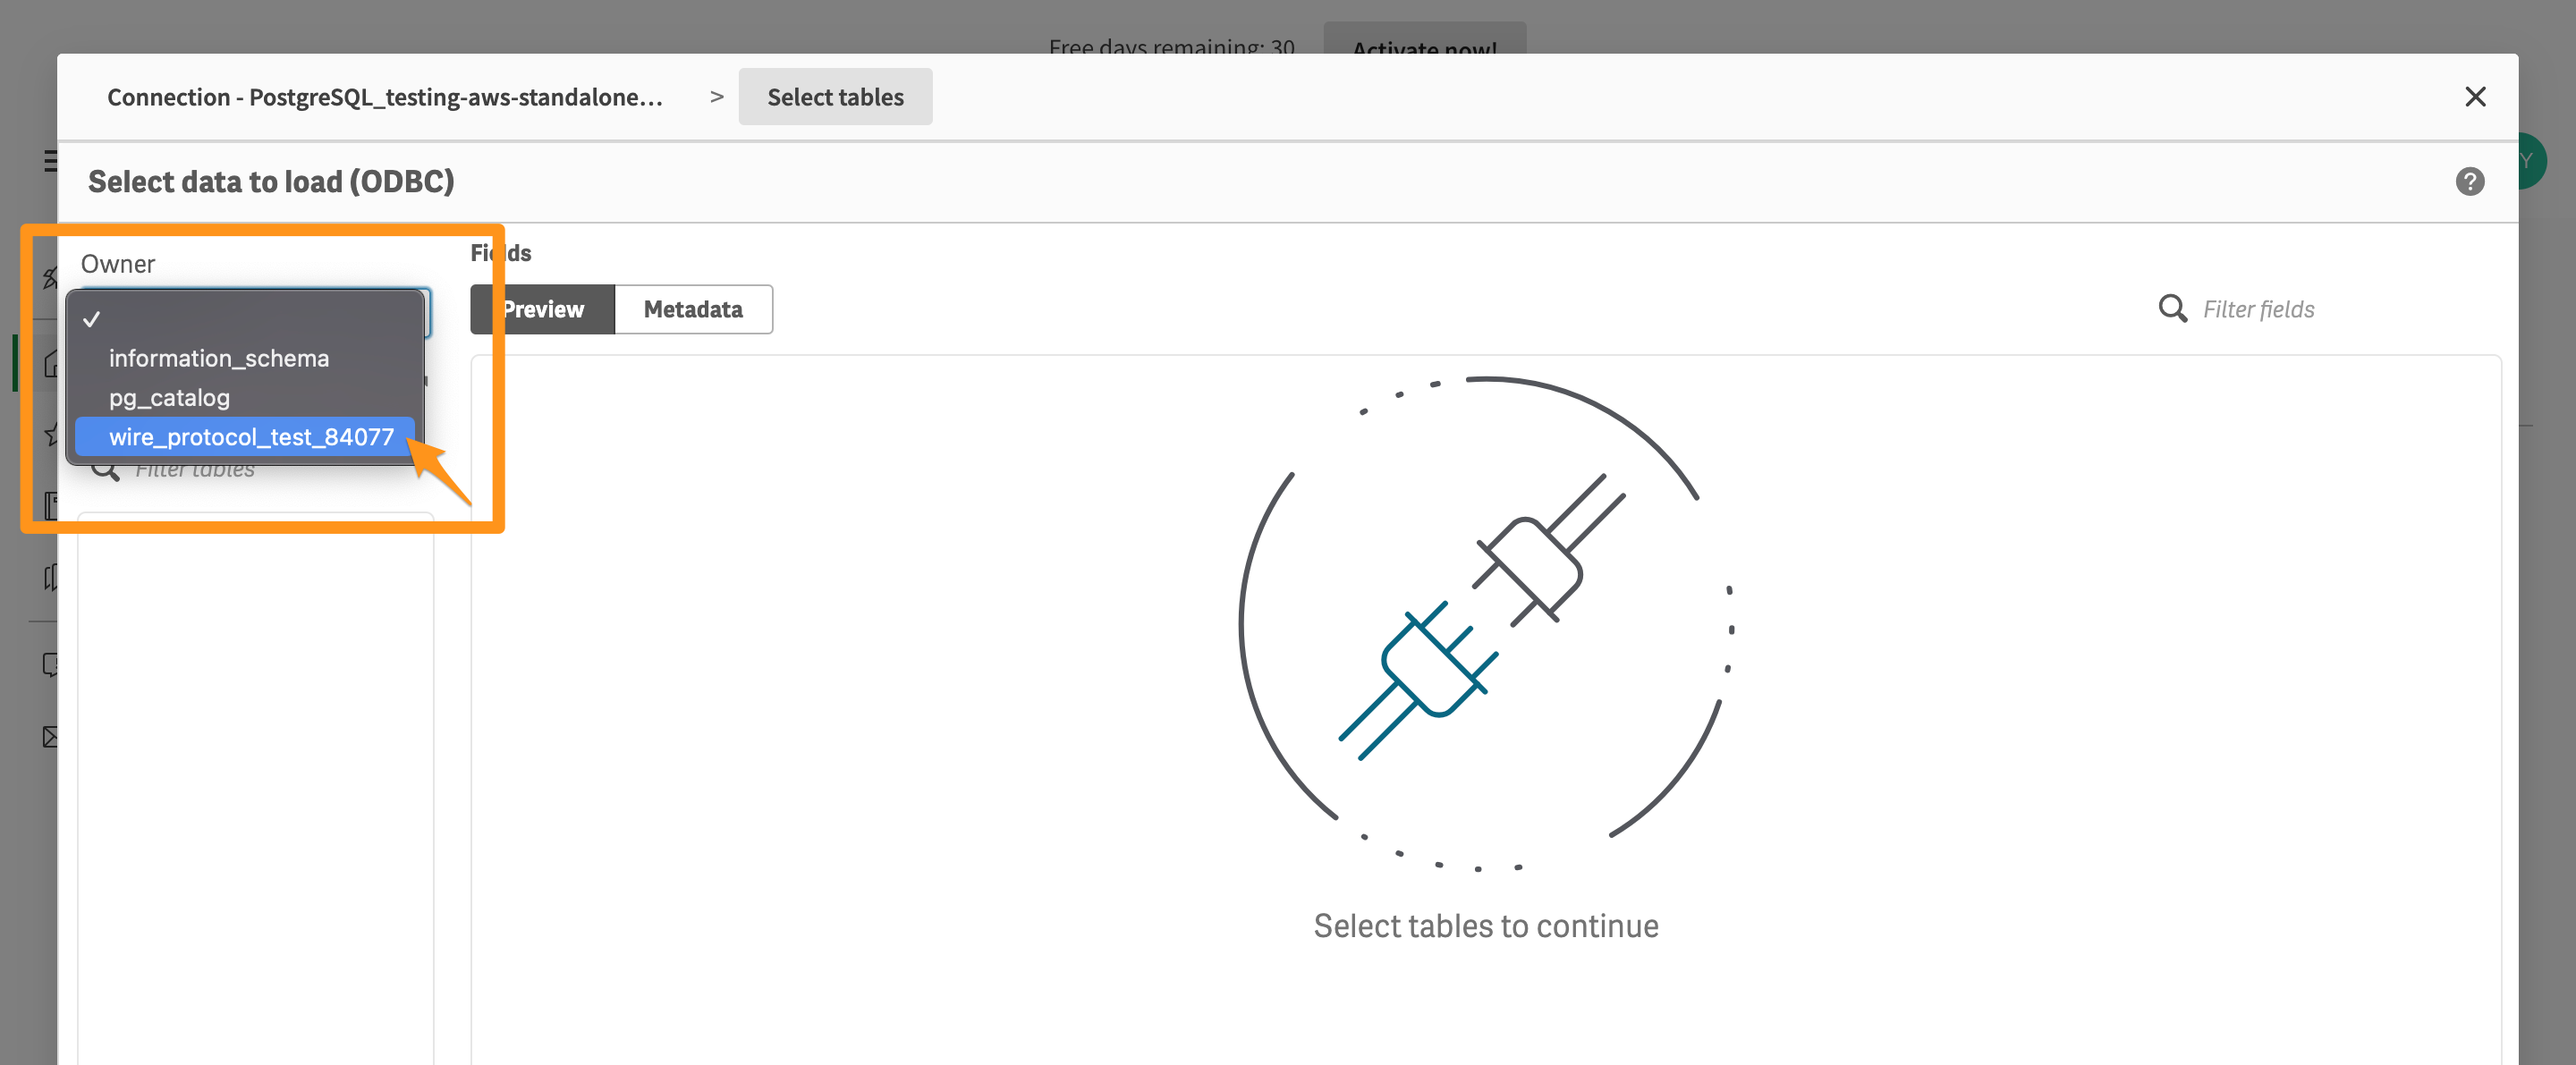
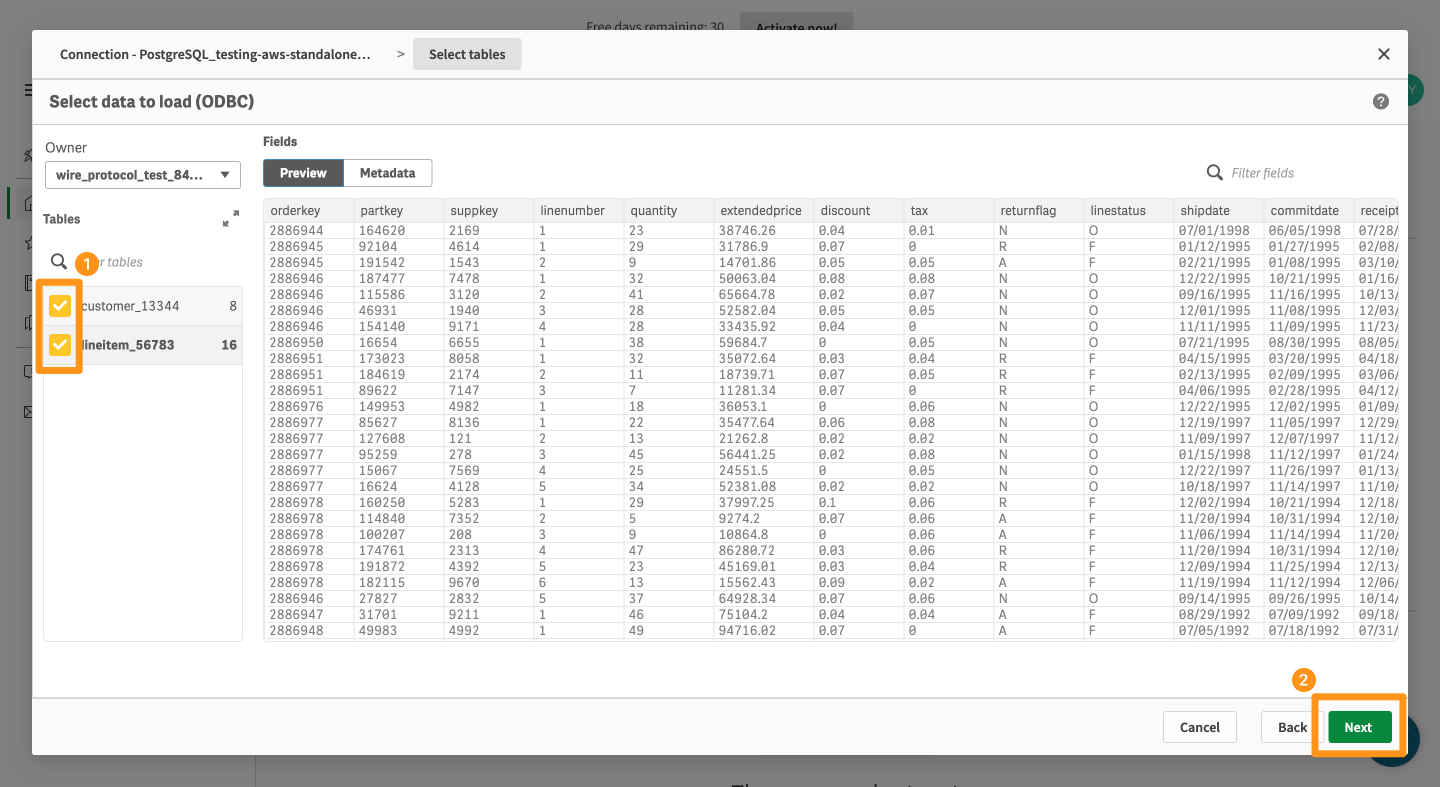
Click the Owner menu, and select the Database Name that we just filled in to set the connection information.
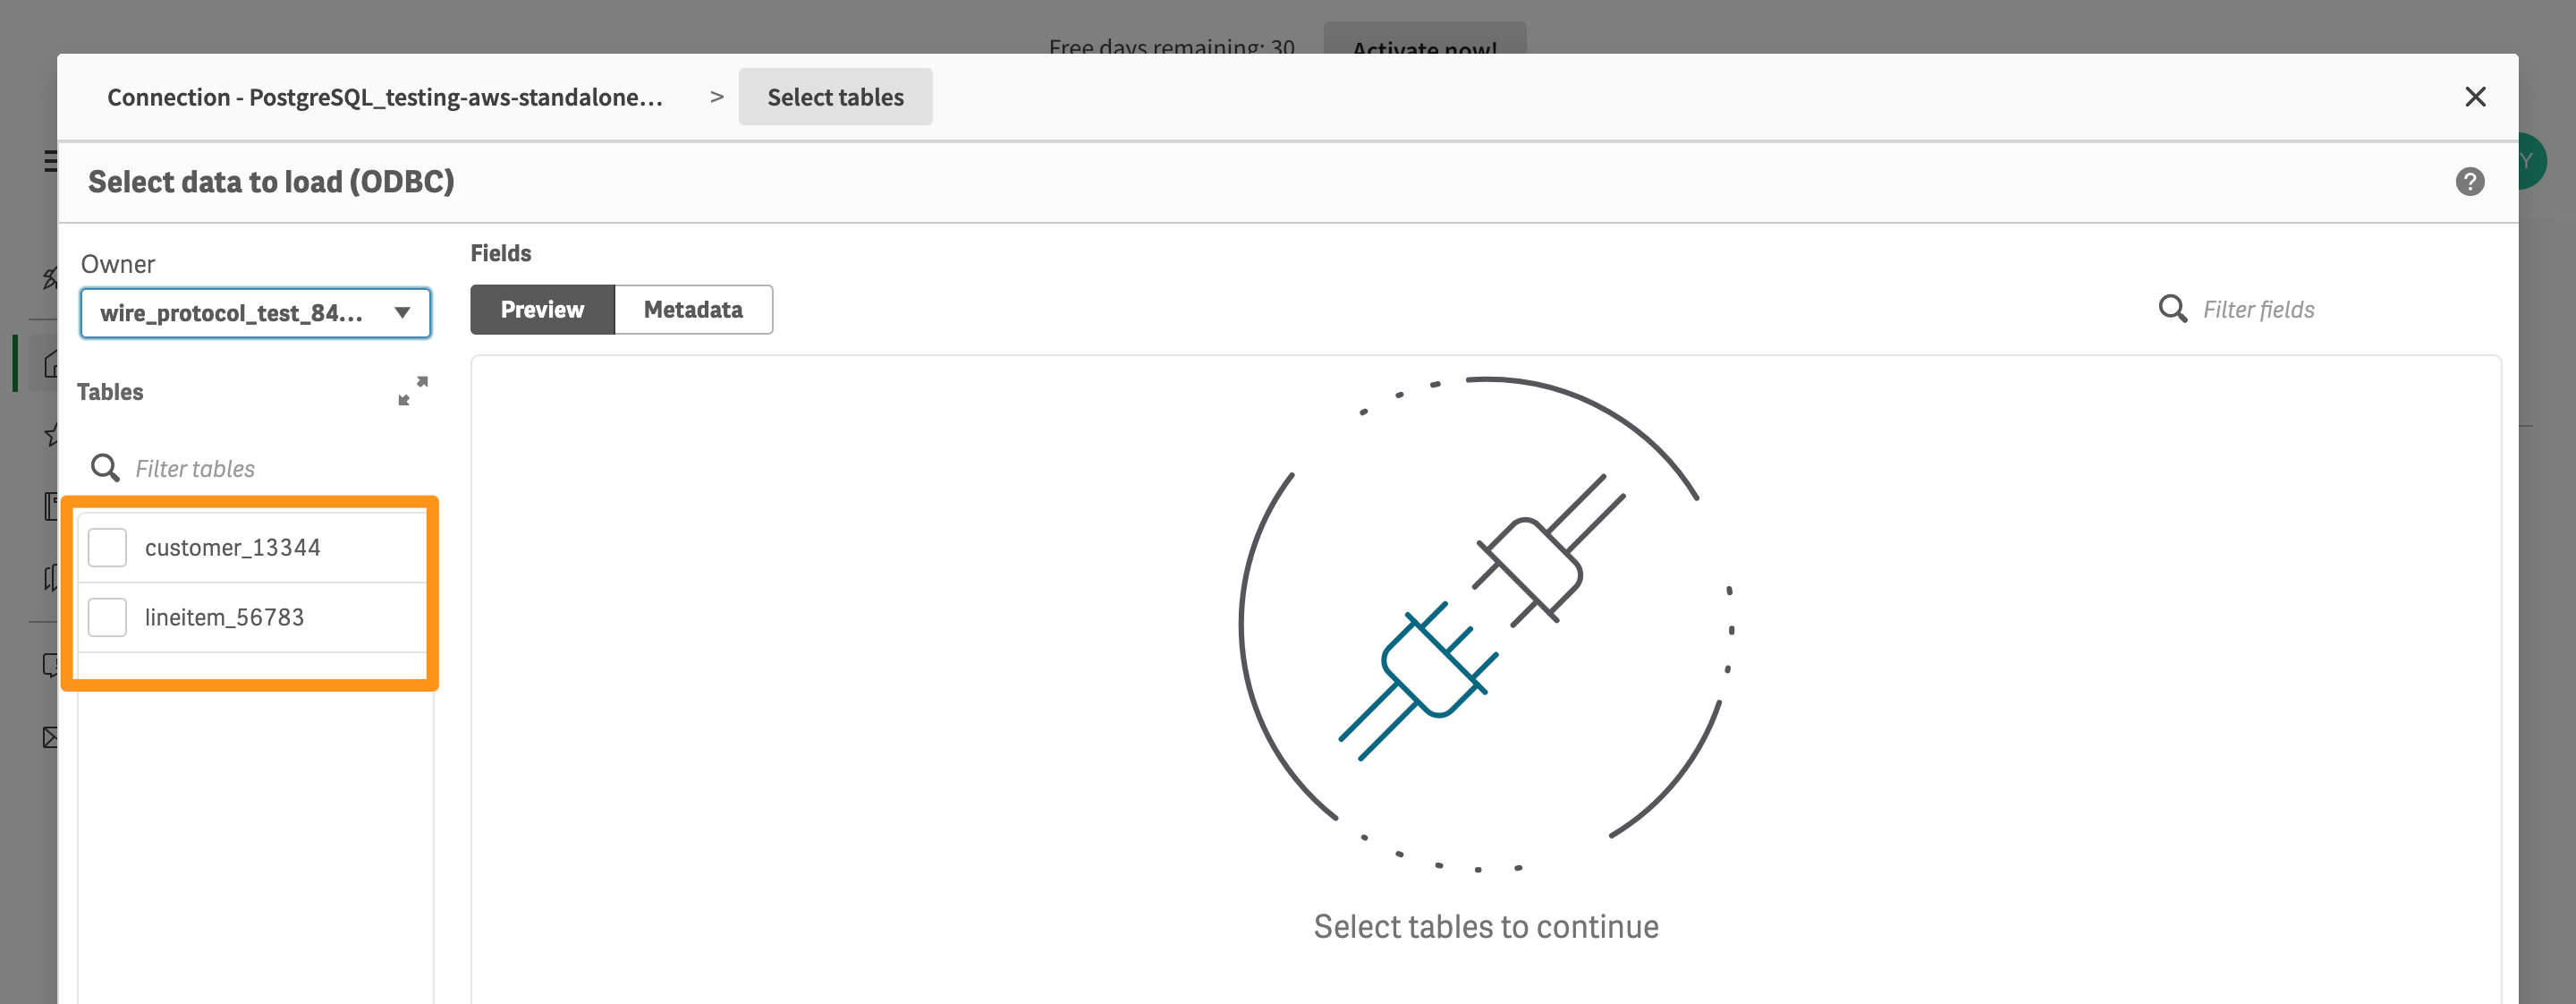
After selection, you can see the data connection from the Canner Enterprise workspace in the tables on the left column.
You can also select a profile to preview.
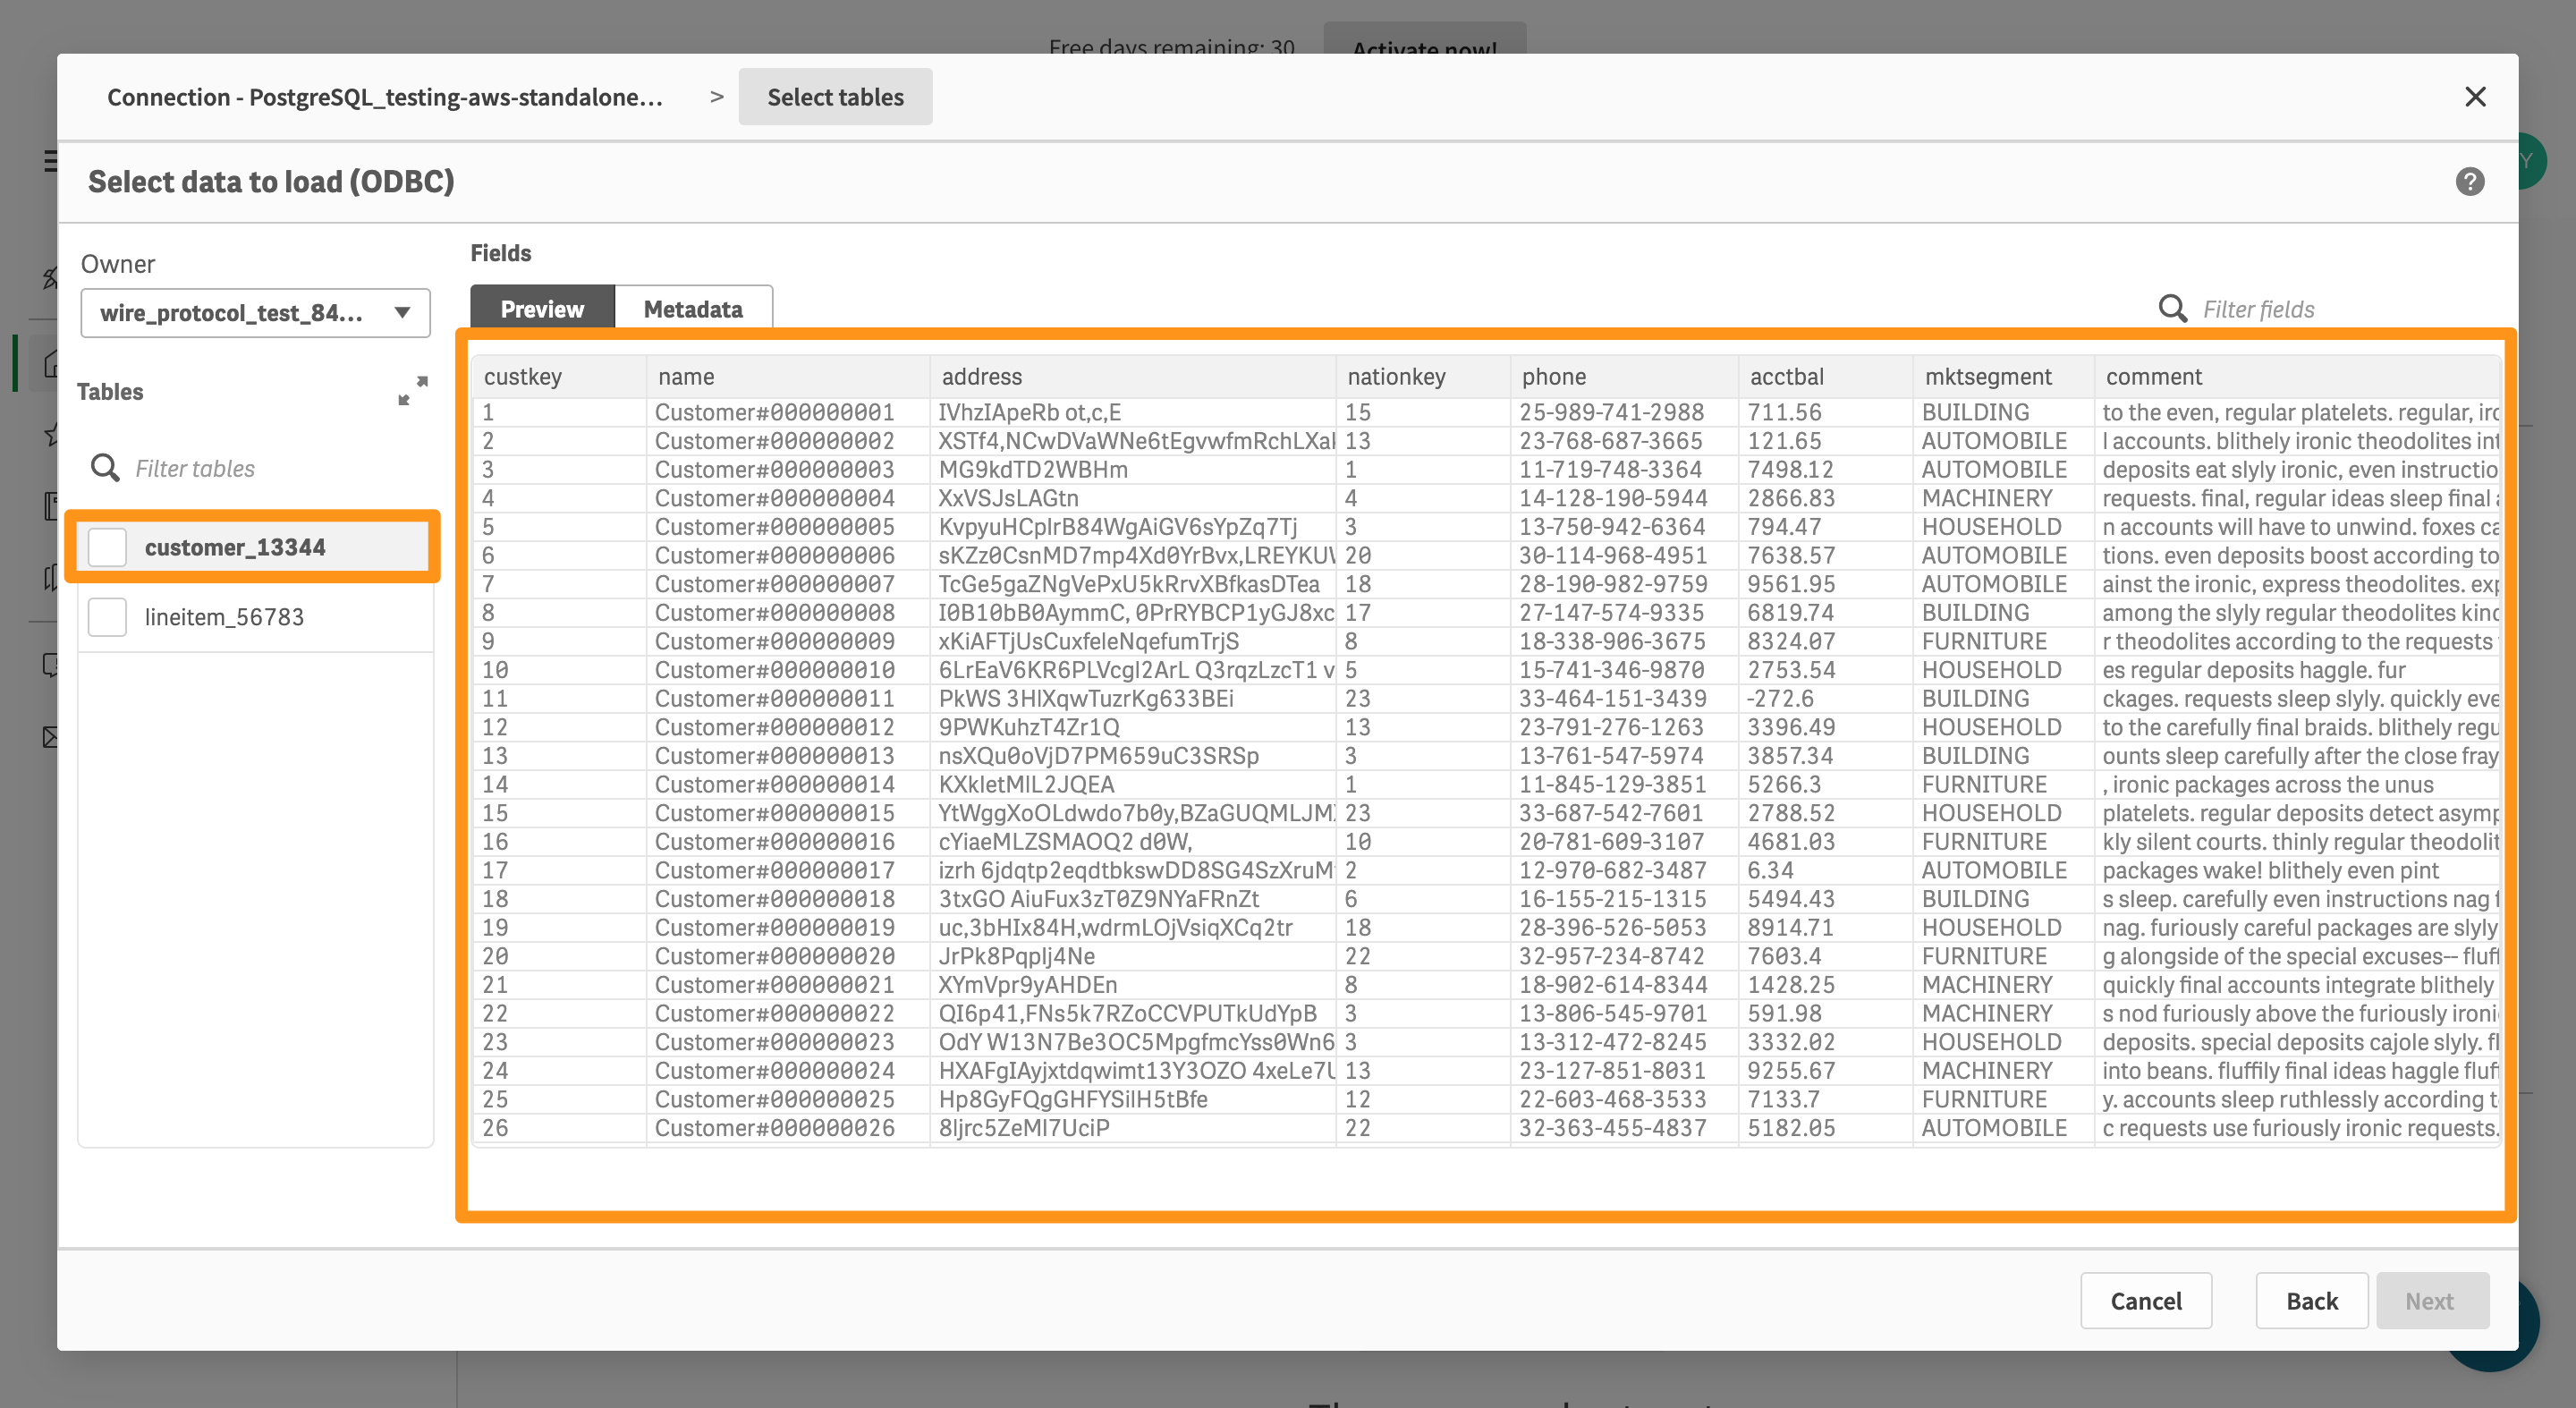
Check the tables you want to import into Qlik and click the Next button after checking.
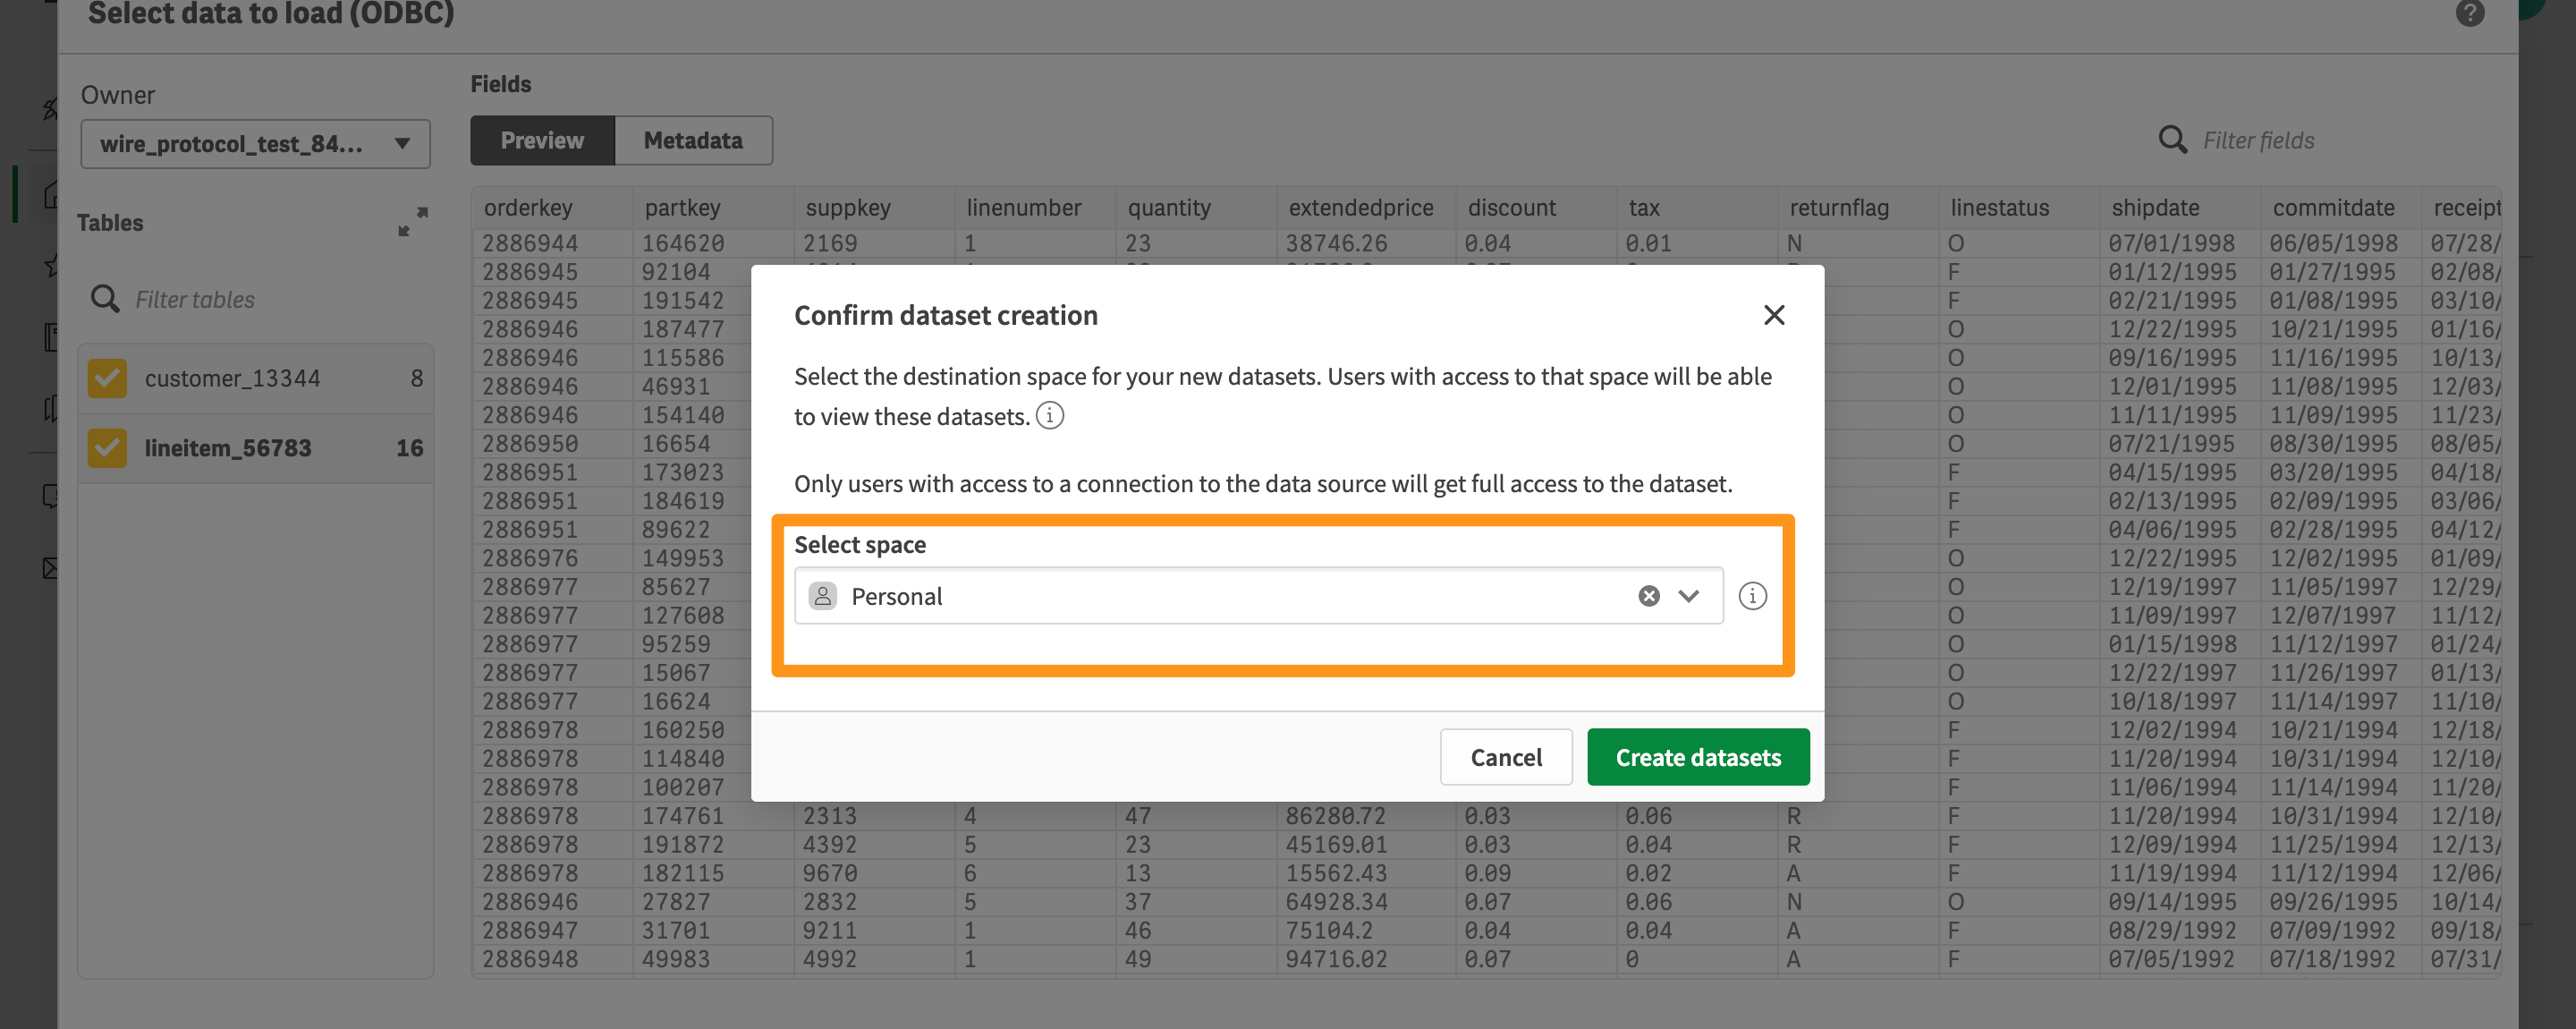
Select the Qlik workspace in which the data is created.
Step 3: Connection completed
After the connection is completed, enter the Catalog page, and you can see the information about the connection. You can use this information to perform various subsequent applications in Qlik.
