Setting Access Control
Access Control Design
Canner Enterprise uses a layered authorization mechanism: identity authentication, data source data authorization, workspace data authorization, to achieve global and regional dynamic authorization policies and separate data ownership and usages, allowing the original data source to be fully protected, domain experts can also obtain the necessary data usage rights.
Access Control Design
The access control in Canner Enterprise is similar to the folder access control design in Cloud Storages, You can set different permissions for folders or files in folders in the cloud storages, and the permissions can be for individual or group members.
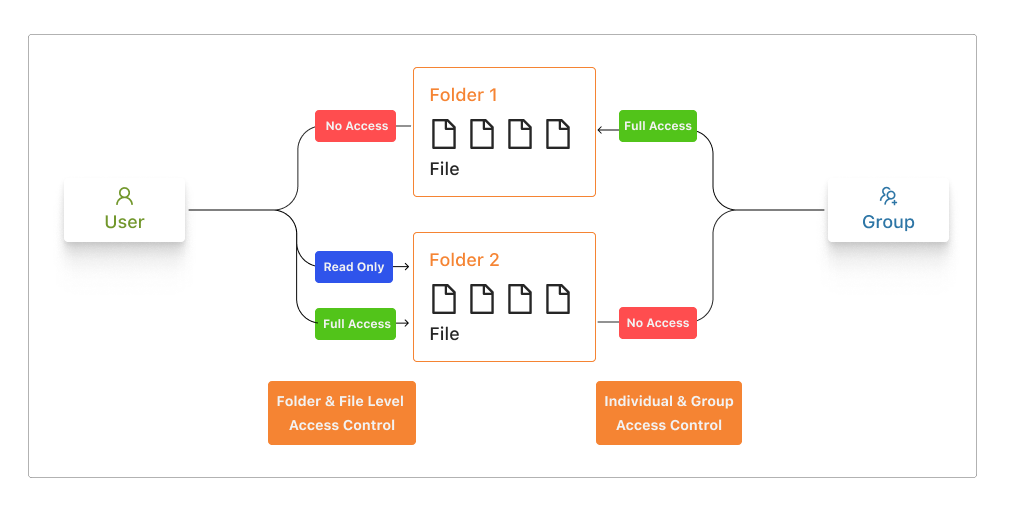
The design is similar to Canner Enterprise. You can set different permissions for Data Source, Workspace, and Data Table in the platform, and the permissions can be for individual or group members.

Identity Authentication
Users in Canner Enterprise are divided into two roles, Admin and Member (for explicit role permissions, please refer to System User Authentication); different roles can use distinguish operations in Canner Enterprise.
Adminis the system administrator who can set the global role of the platform and can use all system functionalities, including system status, billing, etc.Memberis a general user who can use the platform's data source and workspace pages.
Data Source data authorization
You can control data ownership, manage the settings, and access data sources and connection information on the Data Source page. The roles are divided into Data Owner and Data Steward (For detailed role permissions, please refer to Data Source Access Control).
Data Owneris the data owner, who can set the connection information of the data source and add other users to the source, usually the DBA or system administrator in the enterprise.Data Stewardis a data administrator who cannot view or edit the connection information of the data source, but can share the data to different workspaces, or assist in supplementing the metadata related to the data catalog, usually data engineers, data analysts, etc.
In an enterprise organization, different system databases are often managed by various departments or DBAs. When the data needs to be accessed, the authority of some data is authorized to the user unit.
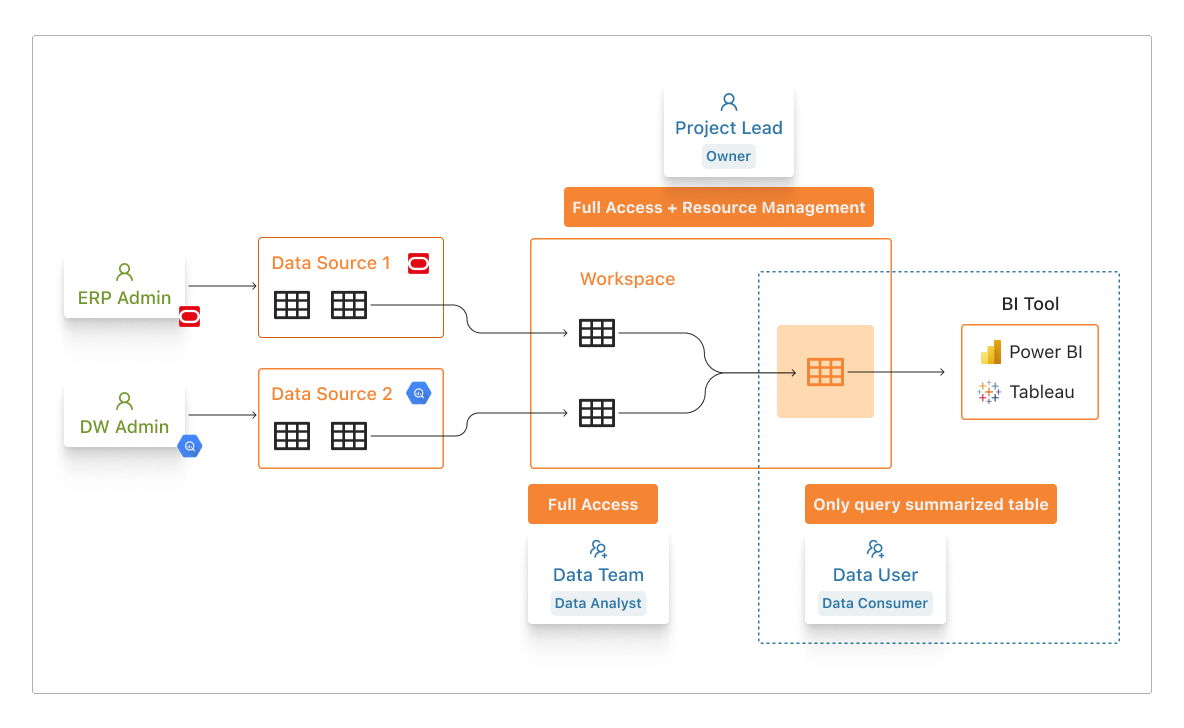
Take the following picture as an example; administrators of different systems can edit and manage connection information as Data Owner and set who can view the data table in the shared source. In contrast, the data team as Data Steward cannot view or edit the original data source connection information, but the data can be shared and used in different workspaces.

Data Source access control
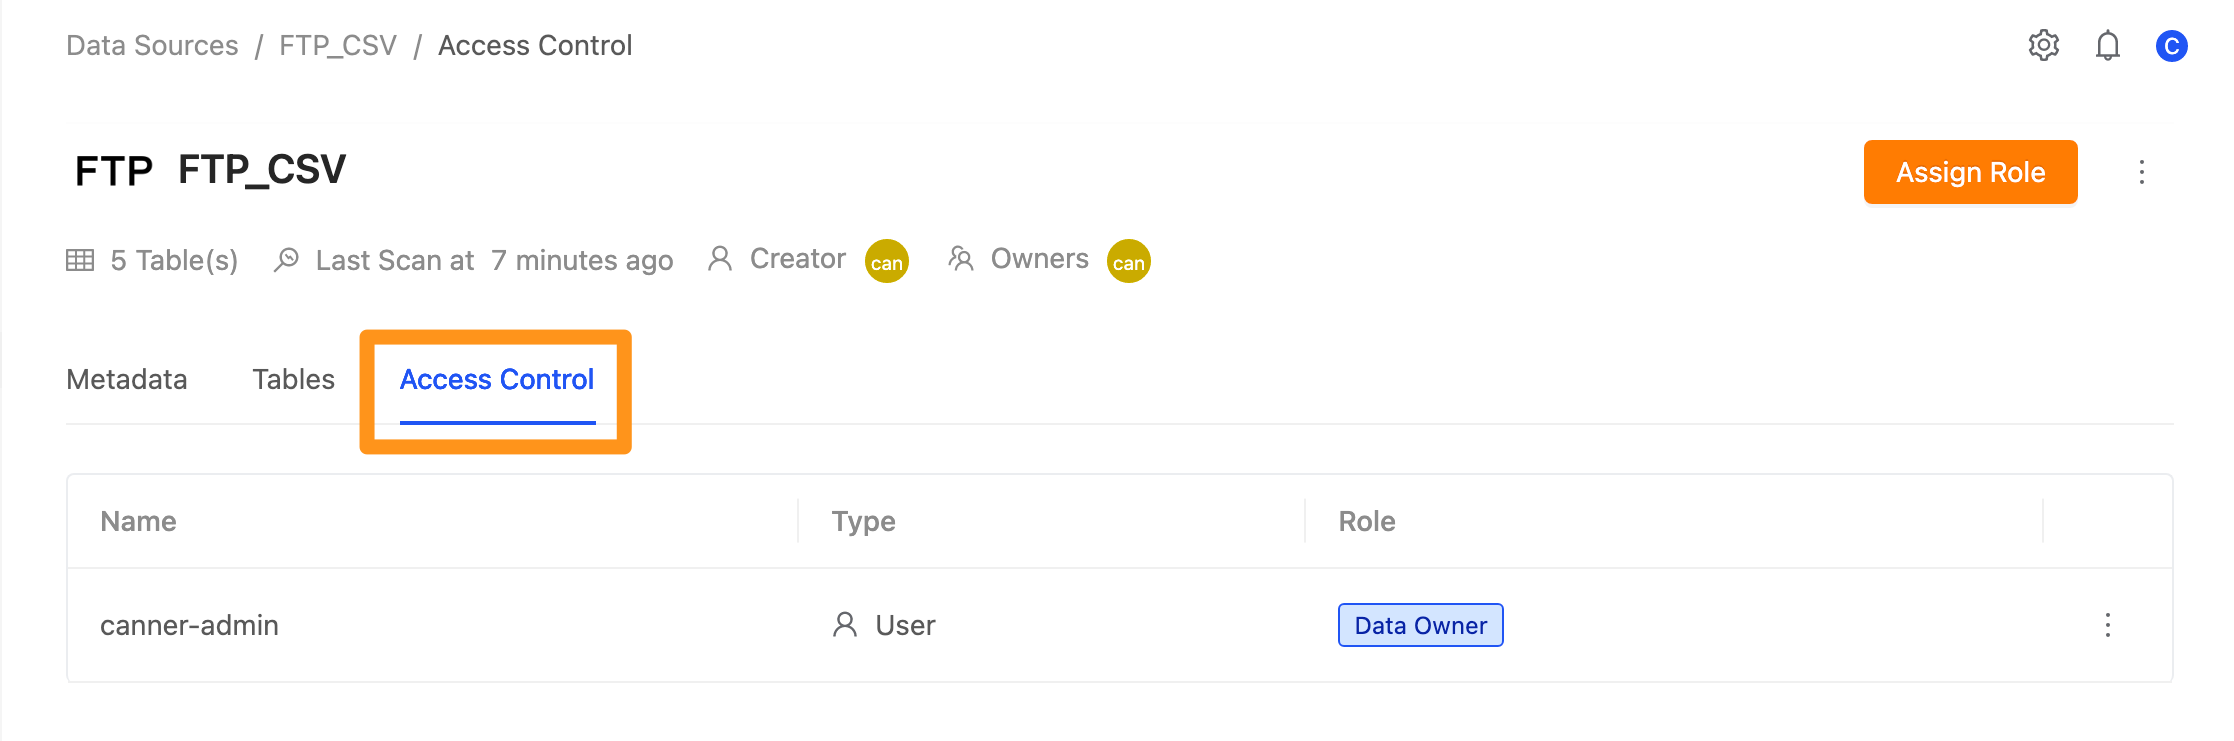
Step 1: Enter the Access Control page
Go to the Sources page and switch to the Access Control page.
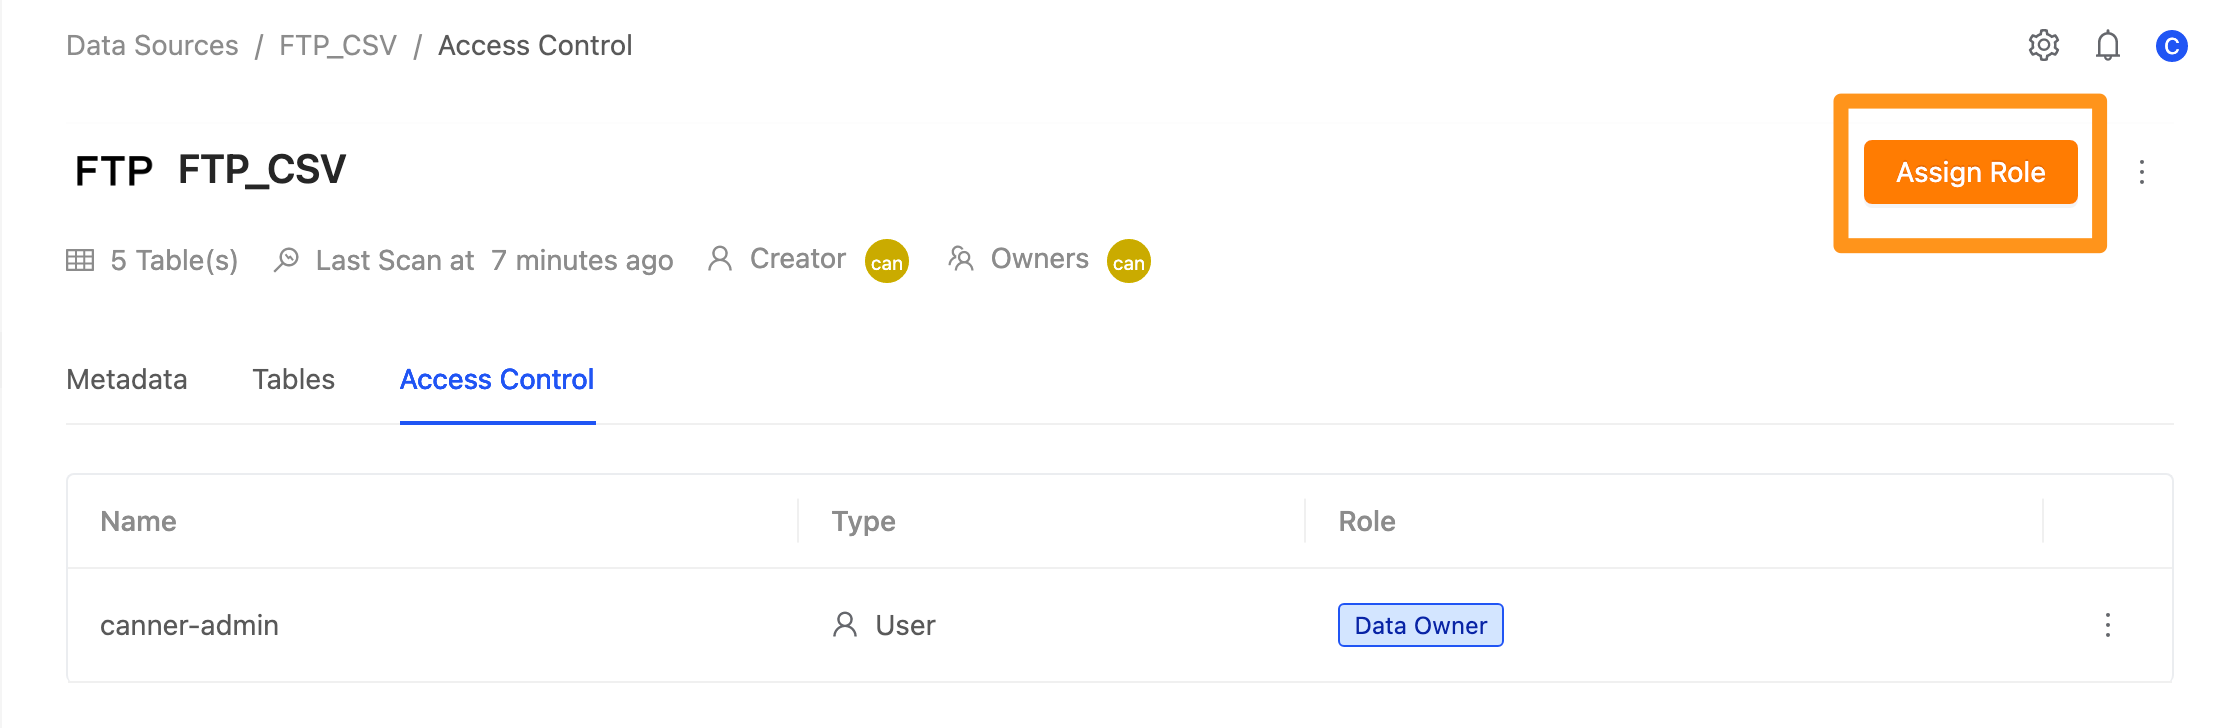
Step 2: Select assign role
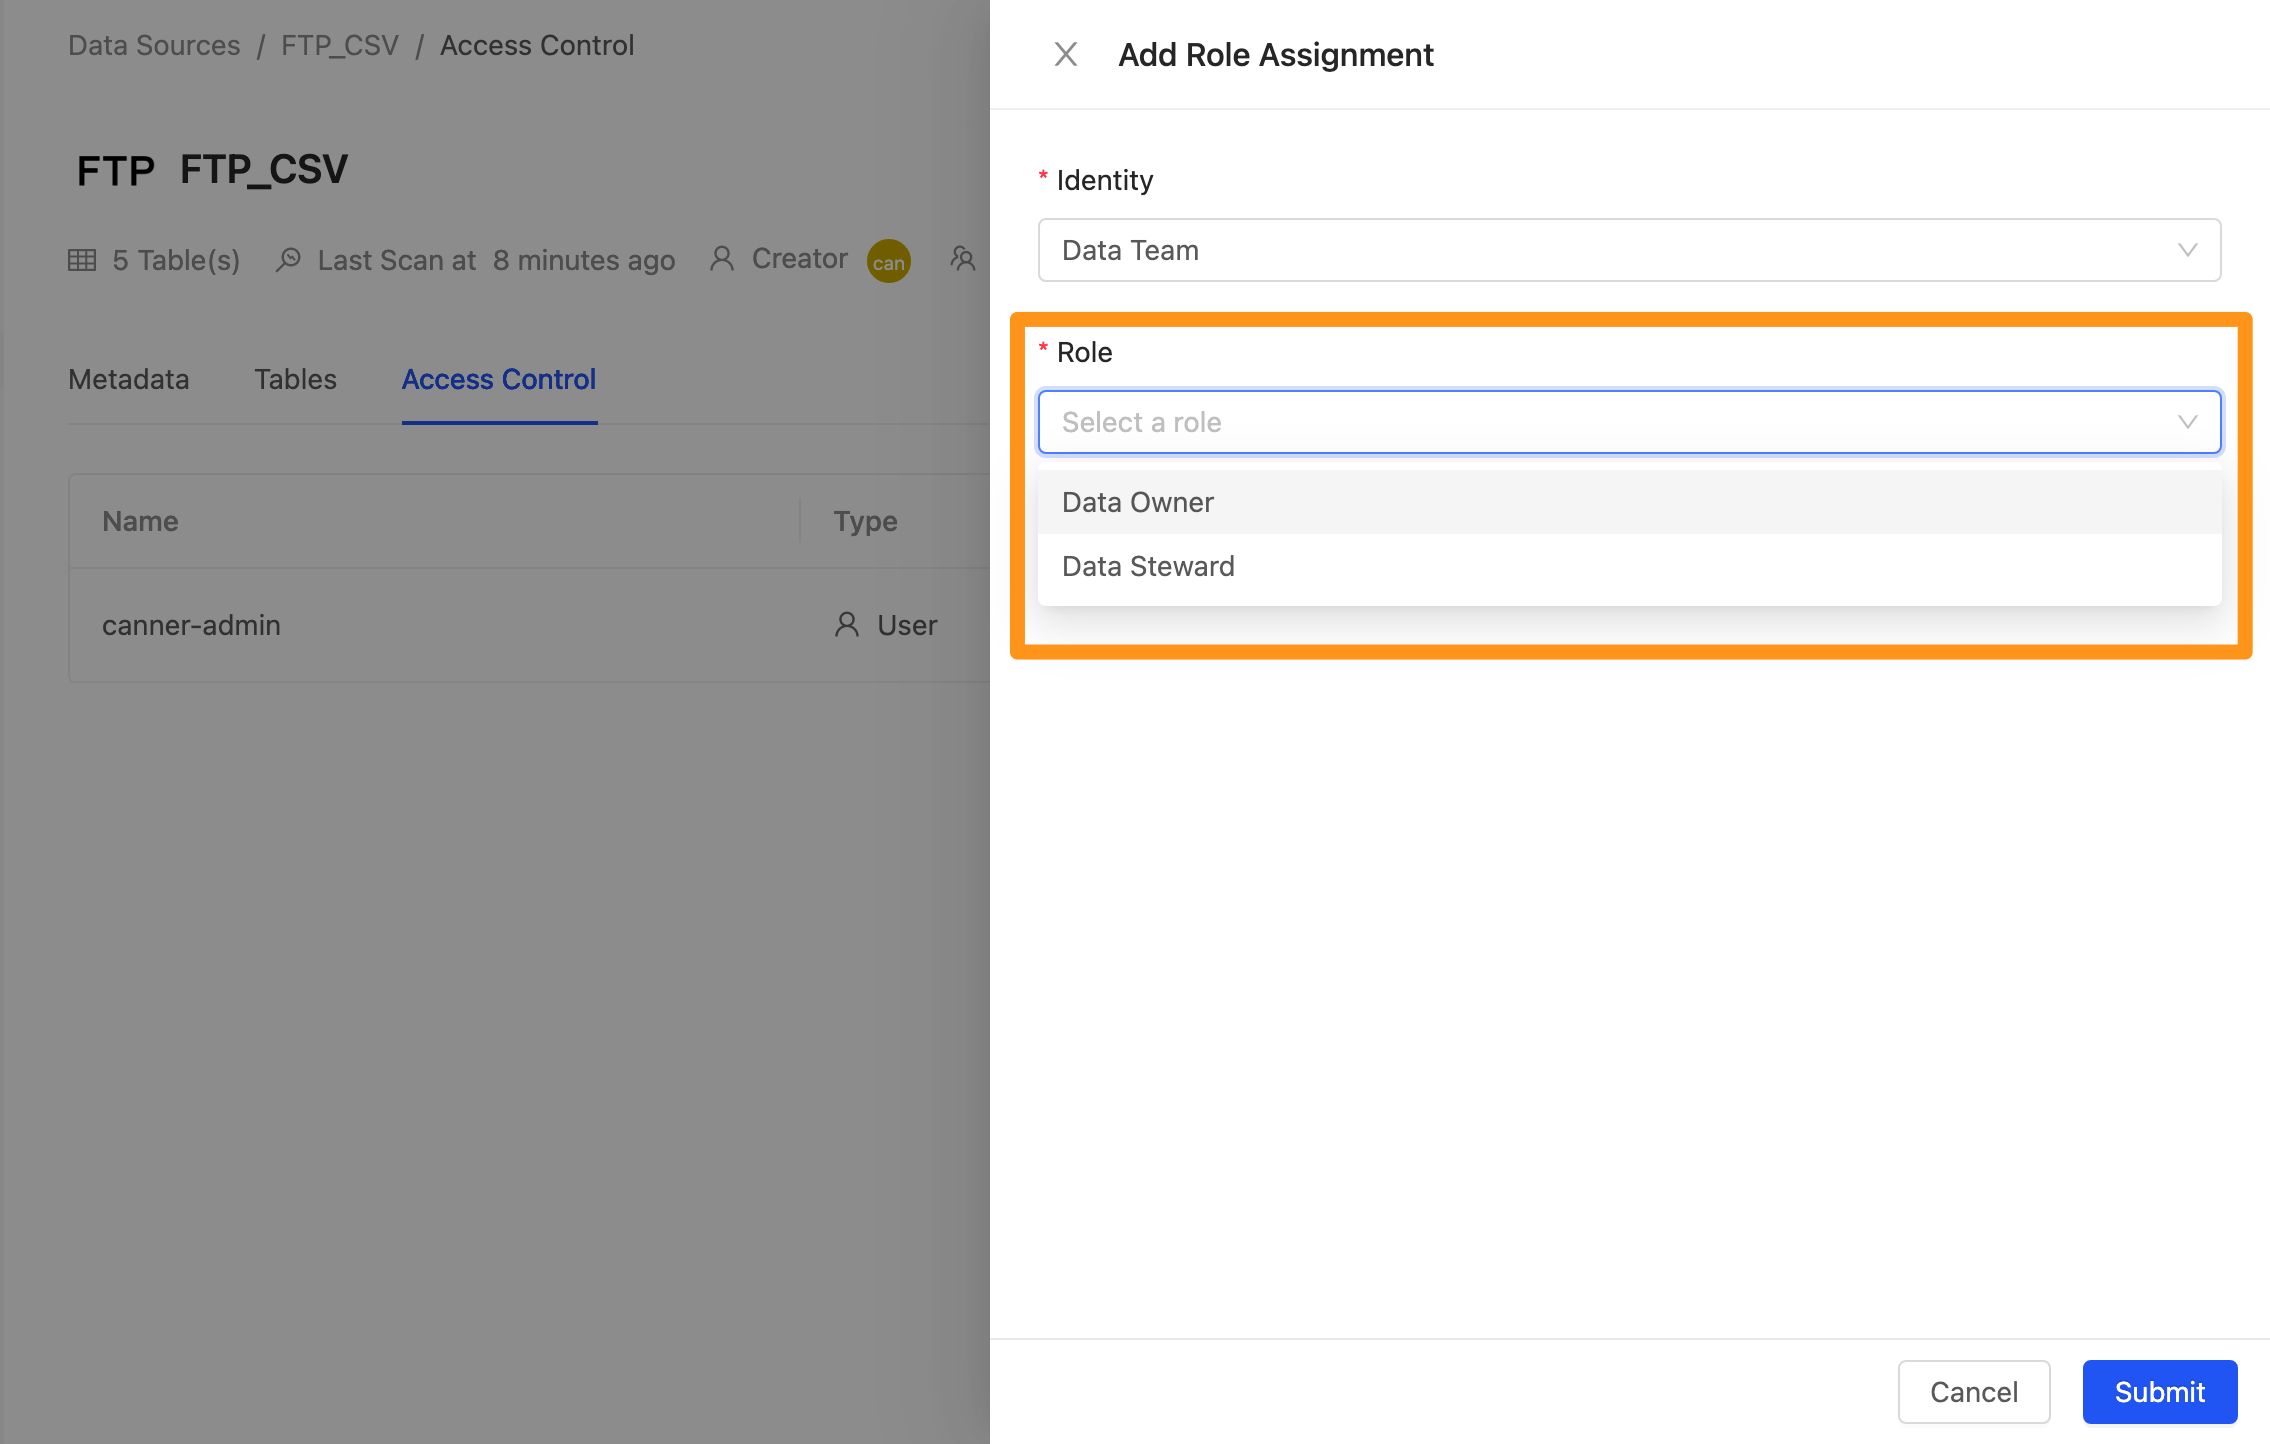
Click the Assign Role button.
A window pops up; click Role to expand the drop-down menu, where you can set the permission role as Data Owner or Data Steward.
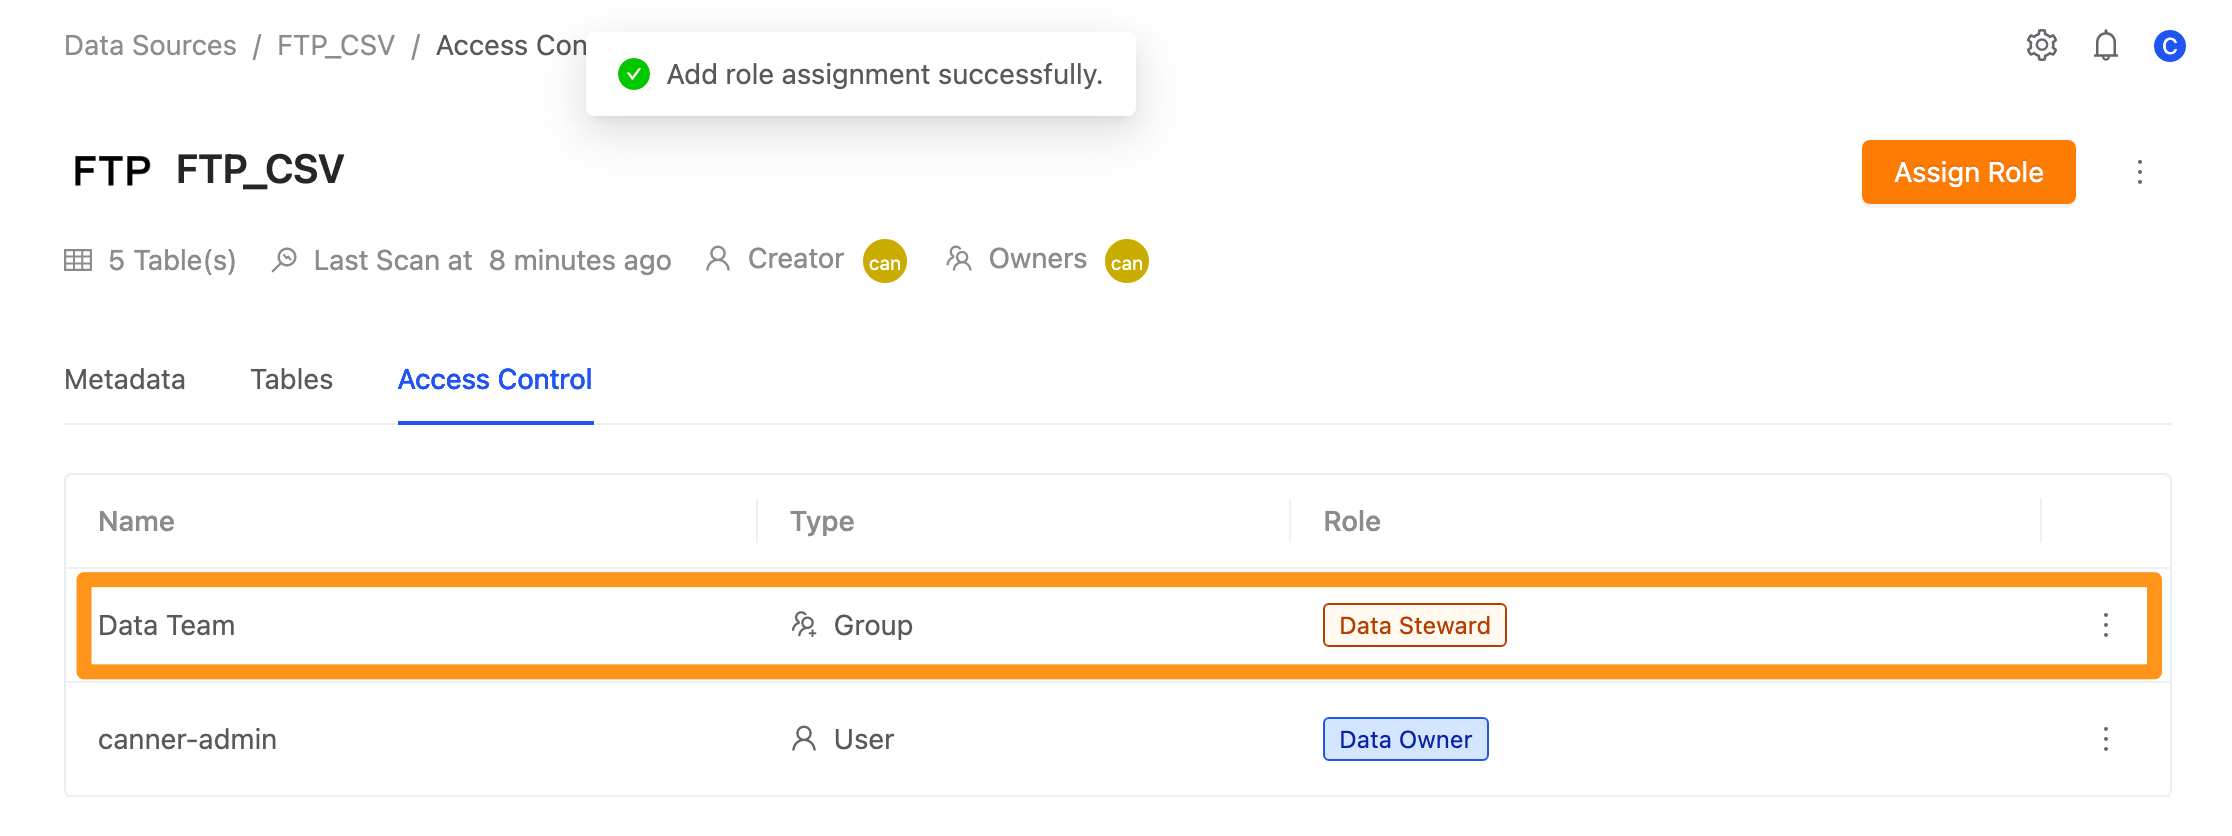
Step 3: Complete the setup
After clicking Submit to send, you can see the set permission roles on the screen.
Workspace Data Authorization
On the Workspace page, you can control data usage permissions, and manage data viewing, computing, output, sharing, etc.. The roles are divided into Owner, Data Analyst, and Data Consumer (For detailed role permissions, please refer to Workspace Permission Control).
Owneris the workspace owner with the highest authority in the workspace, usually the department head or project leader in the enterprise.Data Analystis a data analyst who can create and process data in the workspace and share it with other users, usually data experts in the enterprise.Data Consumeris a data applicator who can only access the data authorized by theOwnerorData Analyst, usually a domain application expert in the enterprise.
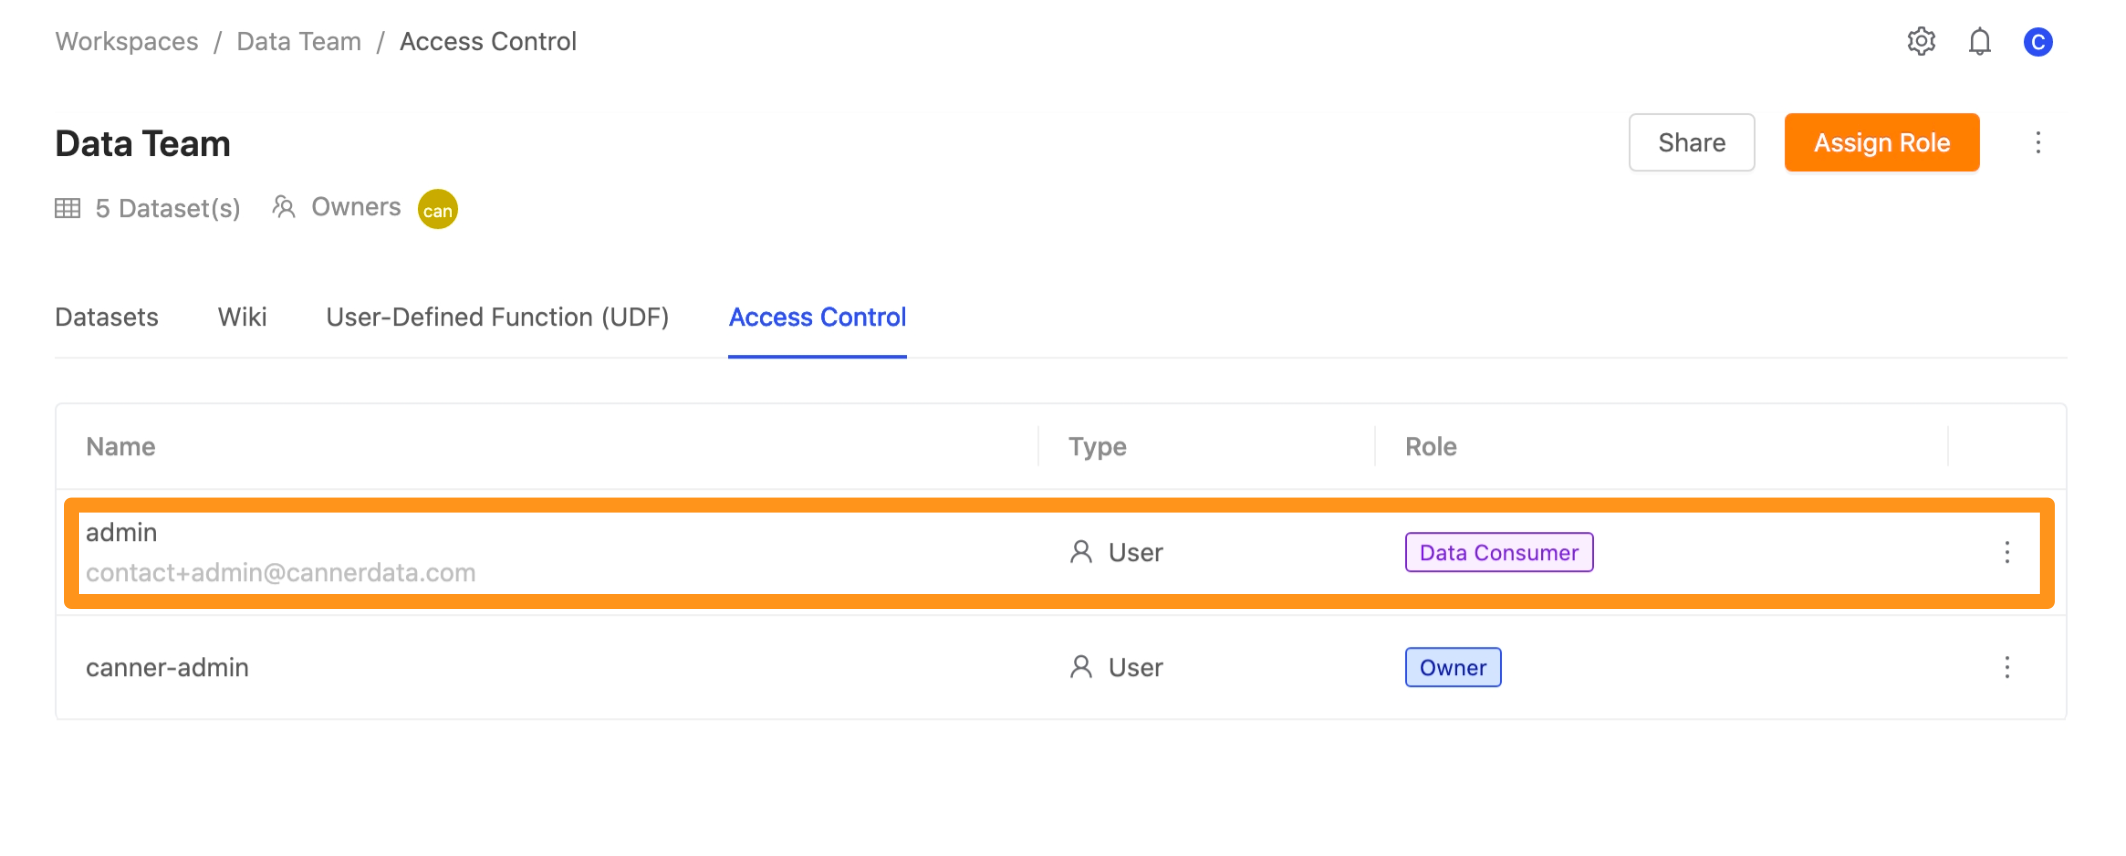
Take the following picture as an example, the project supervisor acts as Owner to control which team members to add to the workspace and can grasp the resource constraints in the workspace; the data team works as Data Analyst to pull data from data sources into the workspace use, and collect and process the data; the operation team, as Data Consumer, can only access the data organized by the data team and apply it to the BI tool.
Workspace permission setting steps
Step 1: Enter the Access Control page
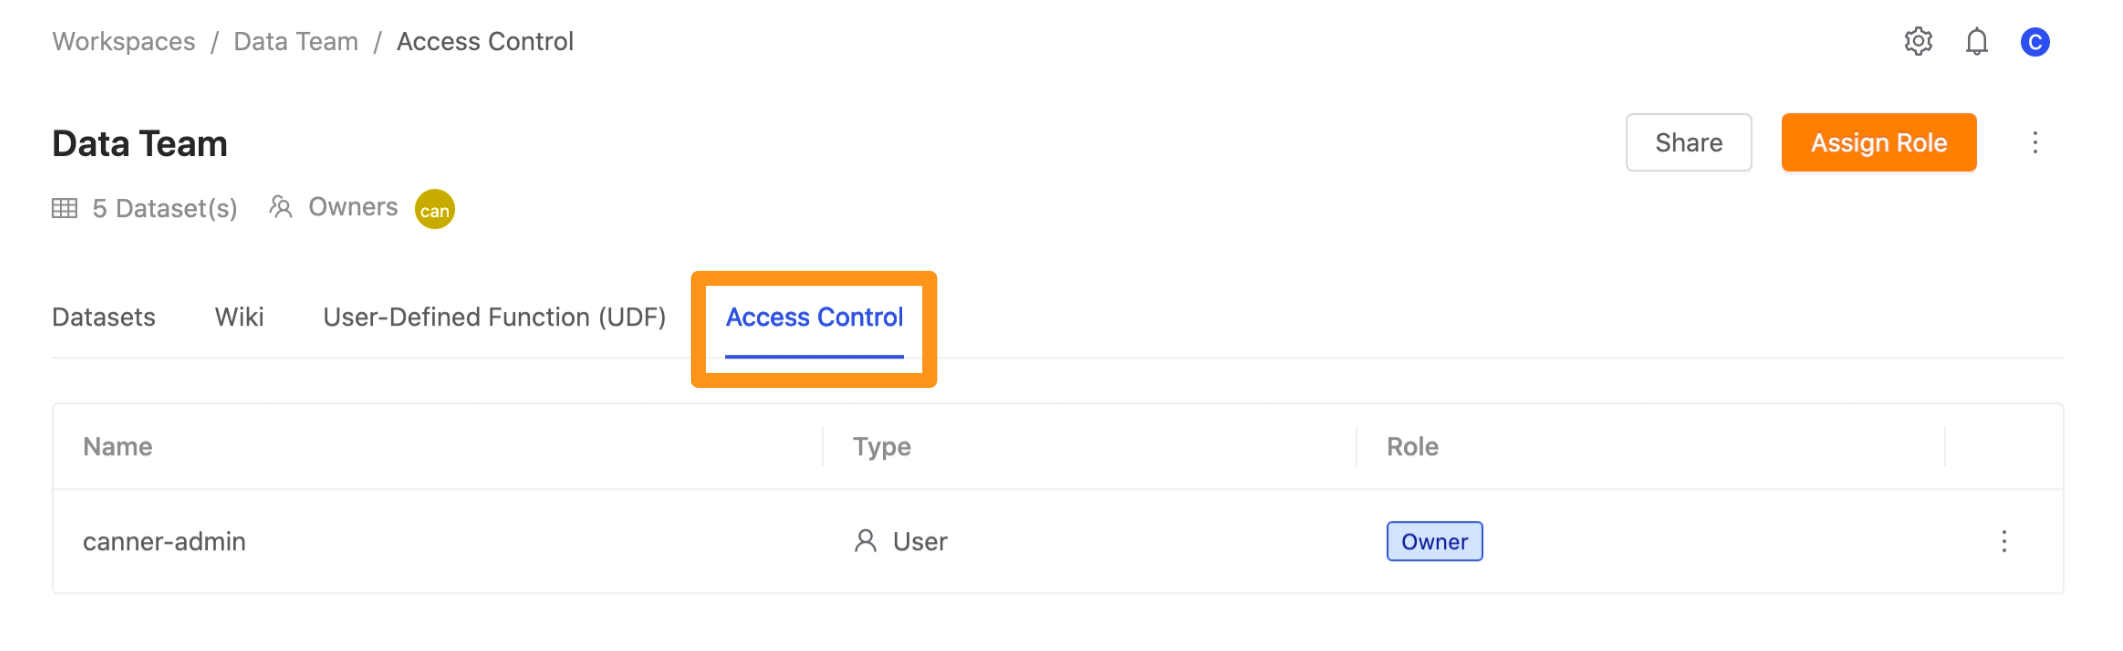
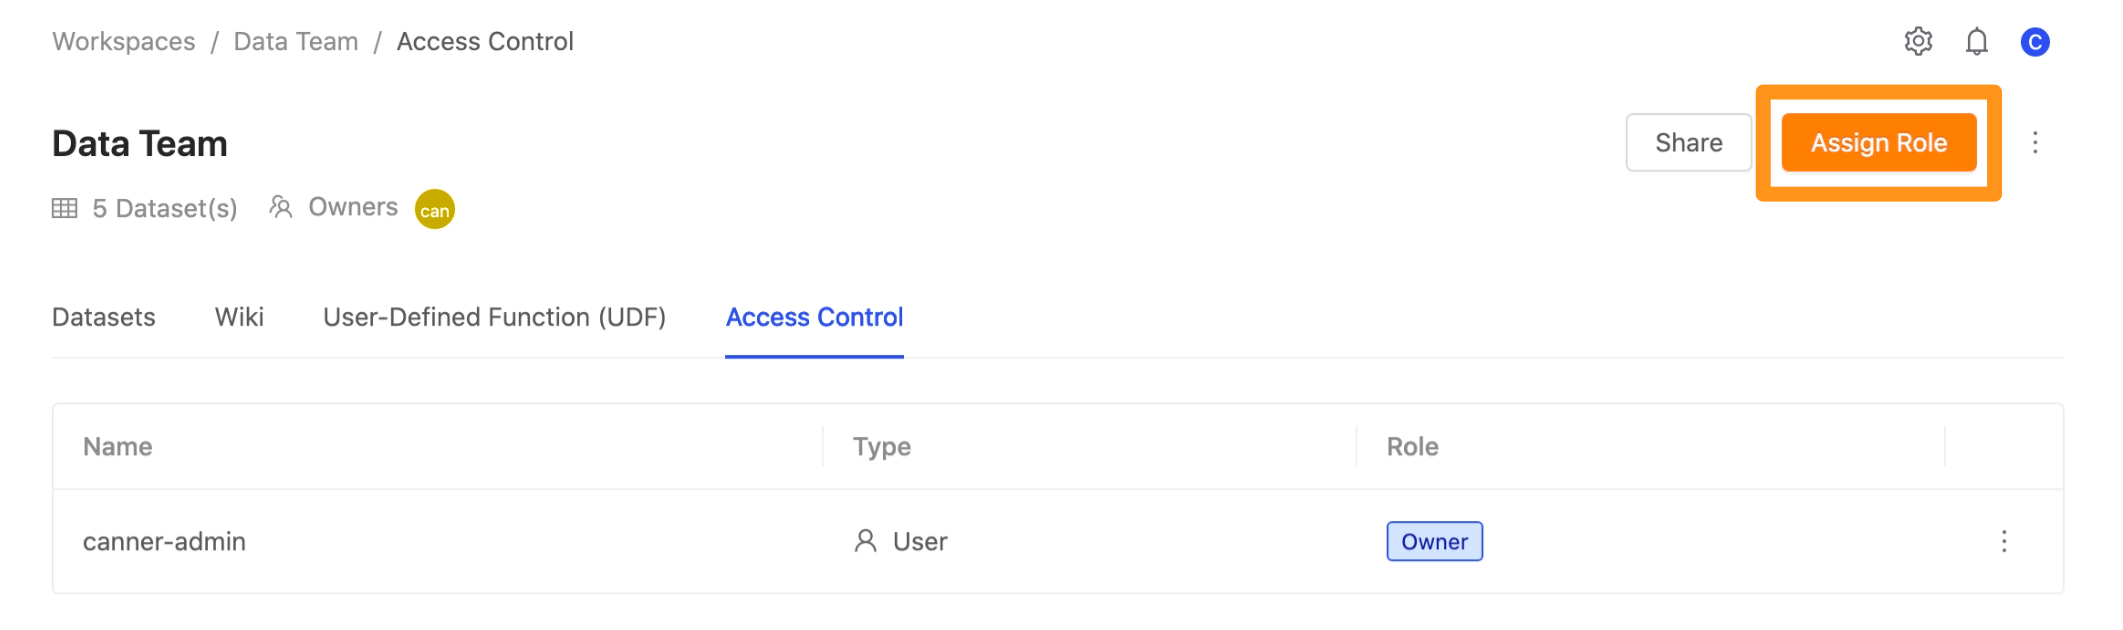
Go to the workspace and switch to the Access Control page.
Step 2: Select the assign role
Click on the Assign Roles button.
A window pops up; click Role to expand the drop-down menu, where you can set the permission role as Data Analyst or Data Consumer.
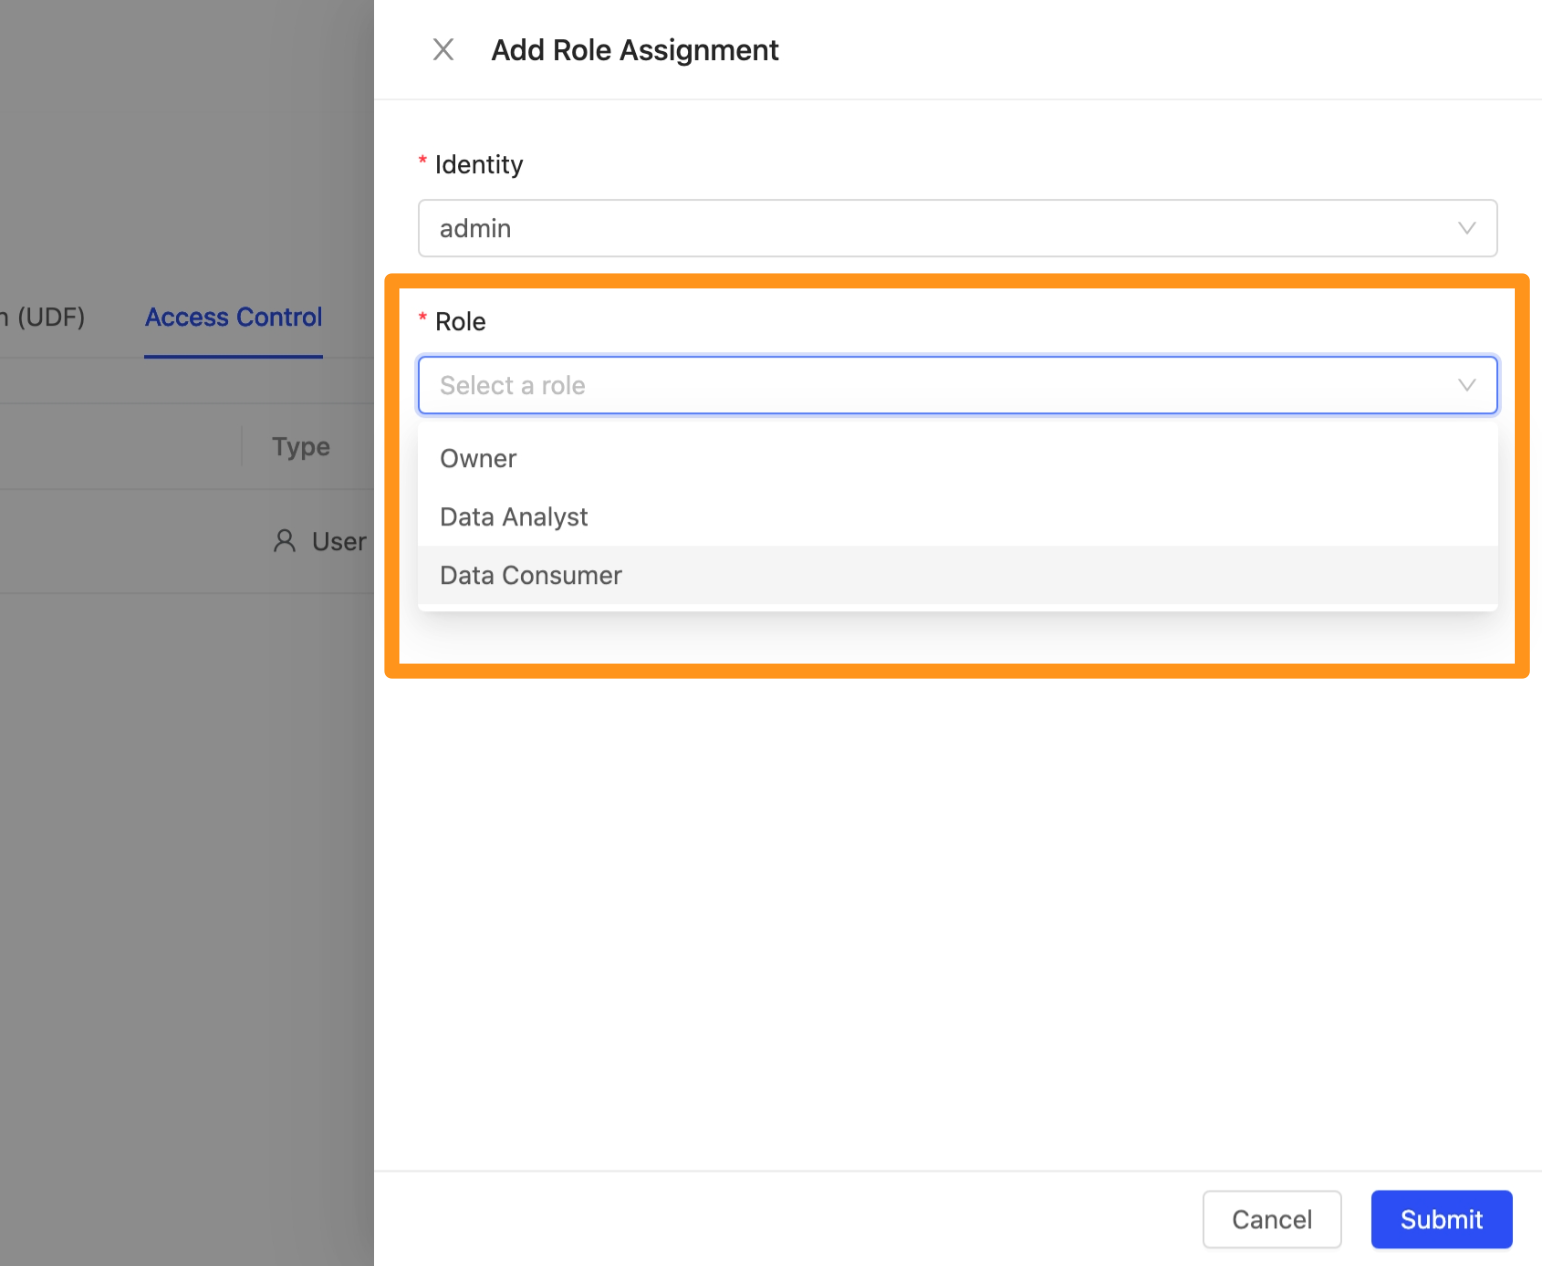
Step 3: Complete the setup
After clicking Submit to send, you can see the set permission roles on the screen.