Connecting to Elasticsearch
Before starting
Before you begin, learn how to create a data source
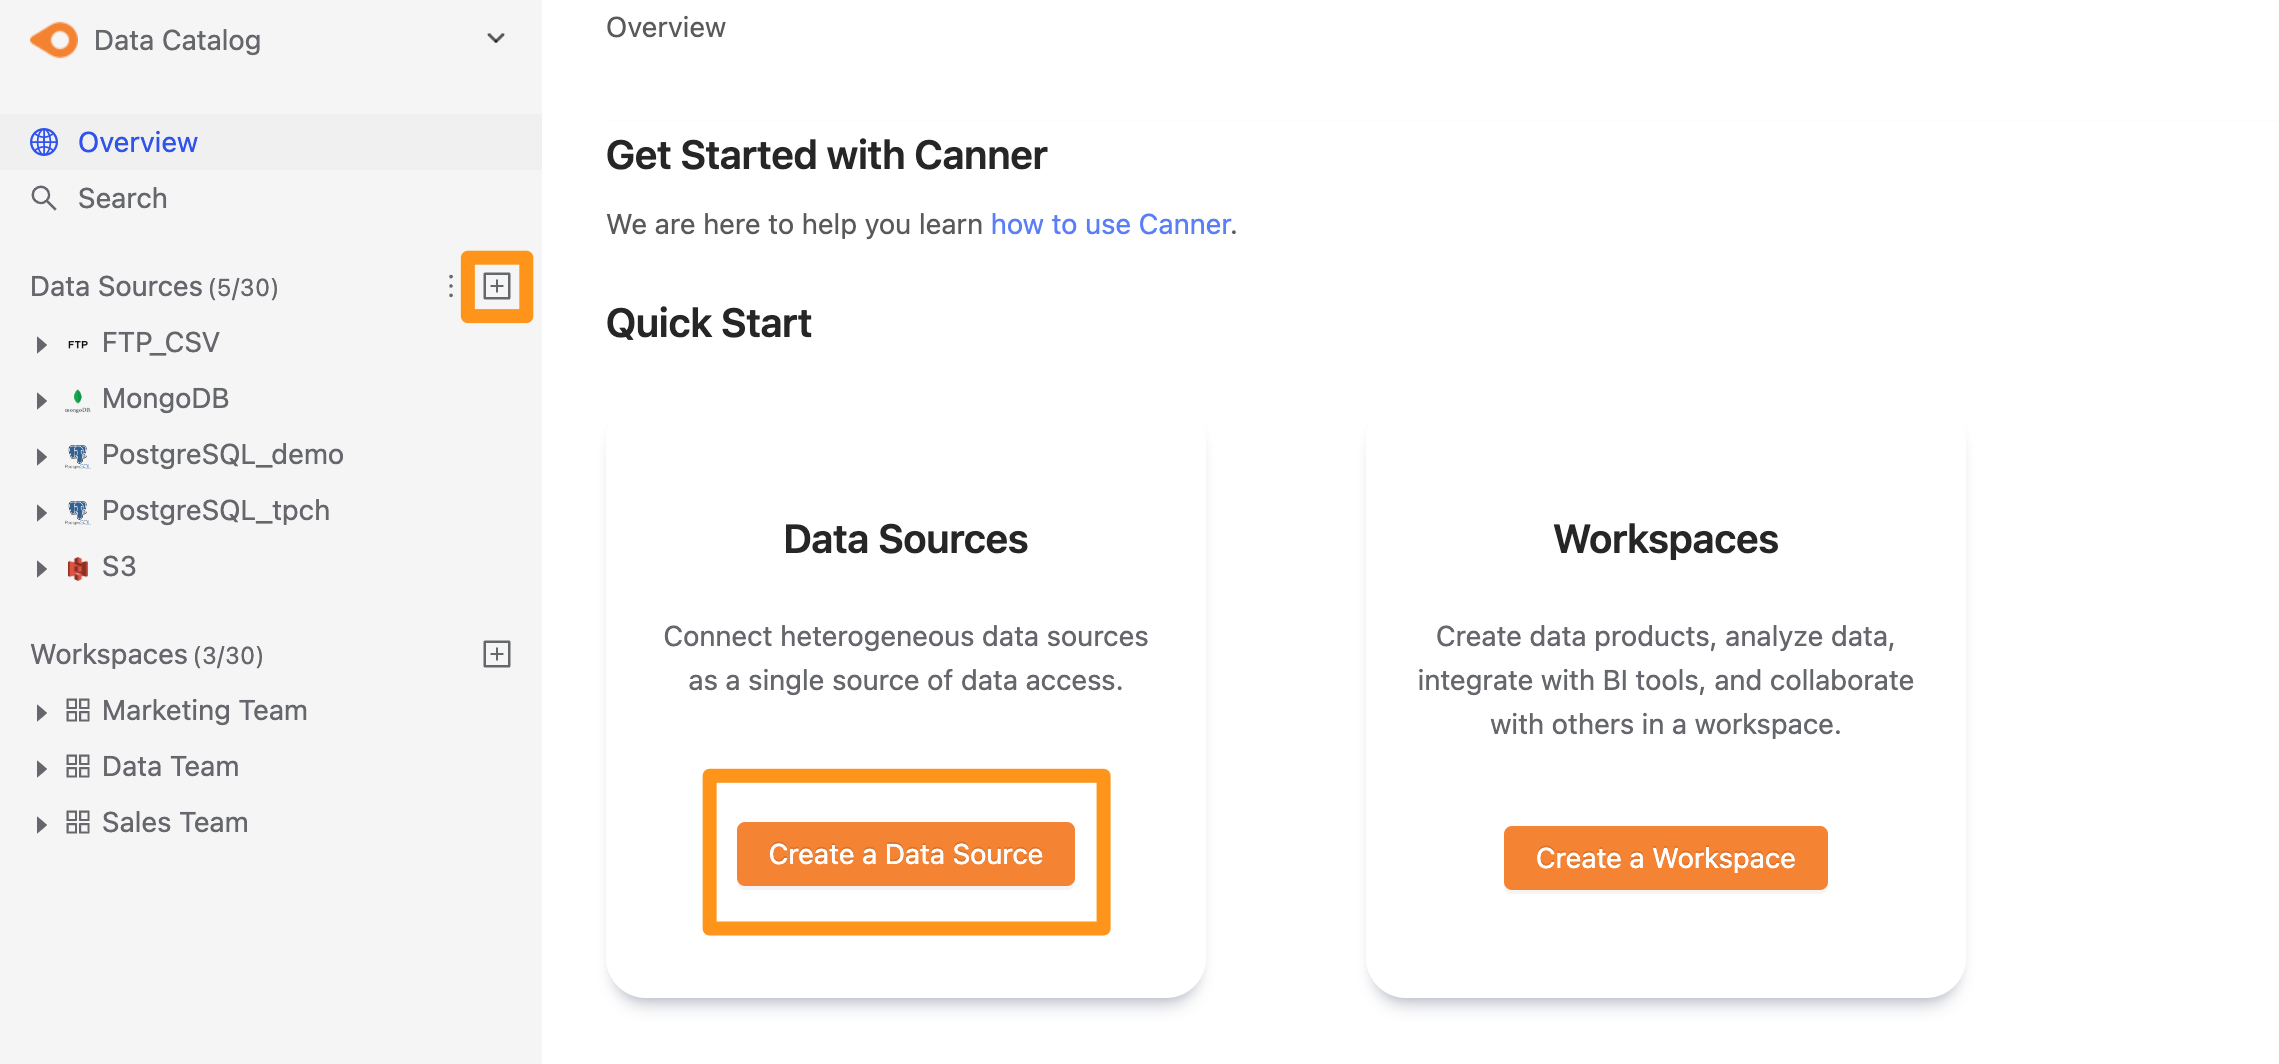
Step 1: Create data sources
You can create a data source through the following two operations. The first is to click the "+" button on the sidebar Data Source or click the Create a Data Source button on the Overview page to create.
Step 2: Set connection information
In the pop-up form, fill in and set the connection information, and click Submit to send.
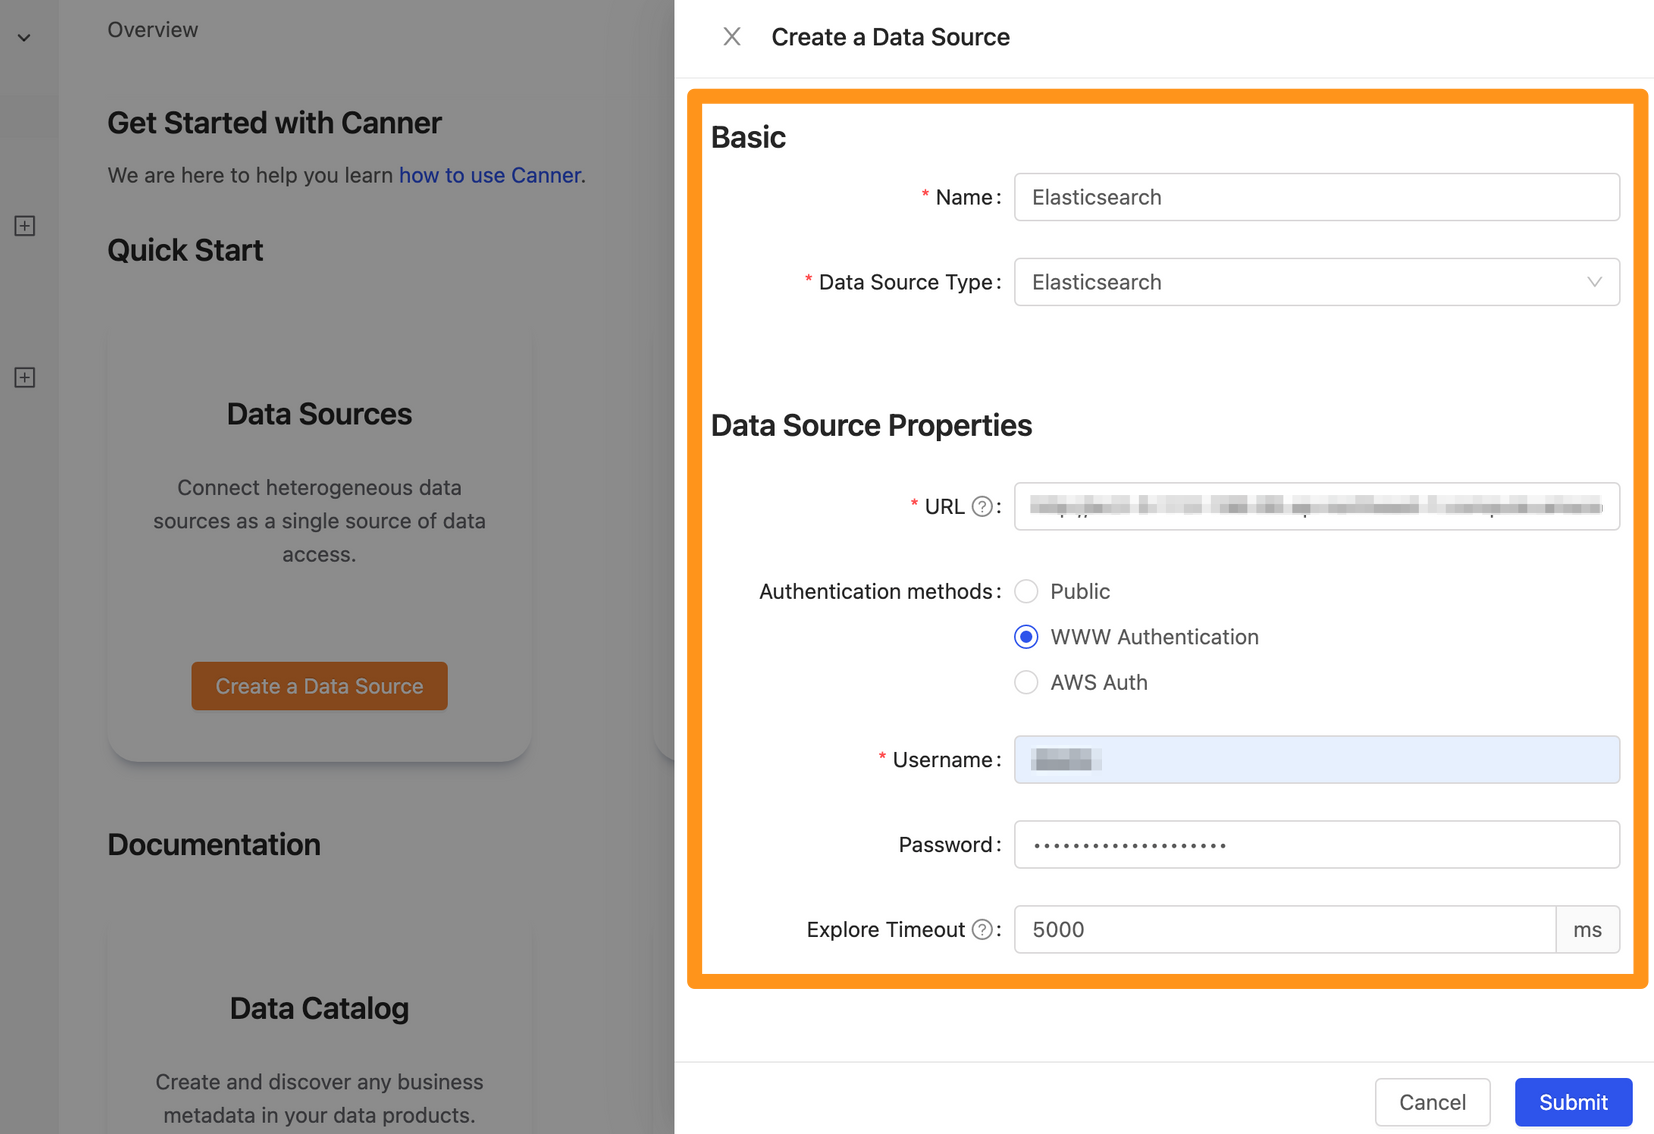
Name: database name, for display, can be modified laterData Source Type: database type, please selectElasticsearchURL: Please fill in the format of<protocol>://<hostname>:<port>, such ashttp://elastic.domain.com:9200/,http://10.100.0.7 :9200/Authentication methods:Public: Ifx-packis not activated, set the user password and selectPubliccanWWW Authentication: Ifx-packis enabled and the user password is set, you can check this optionUsername: Username used for connectionPassword: Password used for connection
AWS Auth: If you use AWS's Elasticsearch Service and set up an AWS user to access Elasticsearch, you can check this optionAWS Region: Region of AWSAWS Access Key: AWS user access keyAWS Secret Key: AWS user secret key
Explore Timeout: If the database contains a large number of Tables, it is recommended to increase this parameter so that the Explorer can wait for a longer time
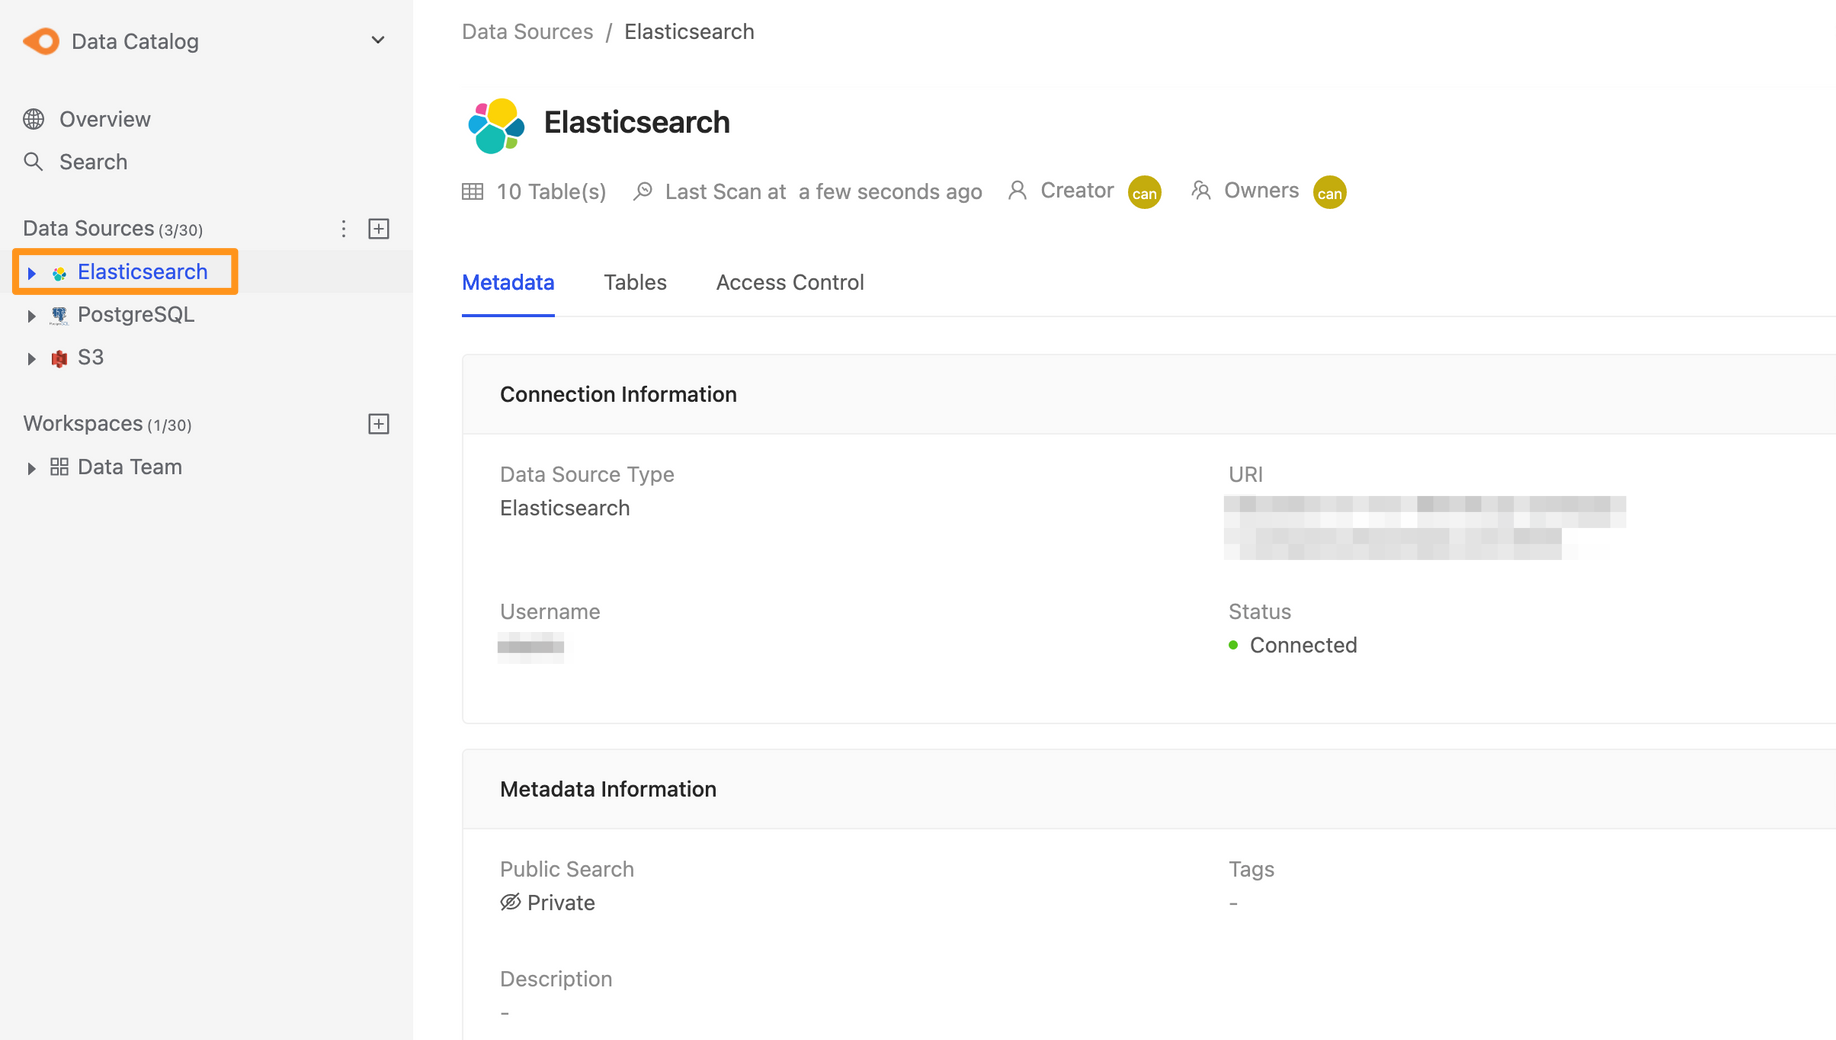
Step 3: Complete the build
After Submitting, the data source of Elasticsearch will display in the sidebar in a short while, and you can click to enter the data source details page.