External Query Table
This feature is only available after version 2.4.3
Previously, all SQL queries executed in Canner Enterprise had to be processed and computed through its internal SQL engine. However, we now support the External Query Table (EQT) feature, which allows users to submit a portion of SQL queries directly to the original database/data warehouse for processing and computation. With EQT, you can also execute proprietary syntax specific to the original database/data warehouse, such as Wildcard queries in BigQuery.
Supported Data Sources for EQT
- BigQuery
- Generic JDBC
- MySQL
- Oracle
- PostgreSQL
- SQL Server
- Teradata
General Limitations
- When creating an EQT, the SQL syntax used is that of the original database, not the ANSI SQL syntax used in Canner Enterprise.
- Only query operations are supported, with statements that begin with
SELECTorWITHfollowed bySELECT. - When querying JDBC Connectors-related data sources (MySQL, Oracle, PostgreSQL, SQL Server, Teradata, Generic JDBC),
TABLE_NAMEshould useschema.table.SELECT * FROM SCHEMA.TABLE
Extra Limitations for each data source
BigQuery
Support Google Standard SQL
Need to use the full name of the table. e.g.
SELECT * FROM `Project ID`.`Dataset ID`.`TABLE_NAME`
Teradata
- Not to use
ORDER BYin the statement. (Reference)
- Not to use
PostgreSQL
- Not support the column with
Arraytype
- Not support the column with
SQL Server
- Not support
ORDER BYandWITH
- Not support
How to create EQT
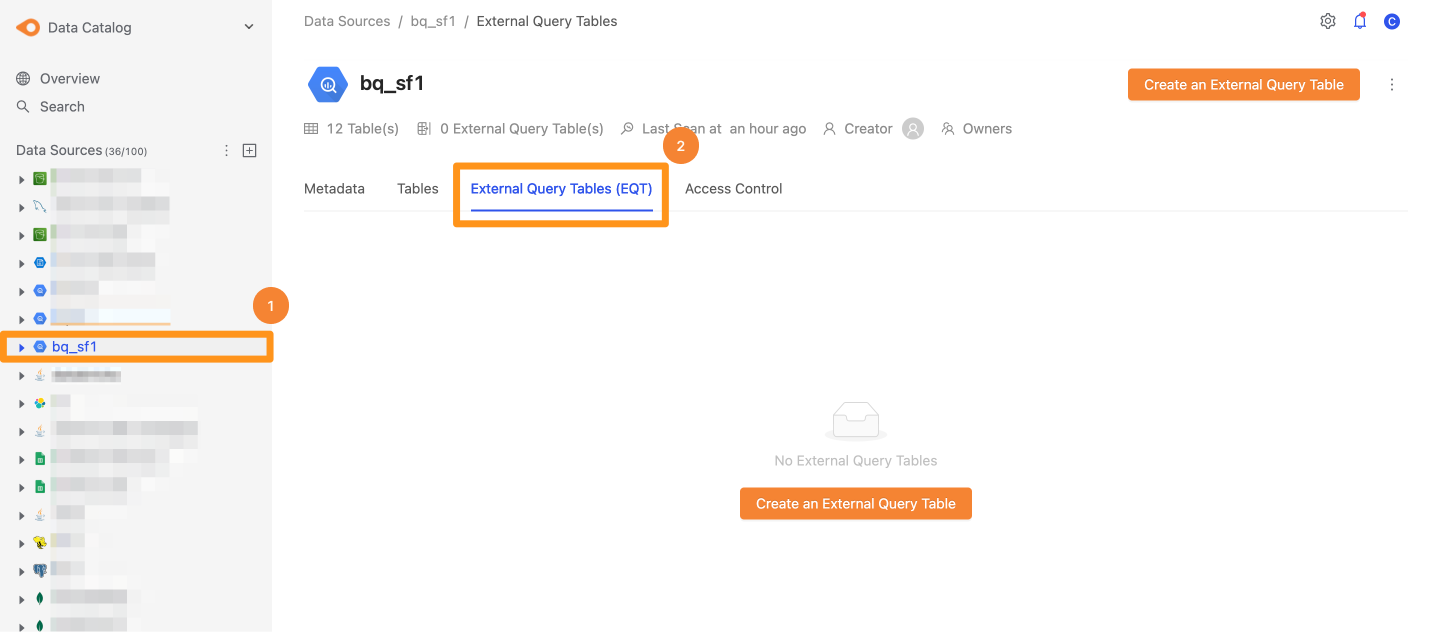
Step 1: Enter the EQT Tab
First, select the data source in the sidebar where you want to create the EQT. After selecting, enter the External Query Table (EQT) tab.
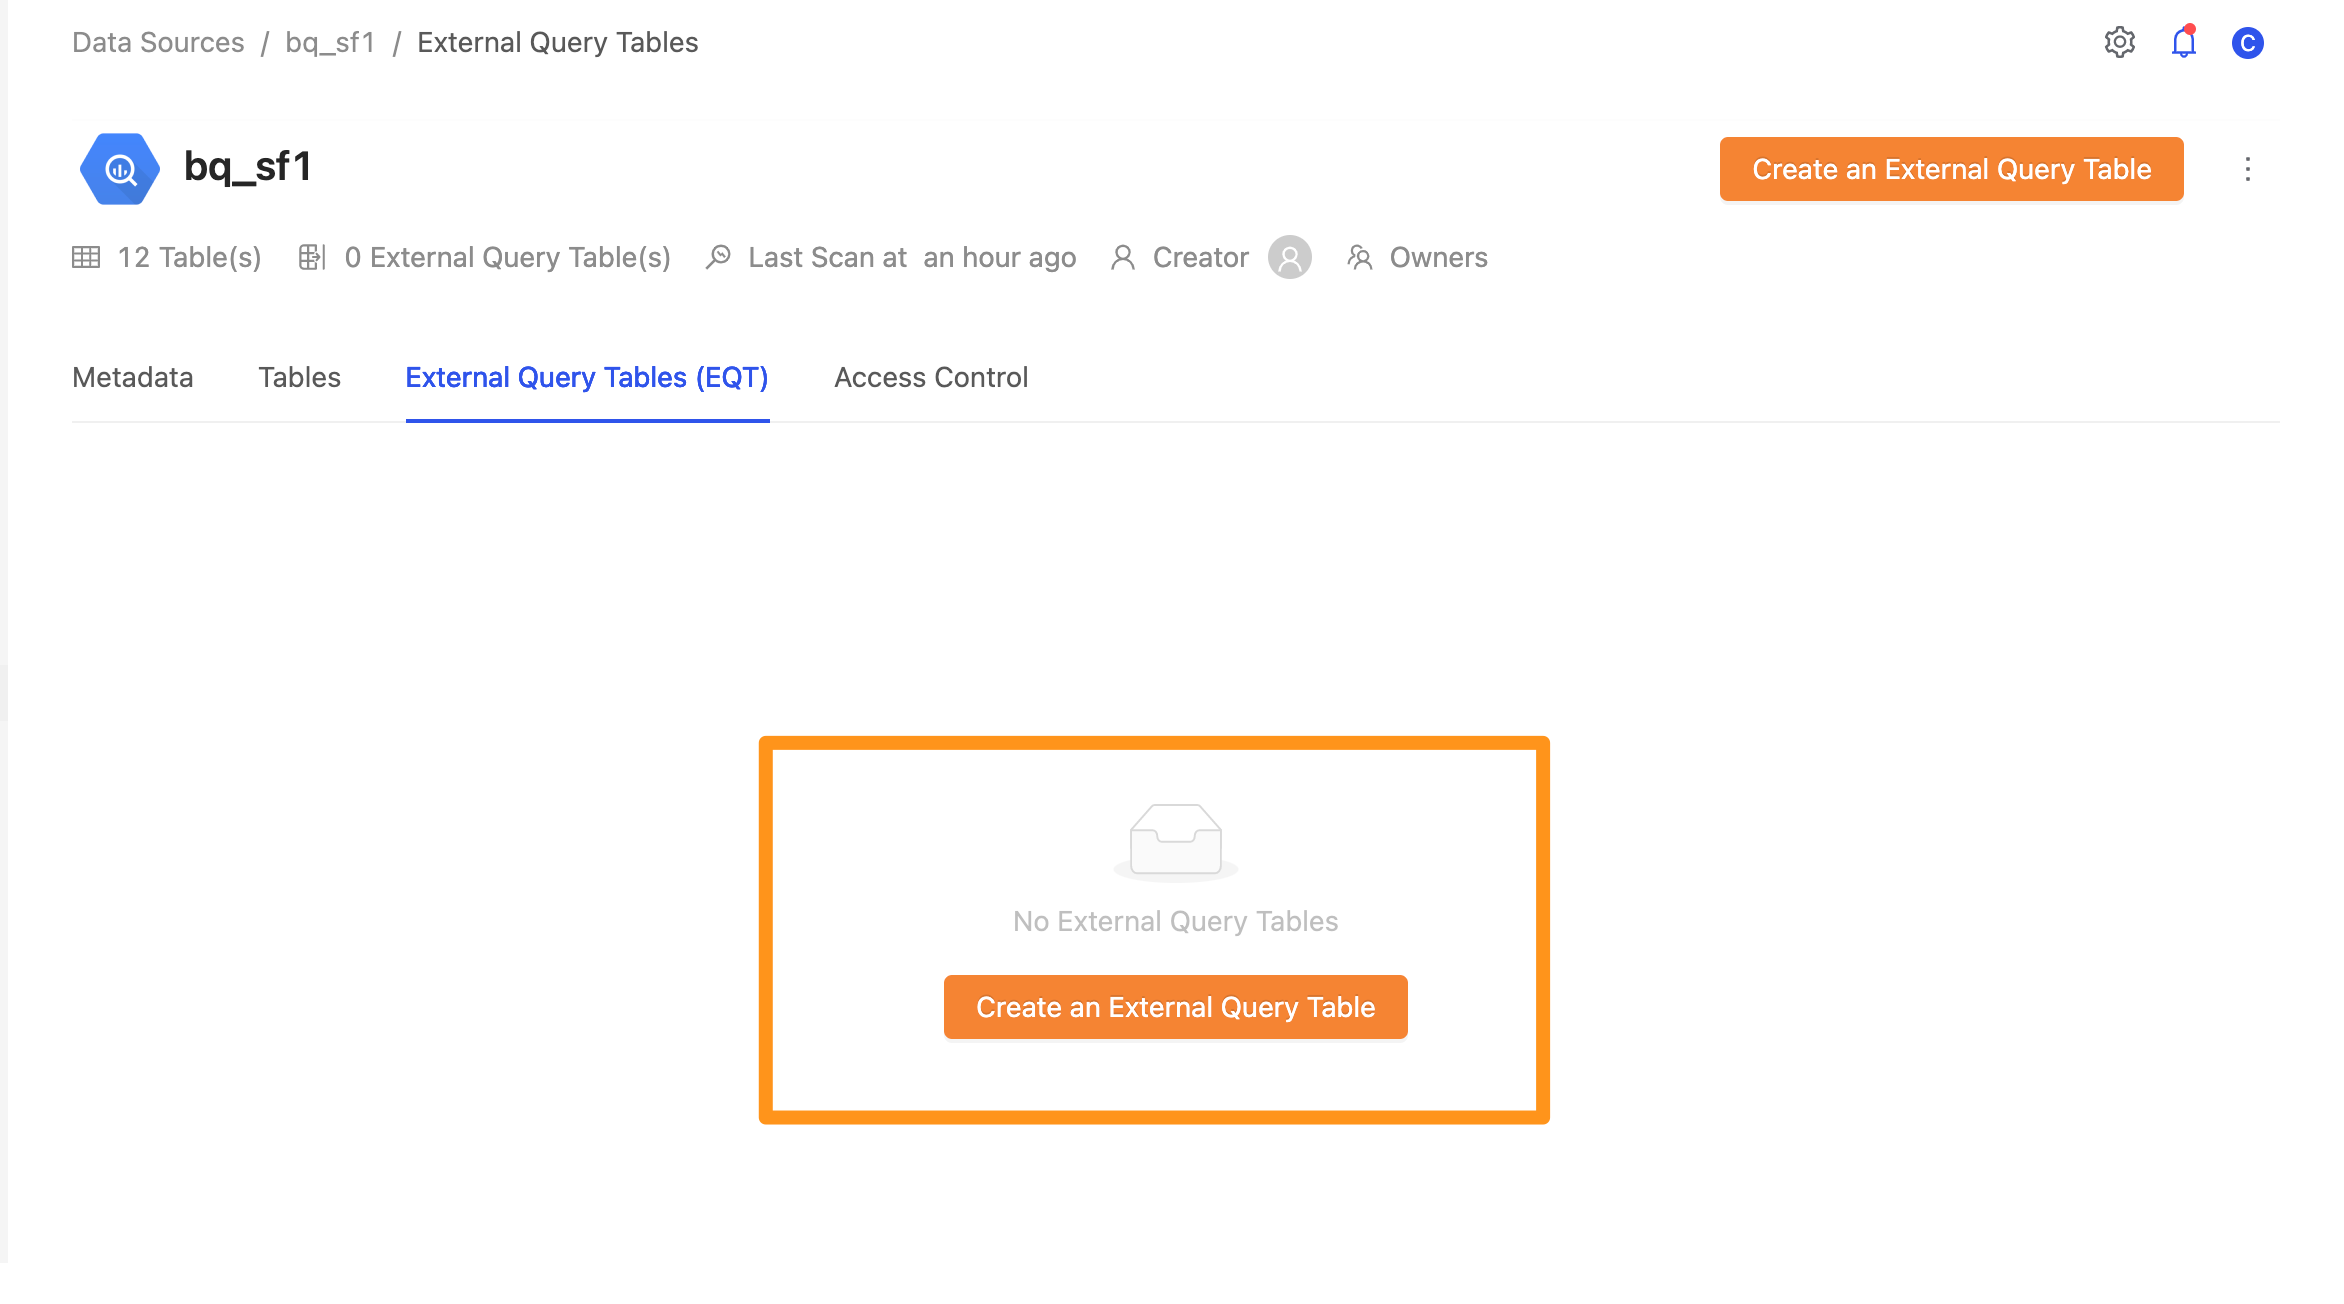
Step 2: Create EQT
Click the Create an External Query Table button.
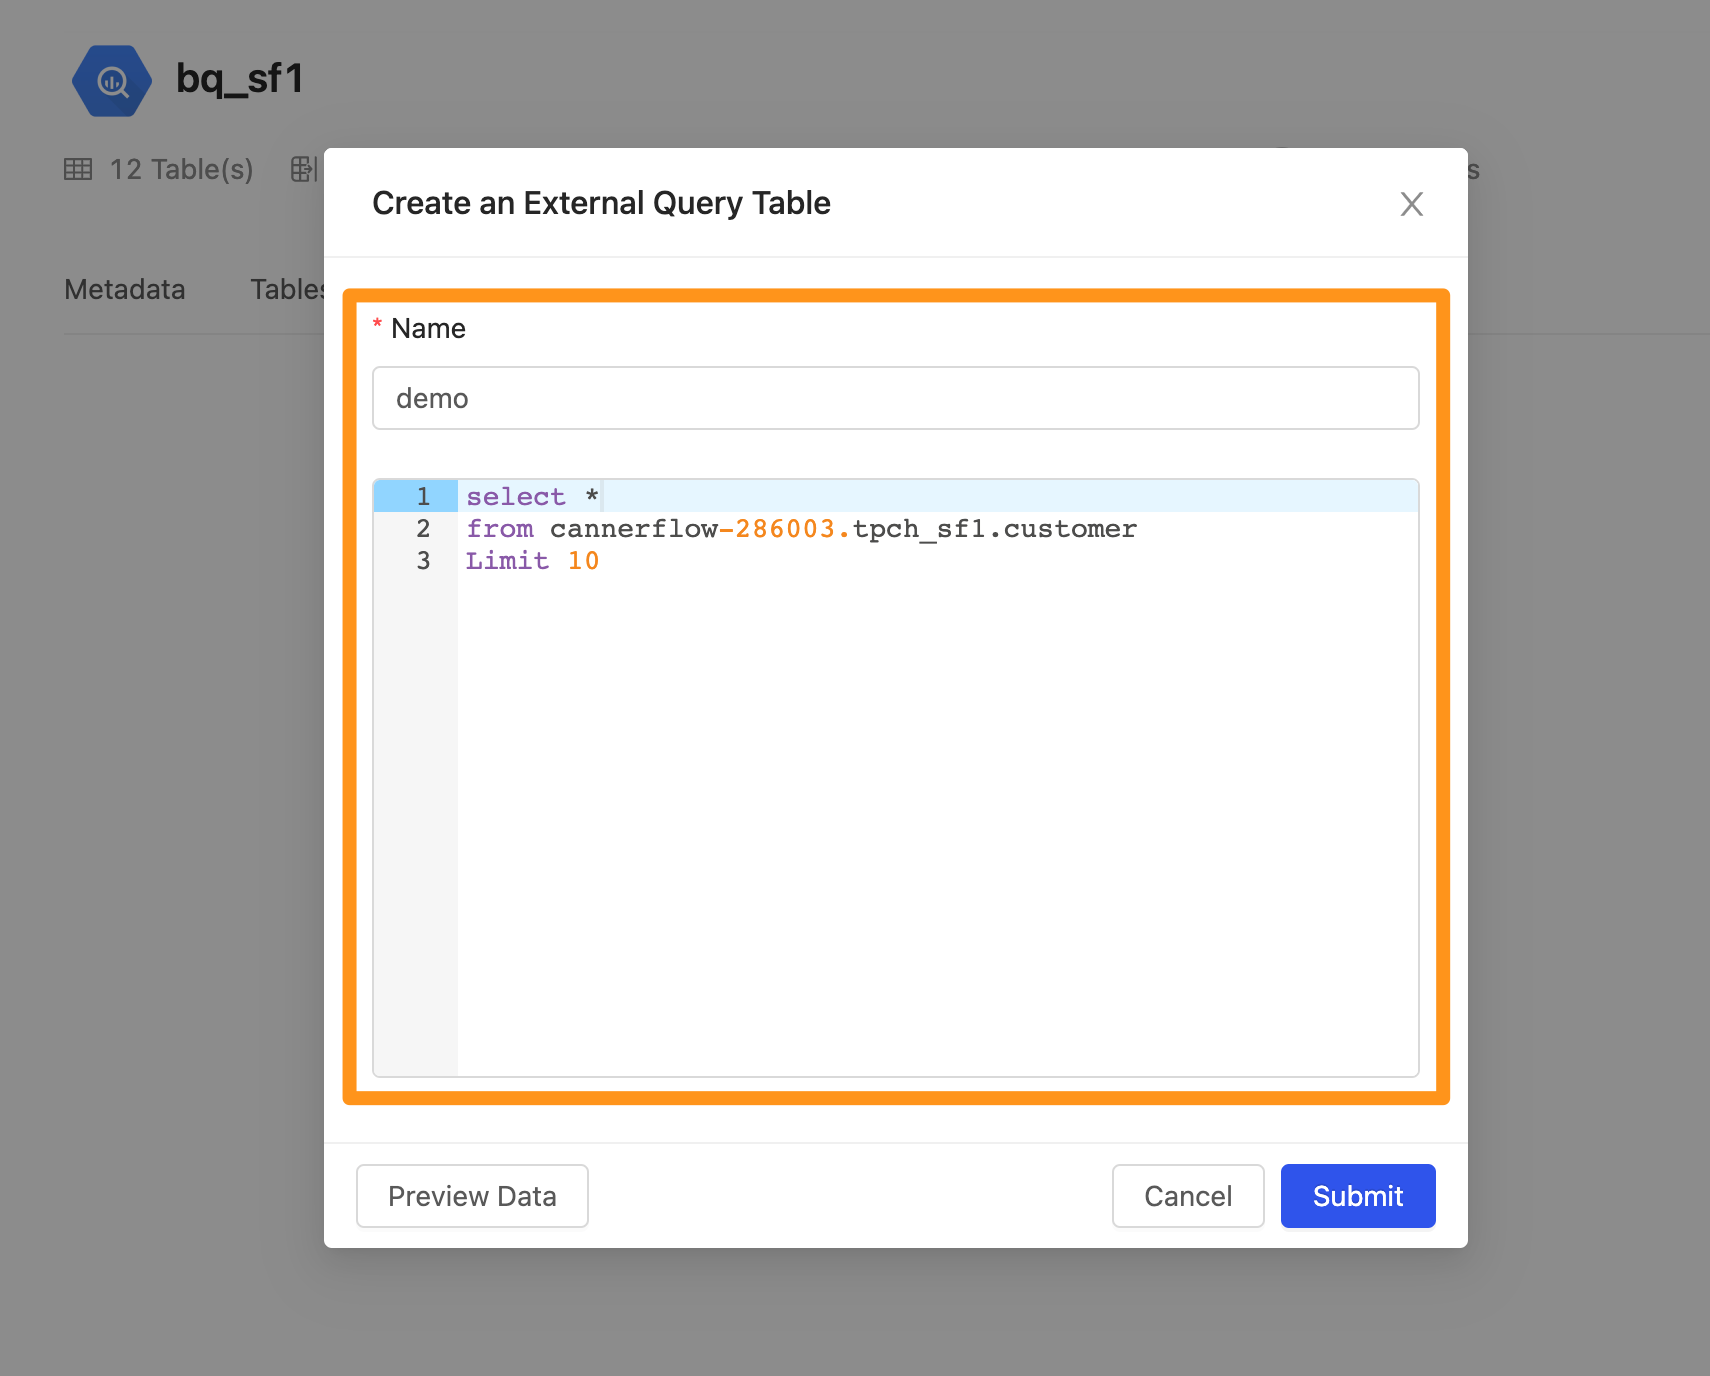
Set the name of the EQT and the SQL statement to create the EQT.
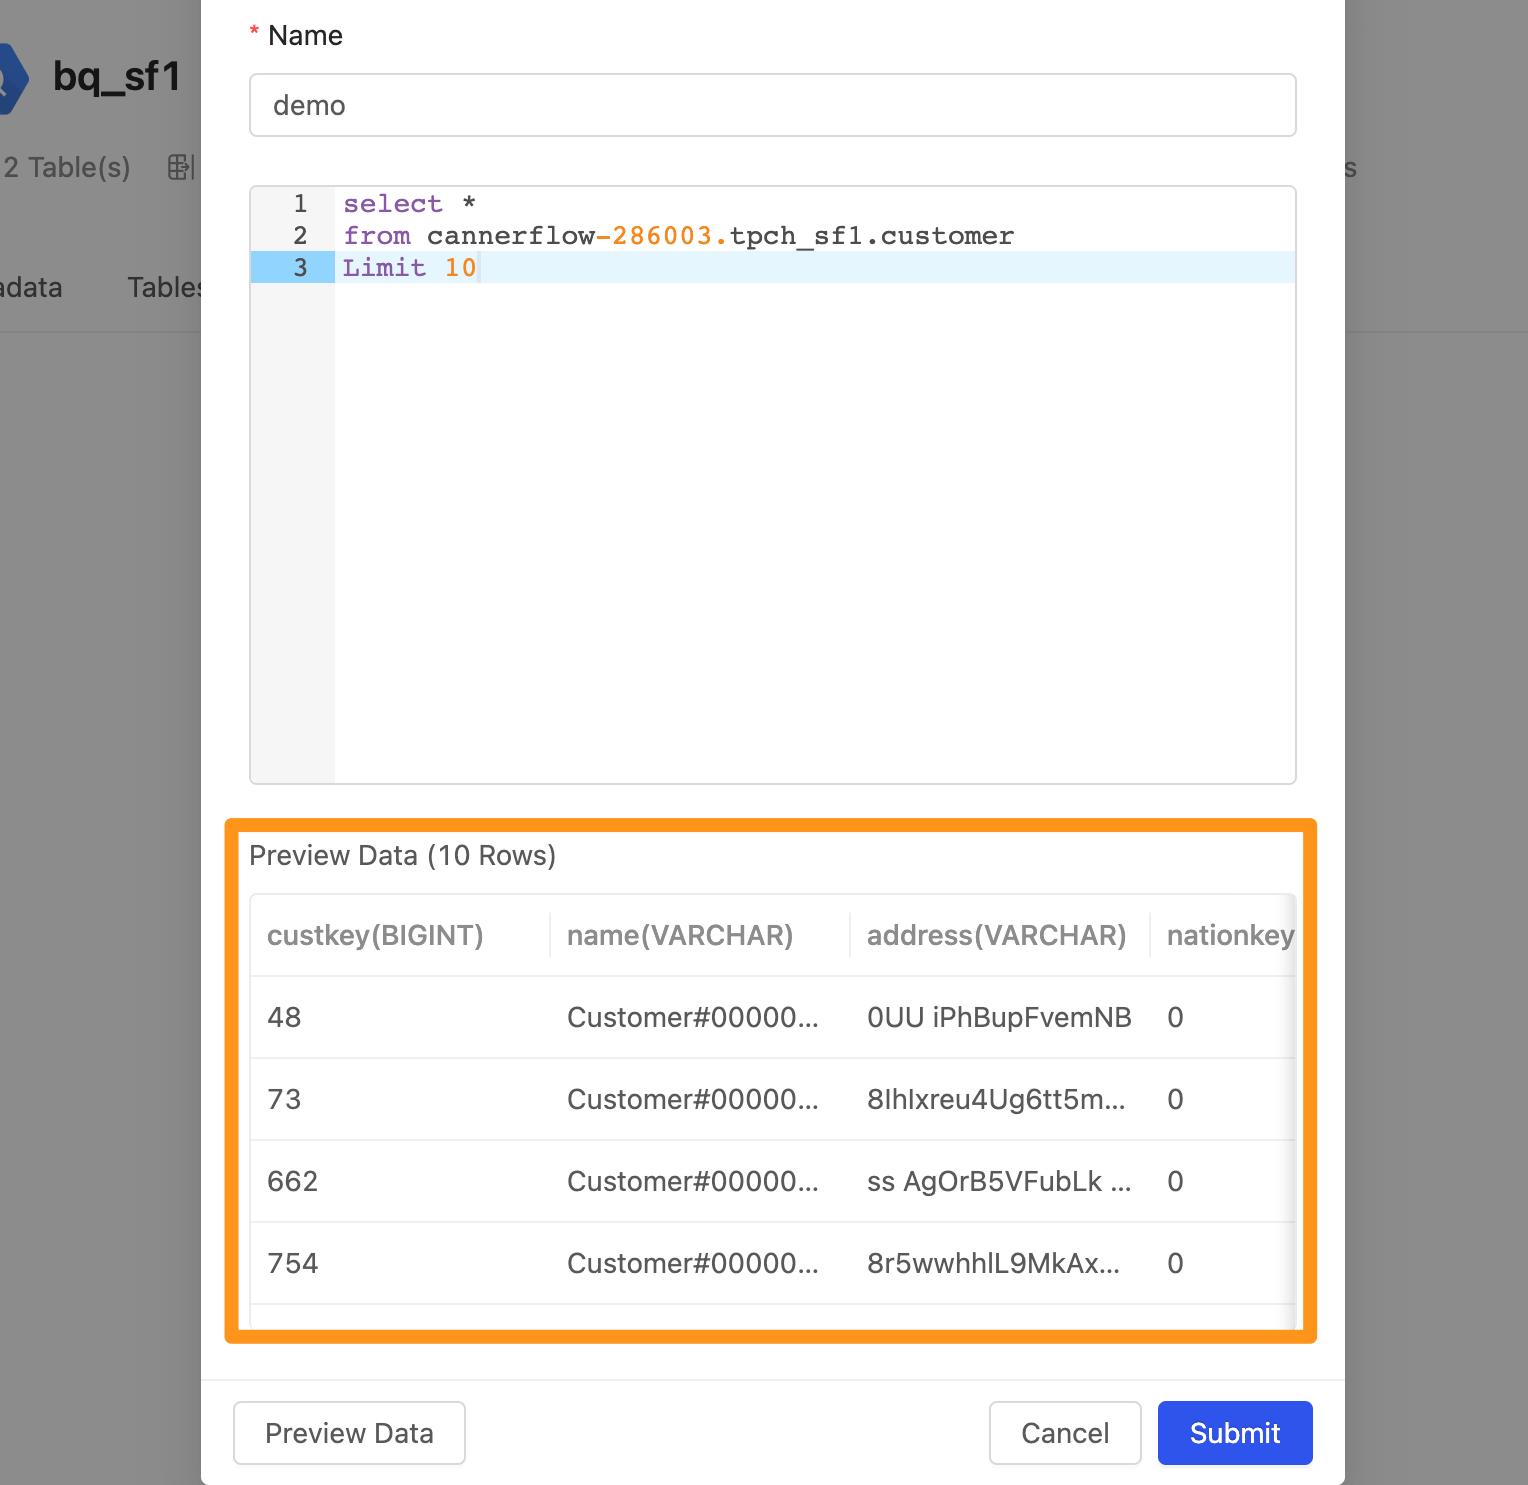
Click the Preview Data button, it can preview the data.
After creating it, you can see the EQT in the table list.

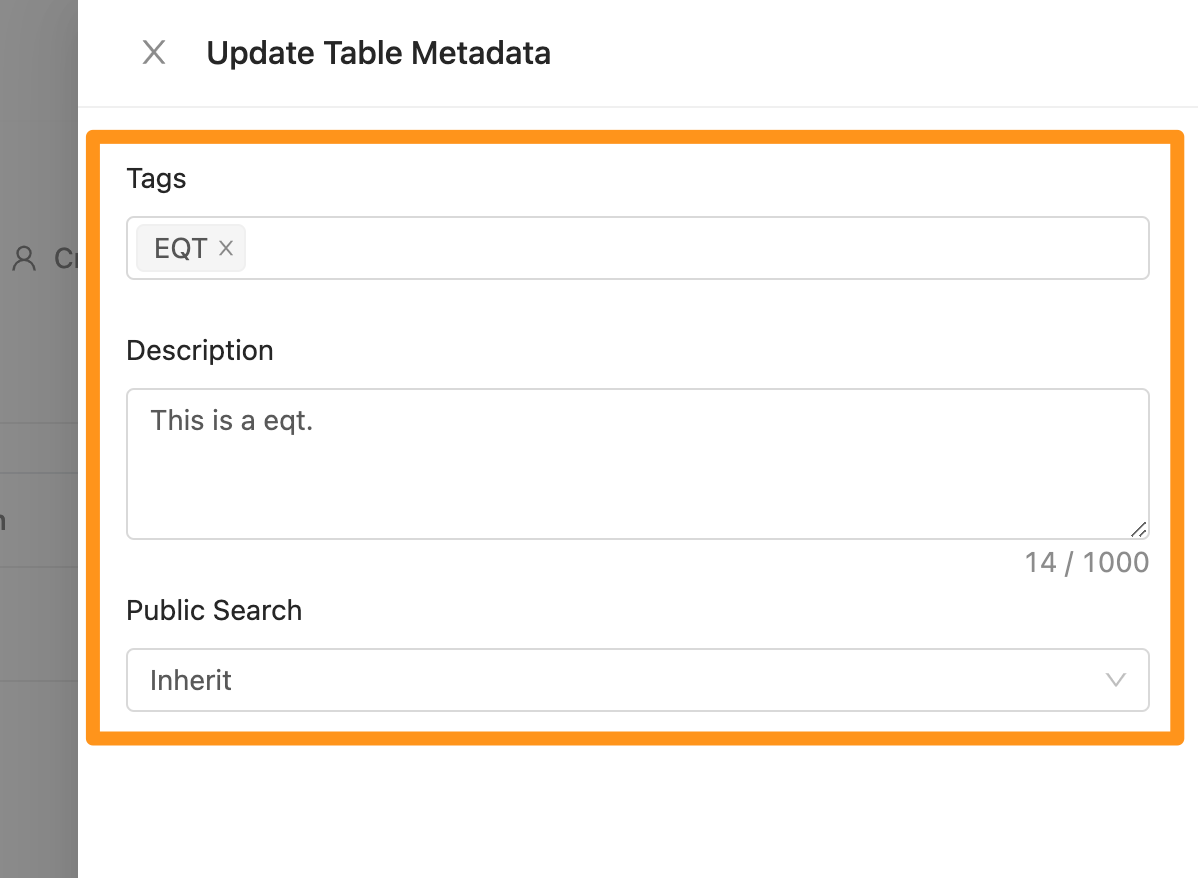
The EQT can also be edited for metadata, just like tables in a data source.
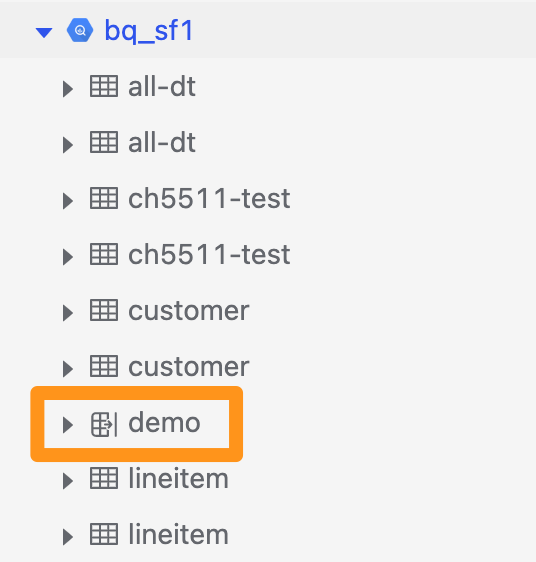
How to distinguish between Tables and EQTs in the sidebar
If you see an icon showing a table and an arrow (as shown below), it represents an EQT.
Step 3: Import EQT into workspace
After creating the EQT, it can be imported into the workspace for use with other datasets,
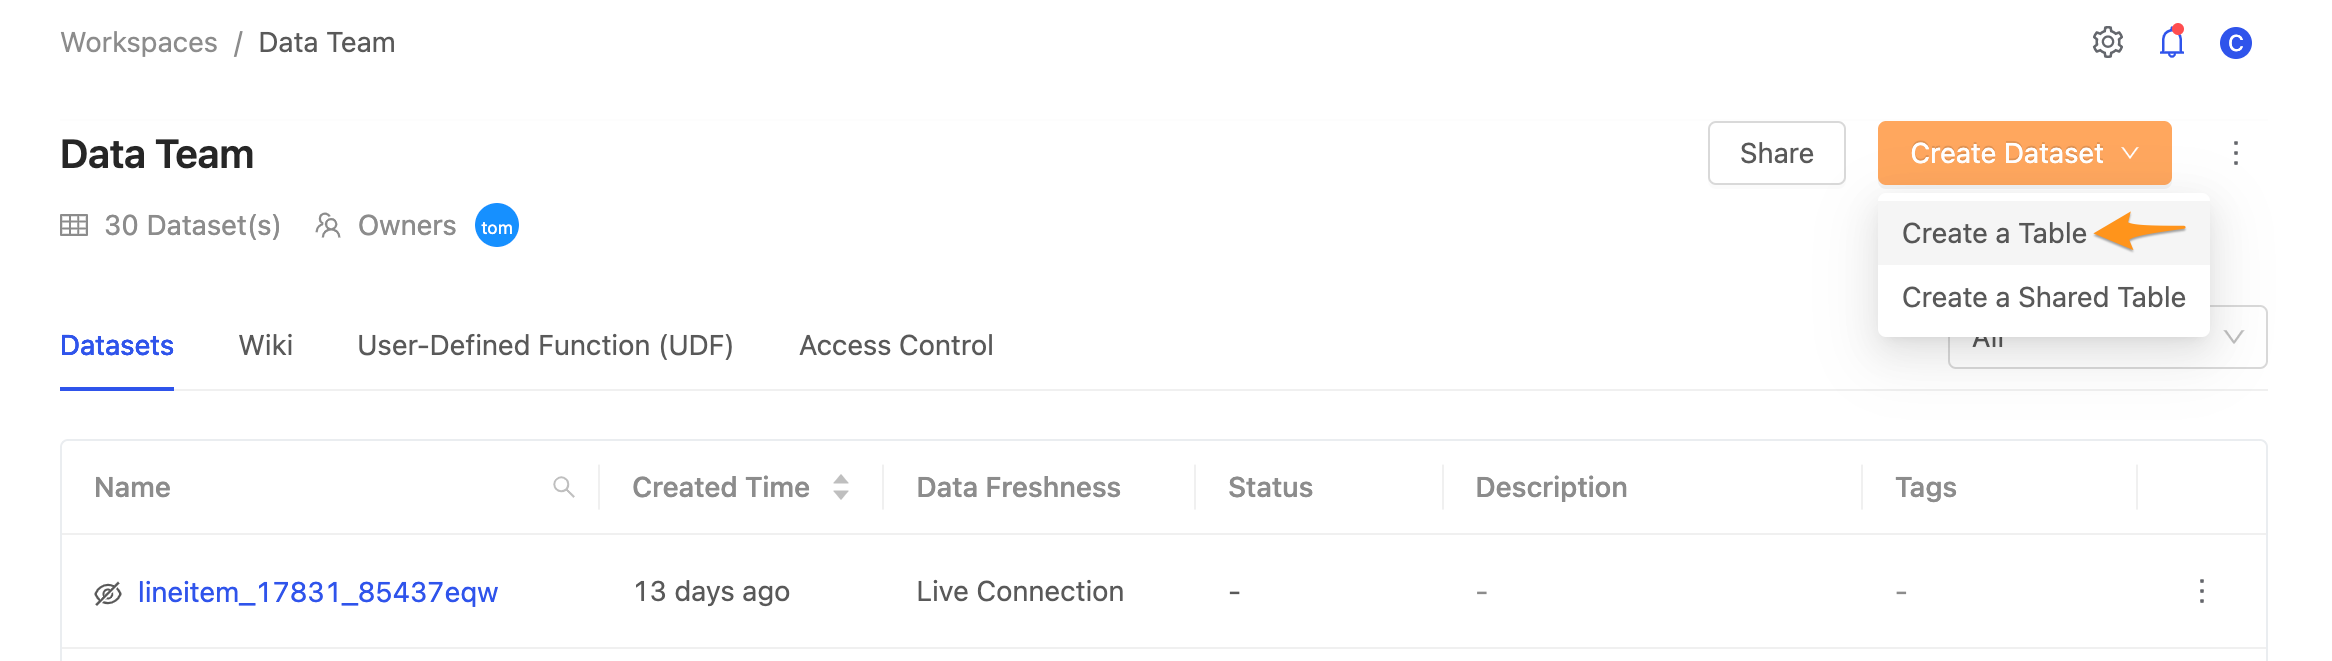
Entering the workspace, click the Create Dataset button and select Create a Table.
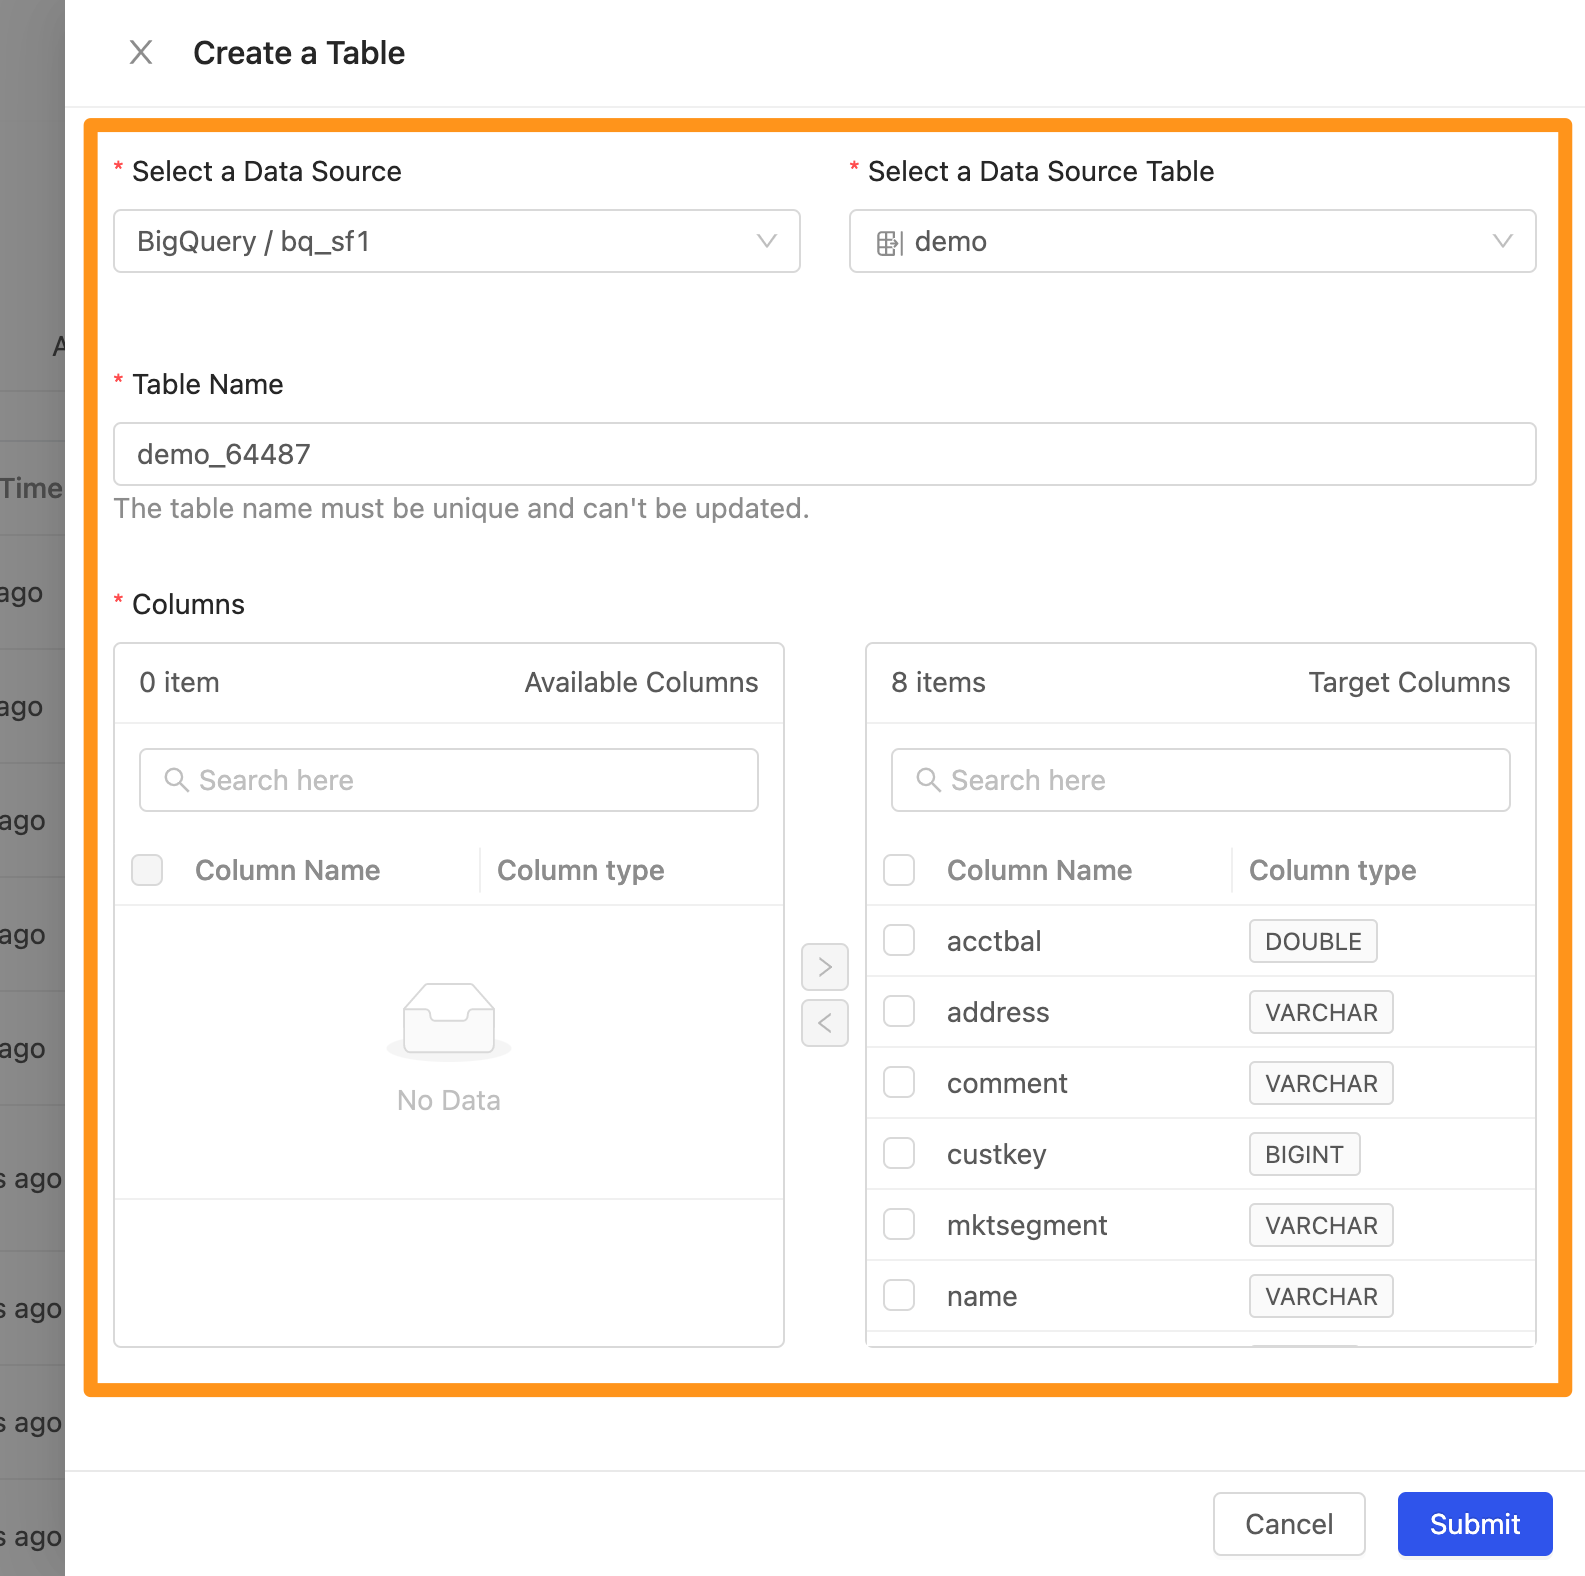
Select the data source and EQT created in the previous steps.
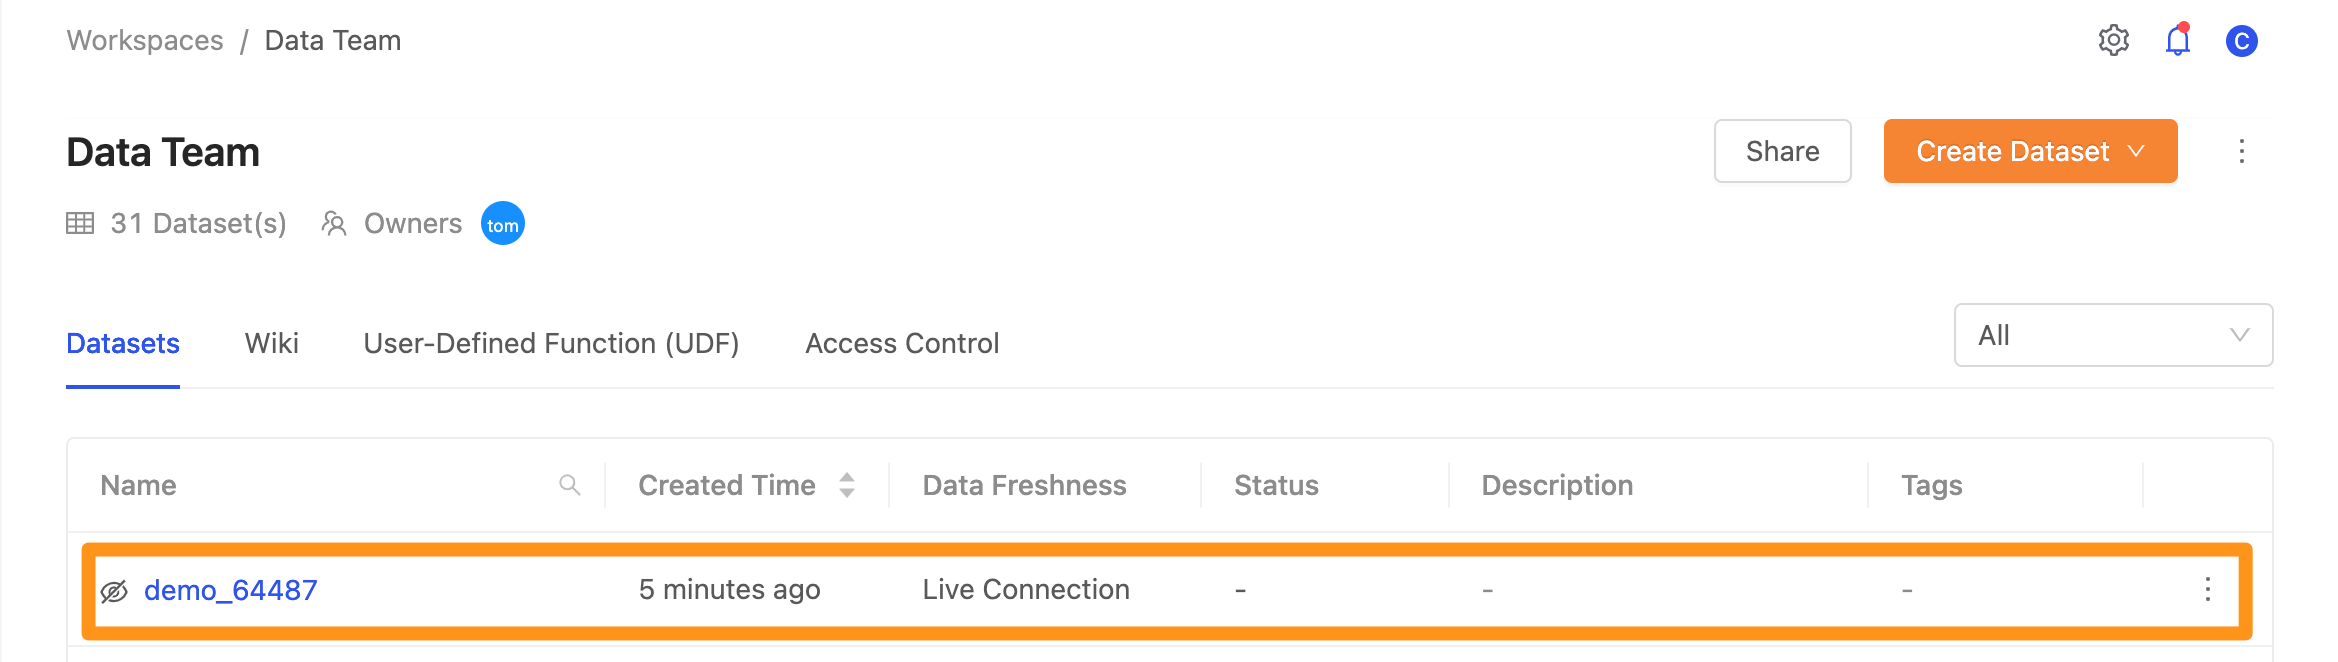
After creating it, you can see that the EQT has been successfully imported into the workspace in the table list.
Step 4: Use EQT for data transformation
Switch to the Analysis page, where the EQT can be used for data transformation, just like the dataset (table) in the workspace. For example, when performing the following query:
select *
from supplier_13633 cross join demo_64487
limit 10
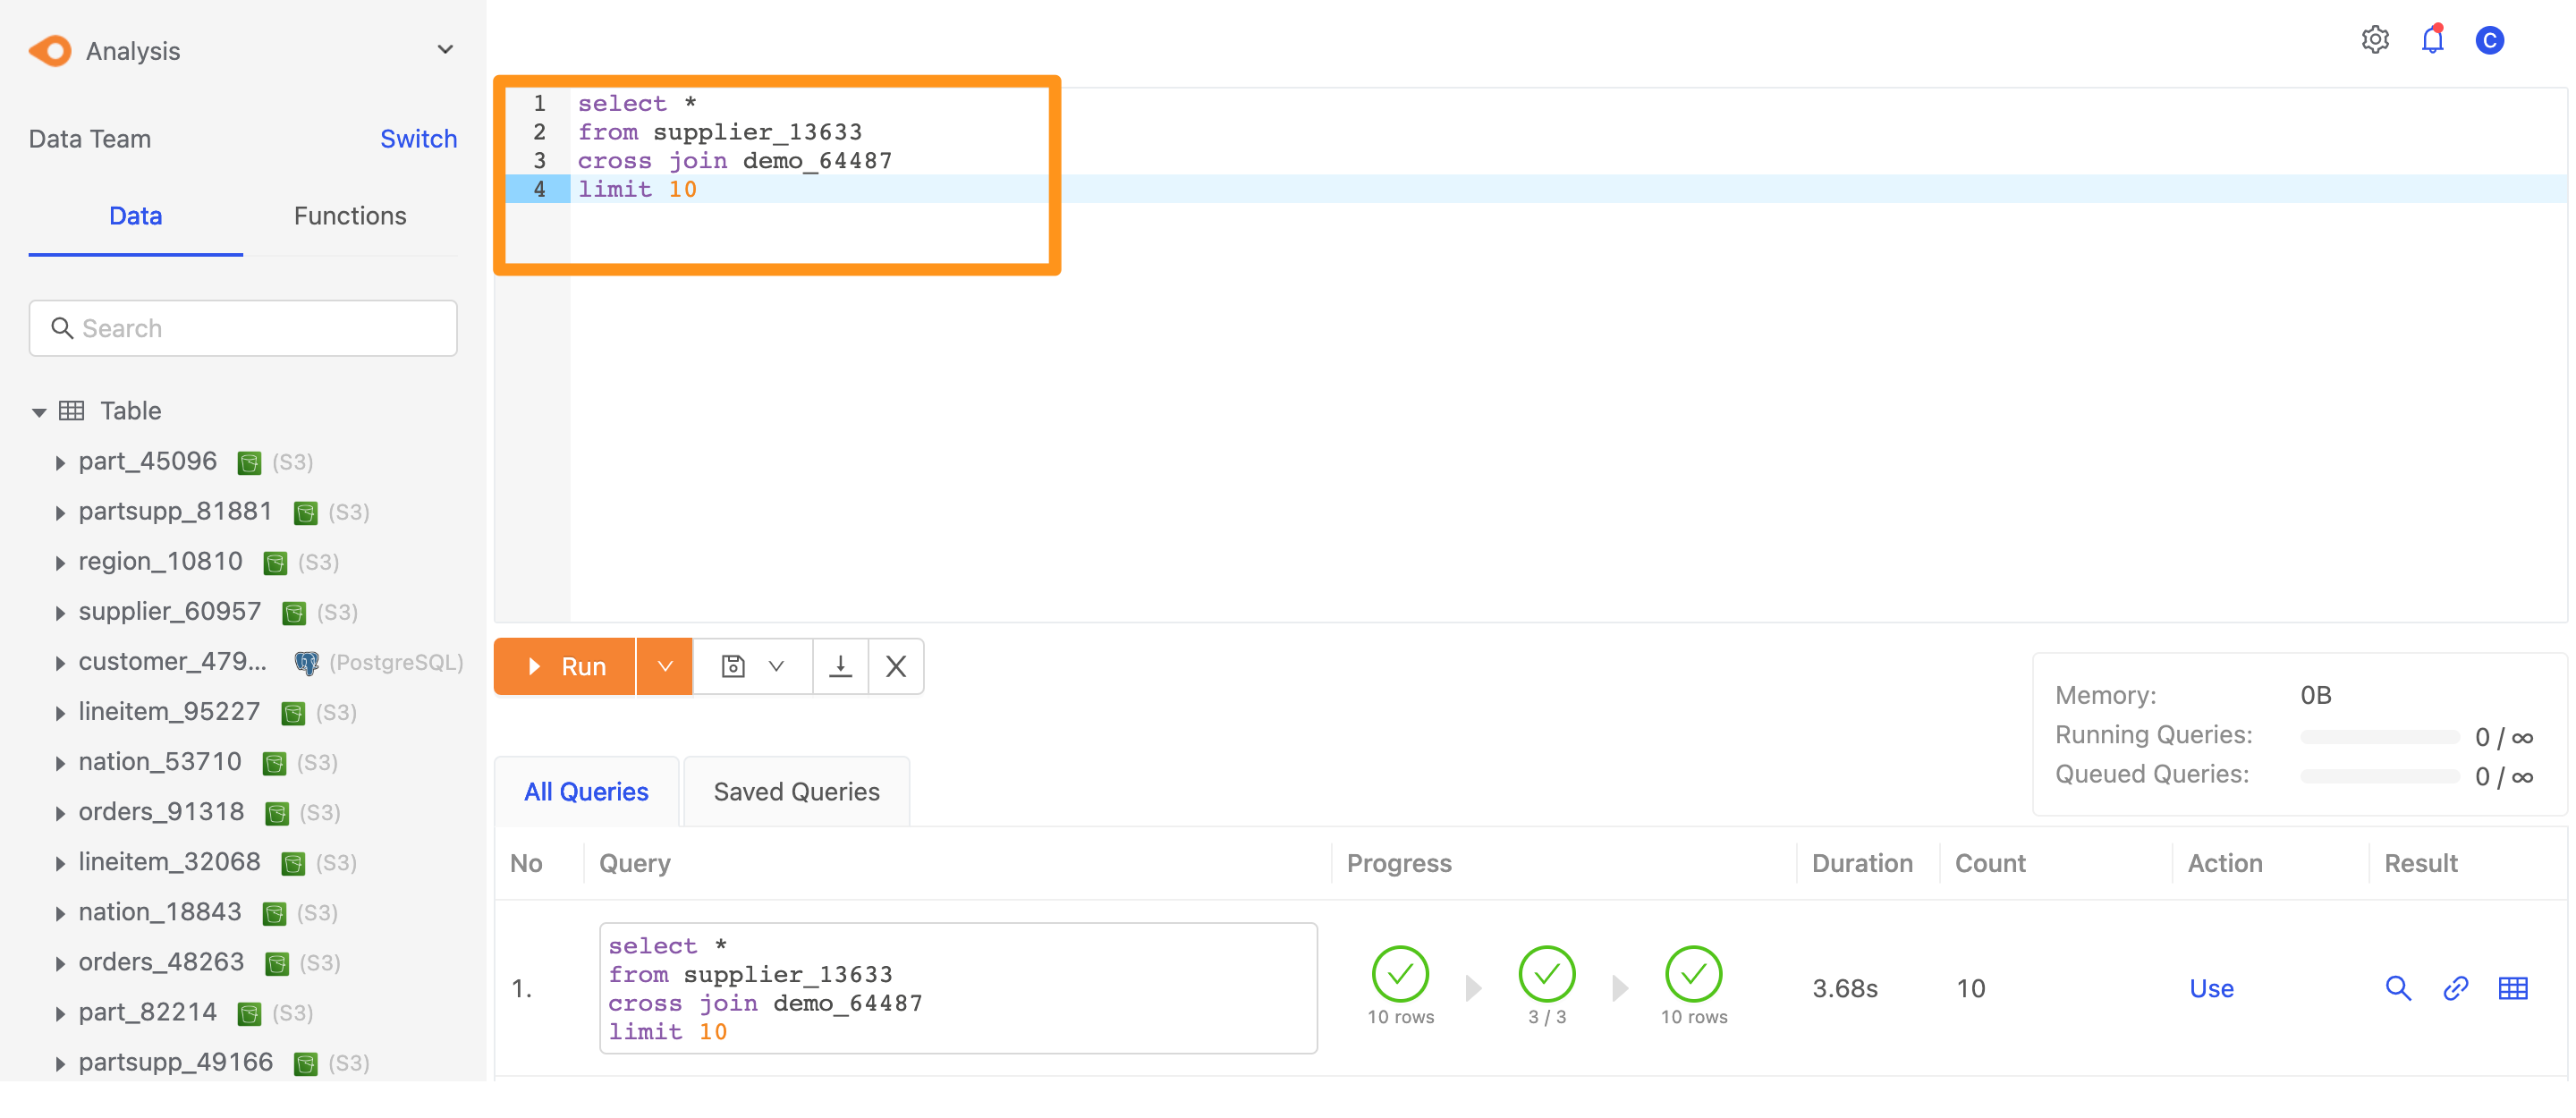
When executing this SQL query, as the demo_64487 Table is an EQT we created, the query for this table will be passed to the original database/data warehouse for execution.