Connecting to Google Sheets
Before you begin, learn how to create a data source
Step 1: Enable Google Sheets API
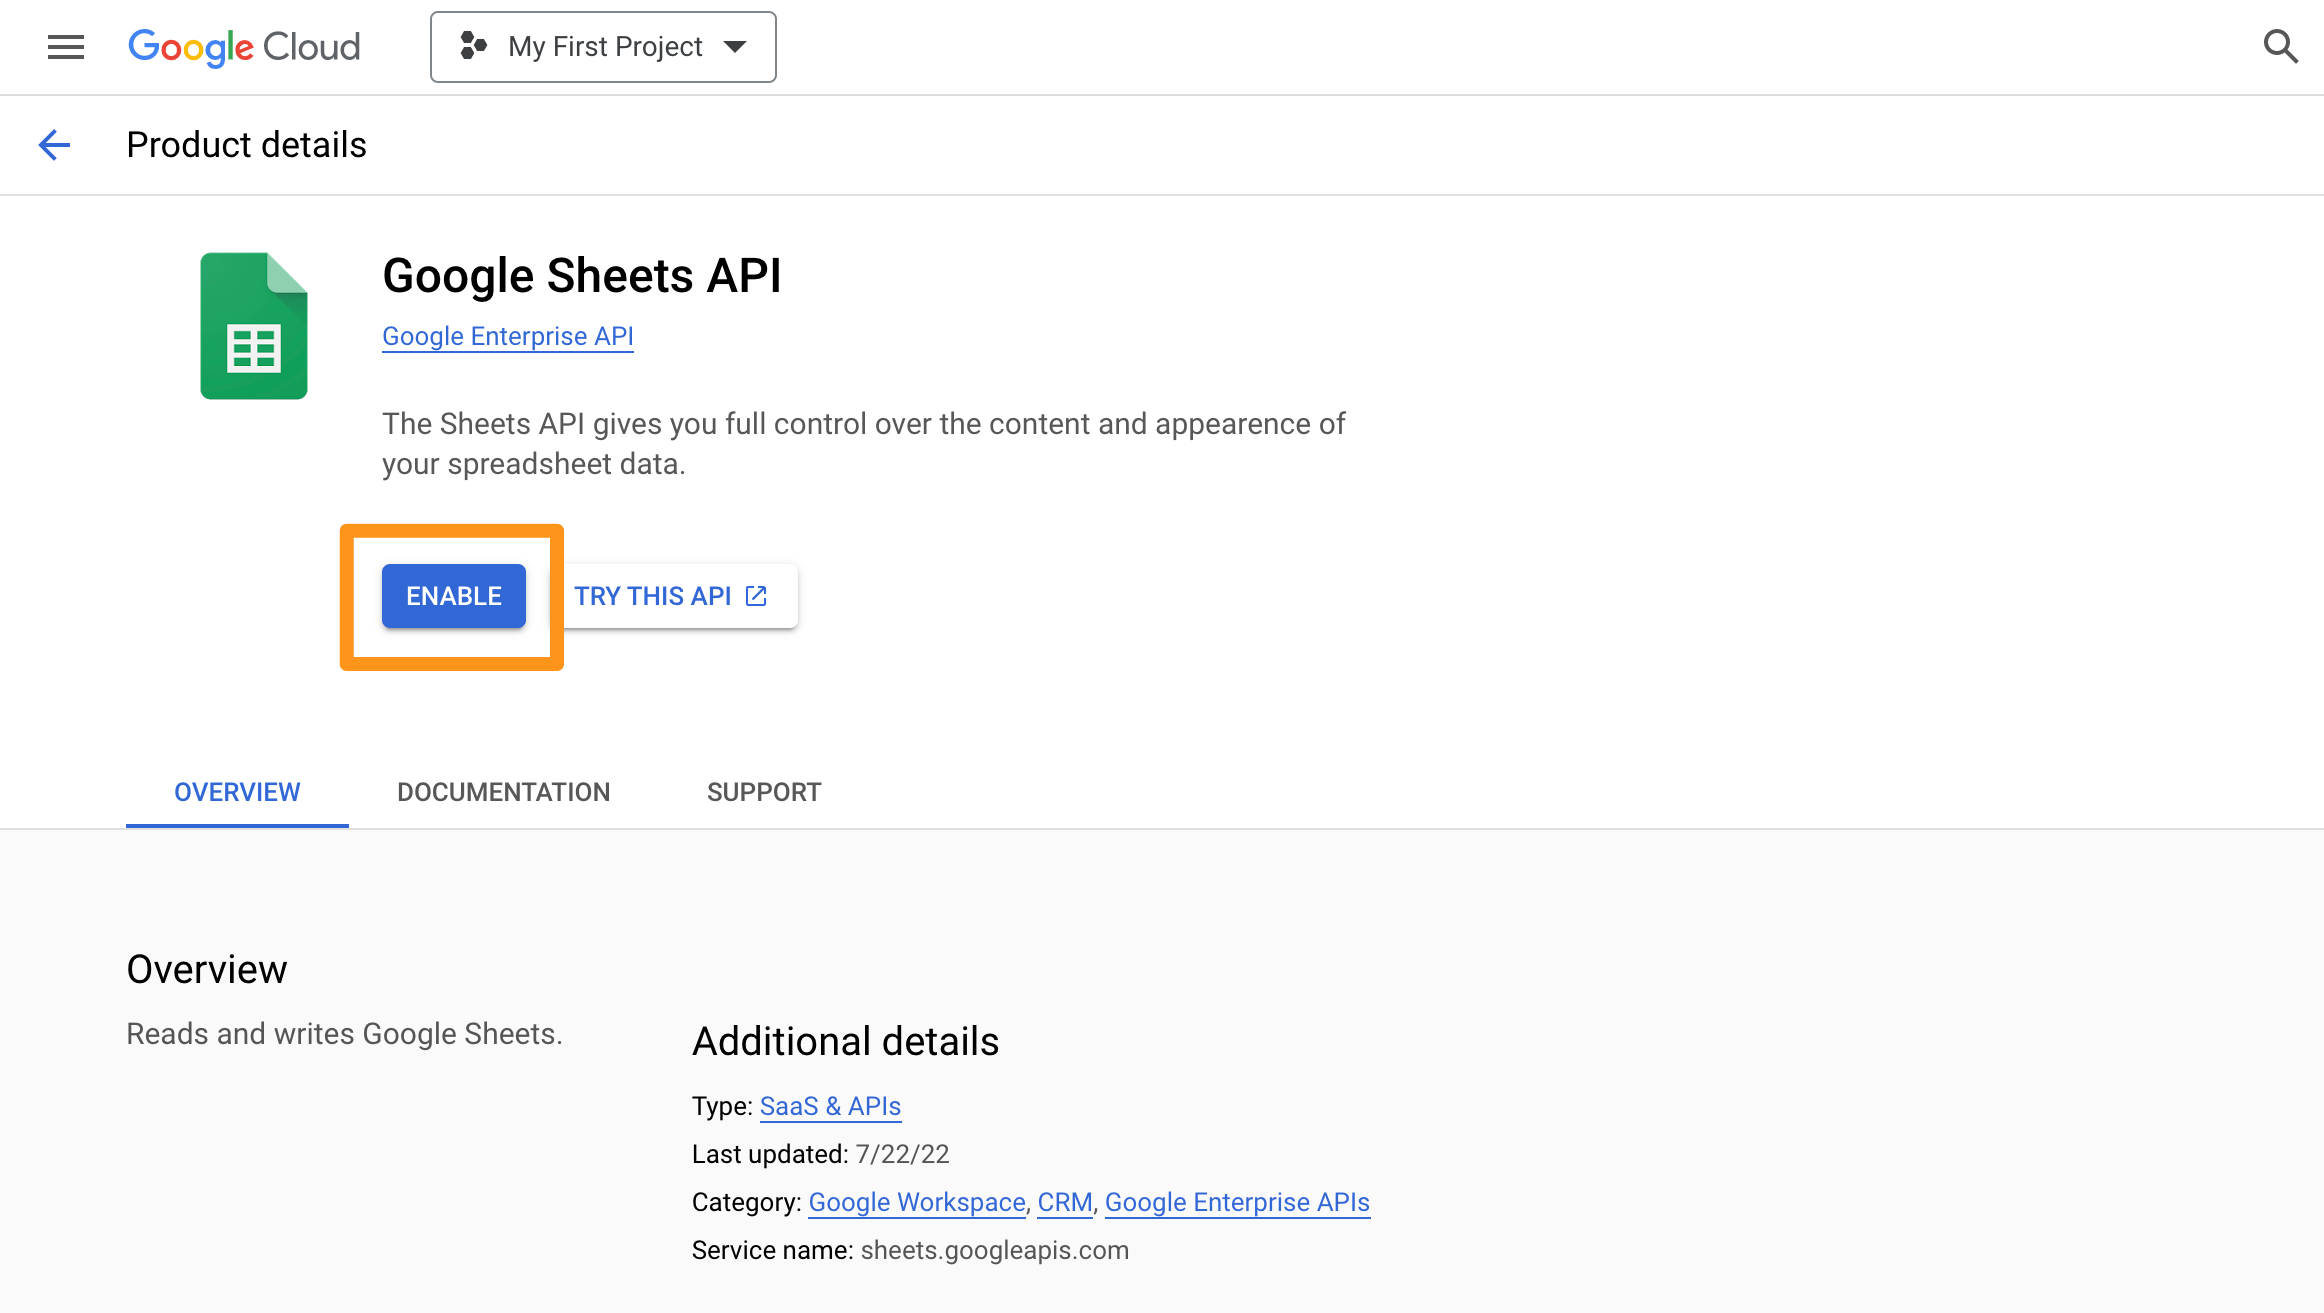
Please go to the Google Sheets API page and activate the API in the project you want to use
Step 2: Prepare Service Account
Canner Enterprise uses Service Account (Service Account) Authentication to operate Google Cloud APIs, so it is necessary to prepare Service Account (Service Account)
Please refer to Google Cloud Authenticating as a service account > Creating a service account section
- Go to Google Cloud
Create Service Accountpage - Select the project
- Start to create a service account (Service Account); enter the information like the following
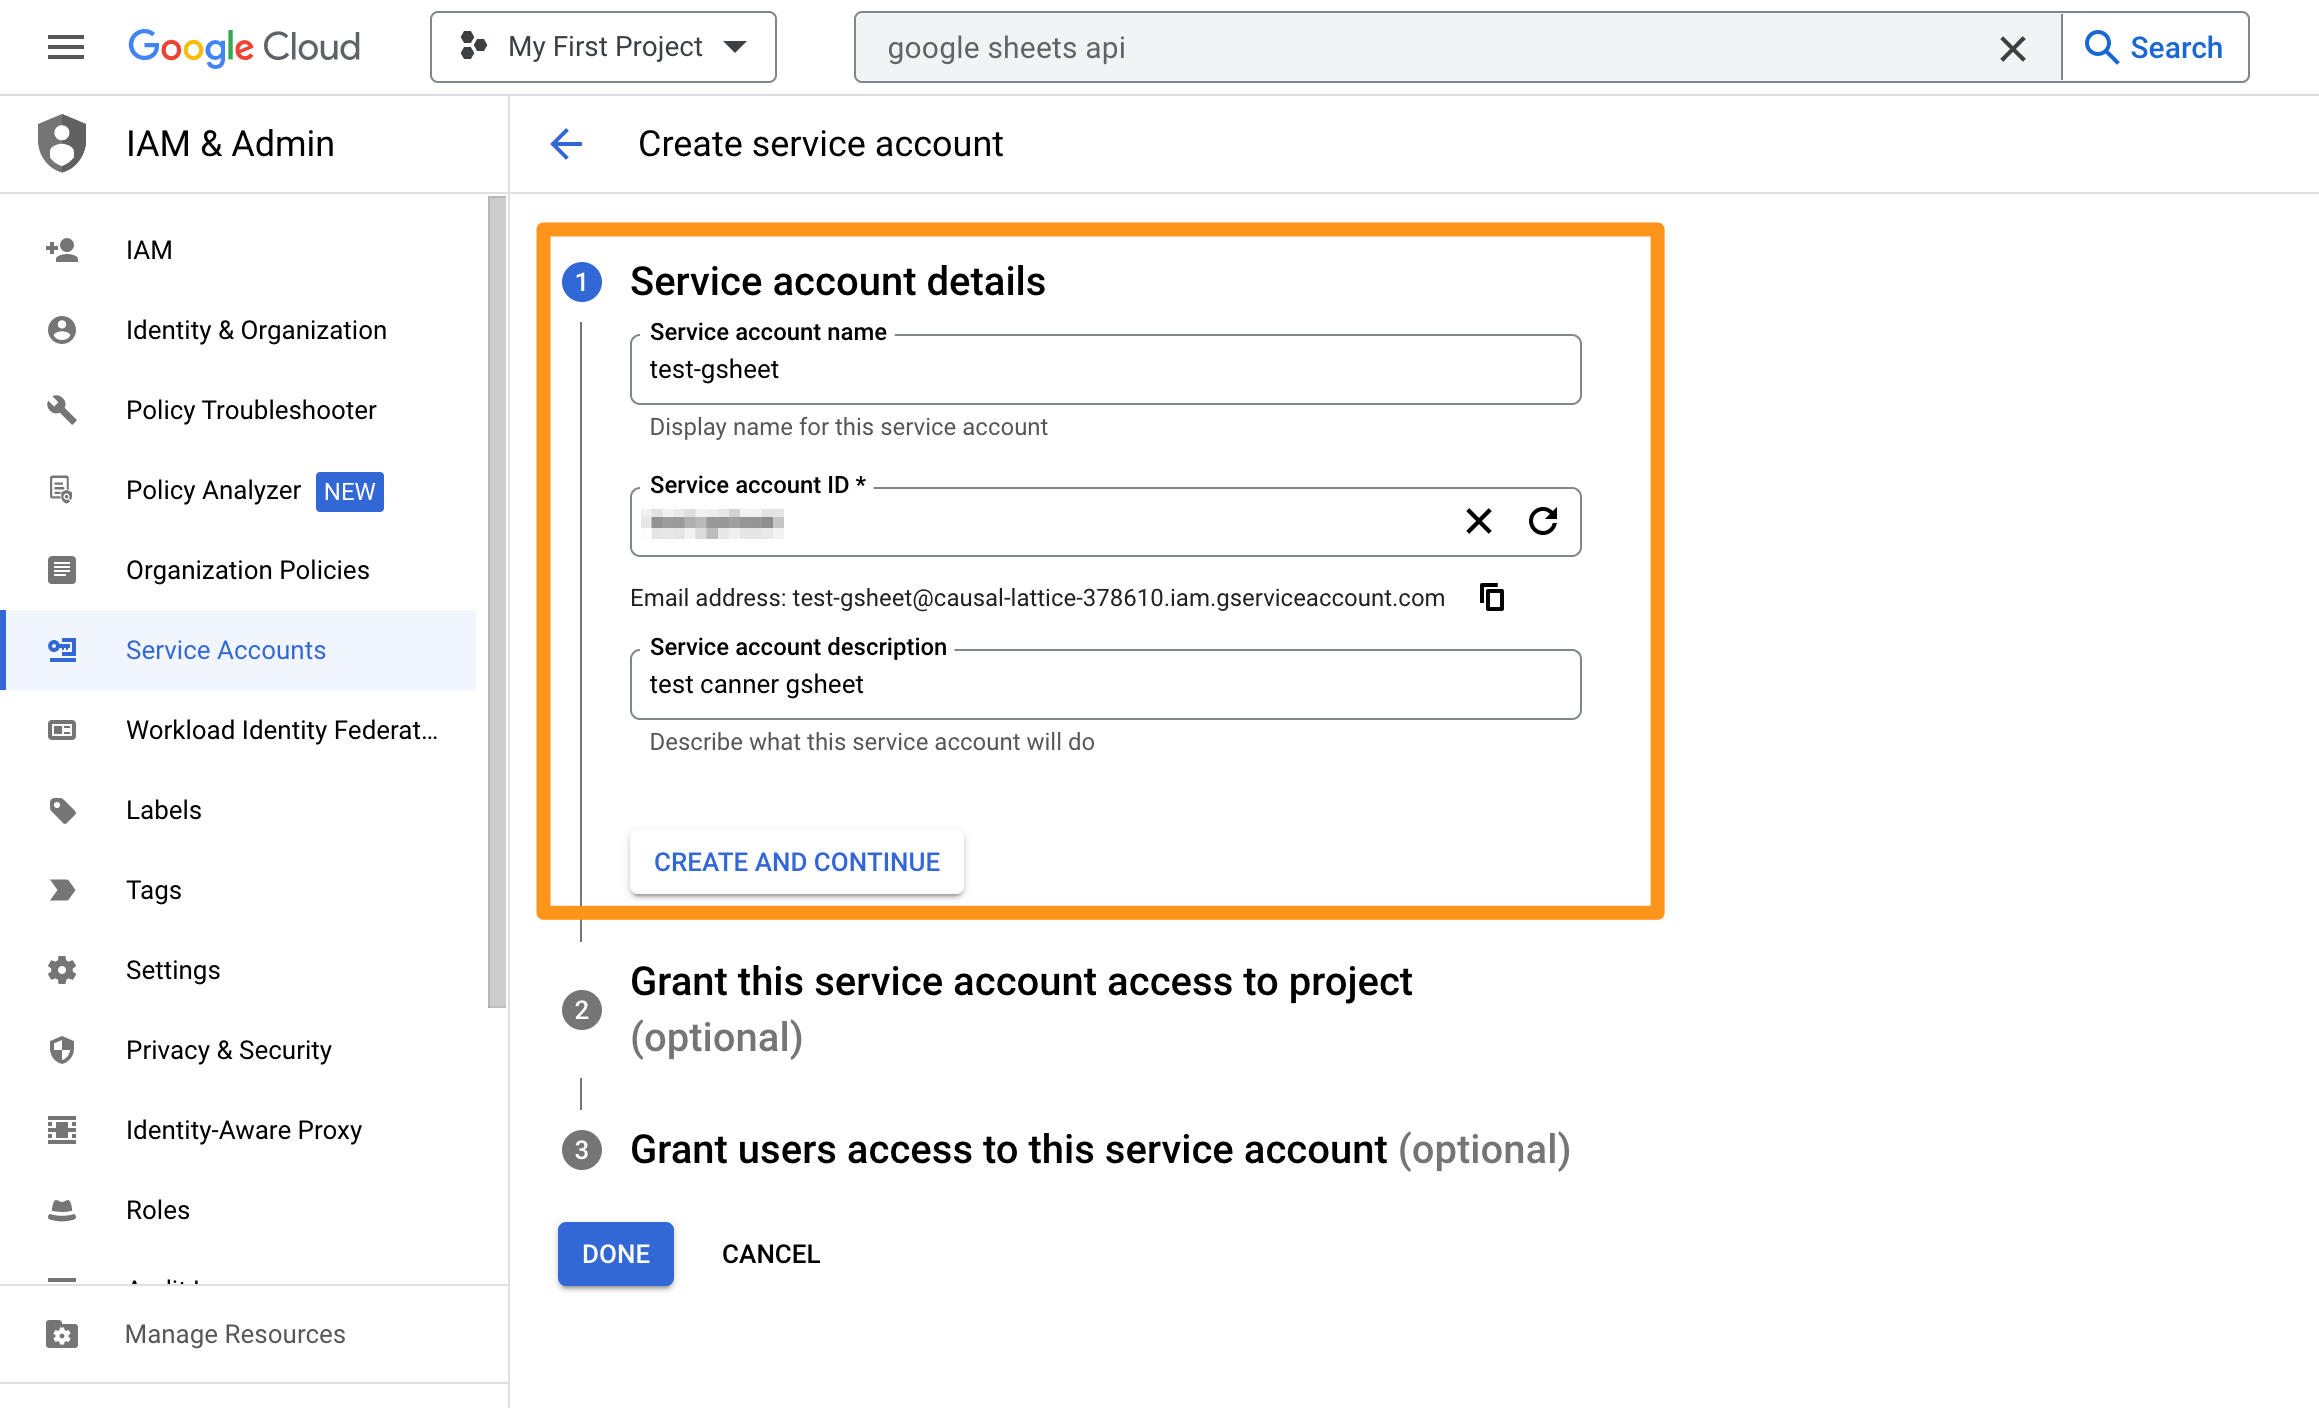
- Skip the second and third steps, click Finish directly, then return to the list screen, click the service account just created
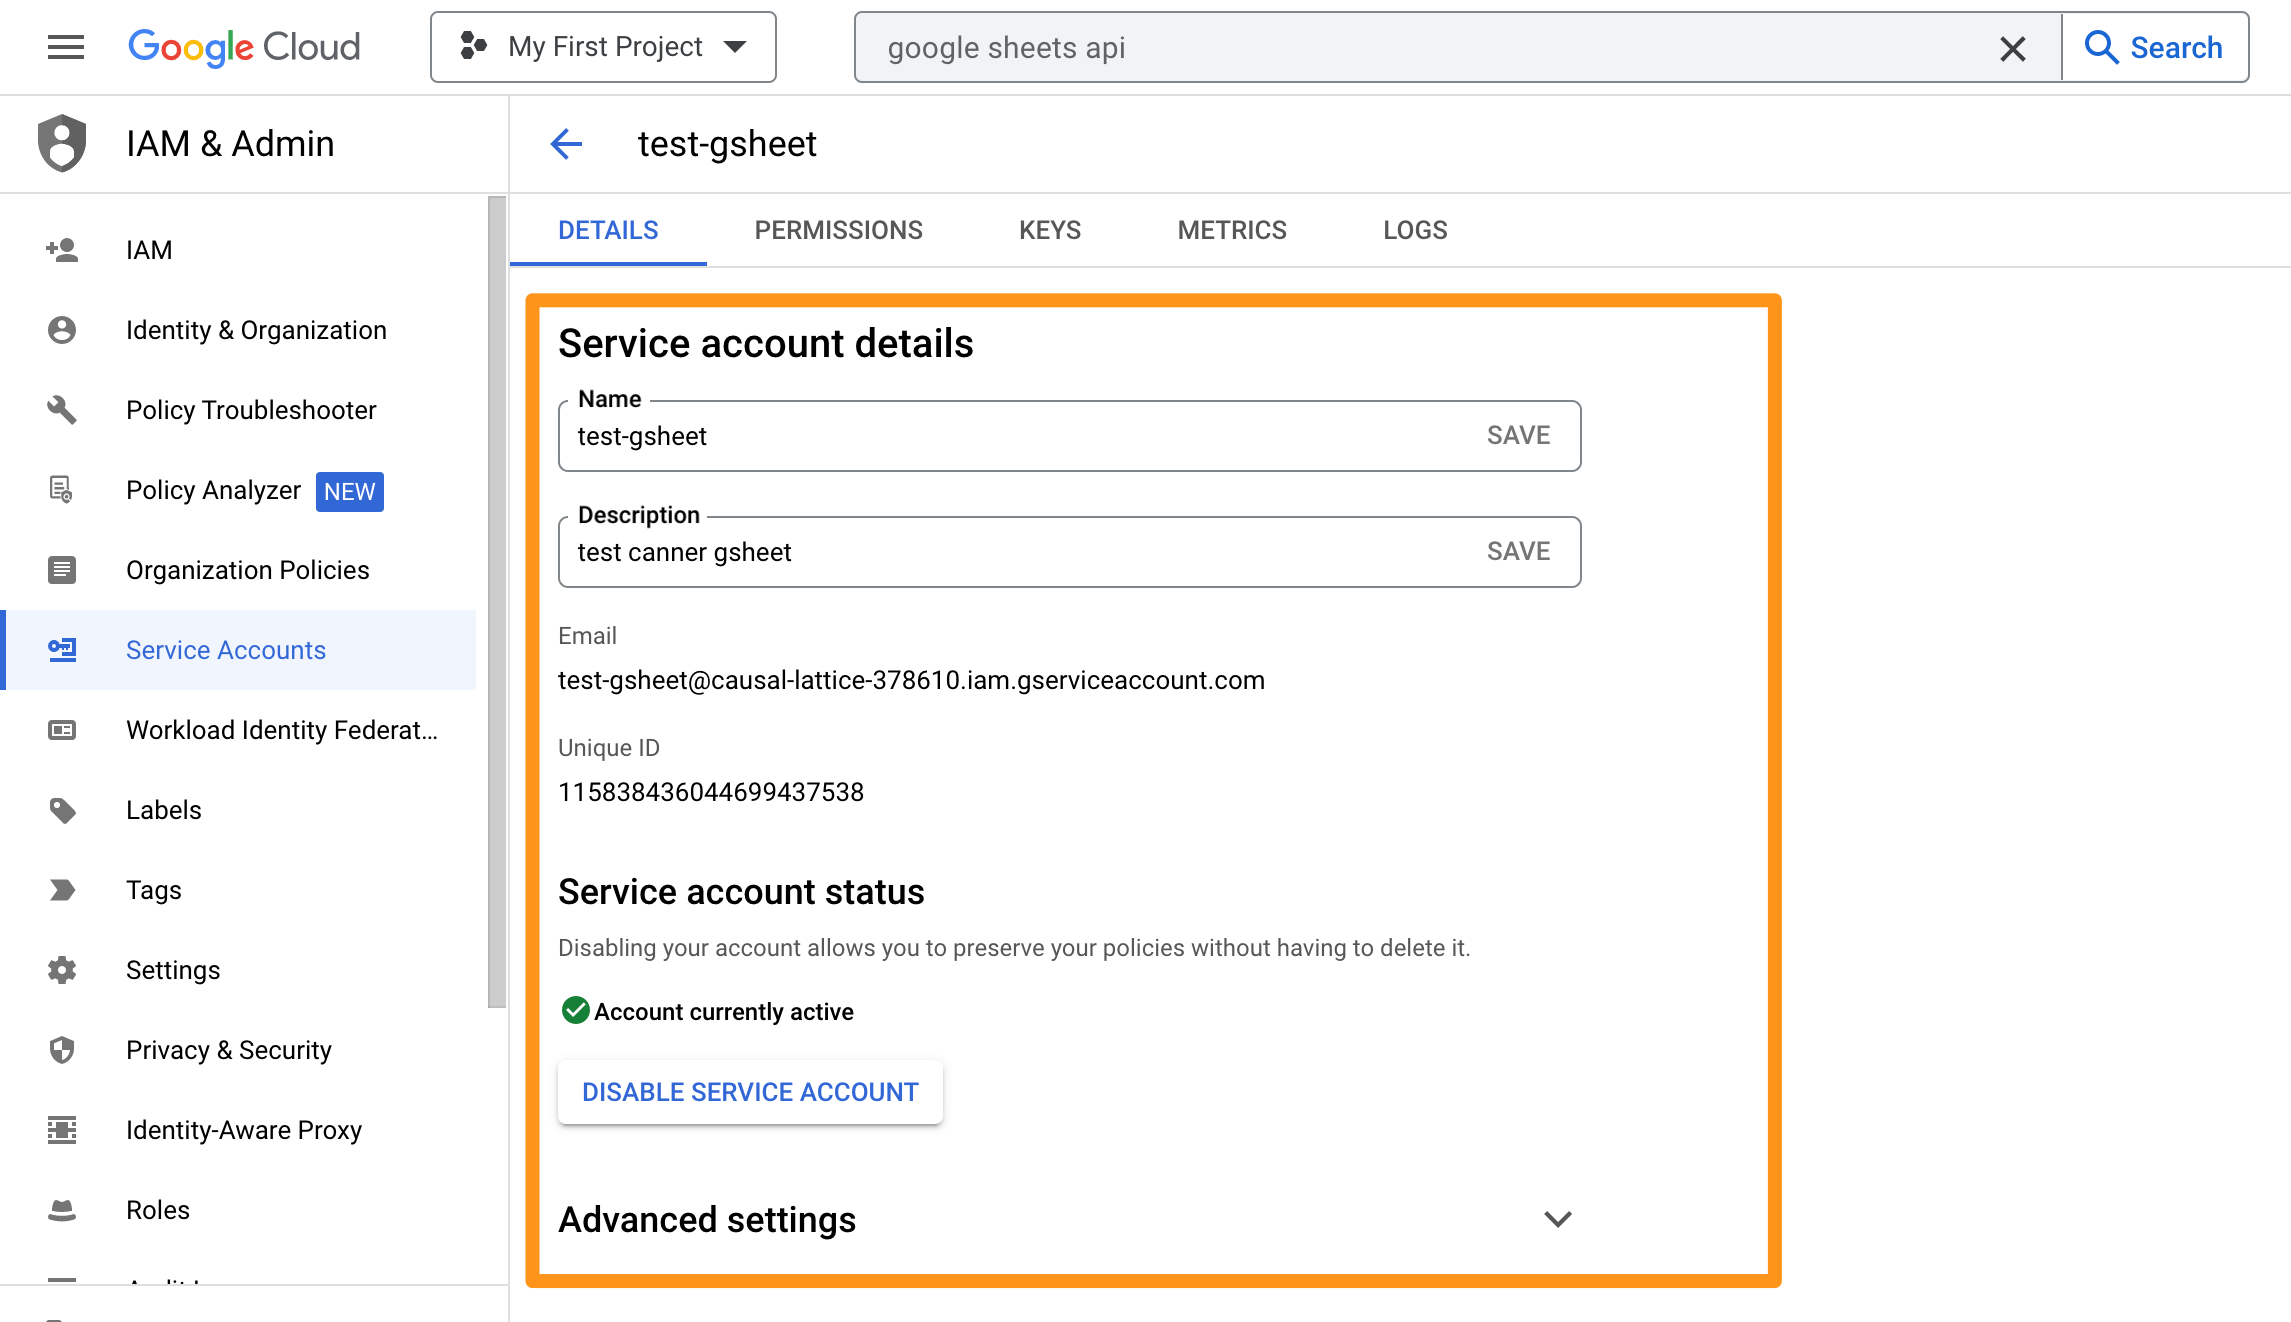
- Click
Key, clickAdd Key, select the JSON type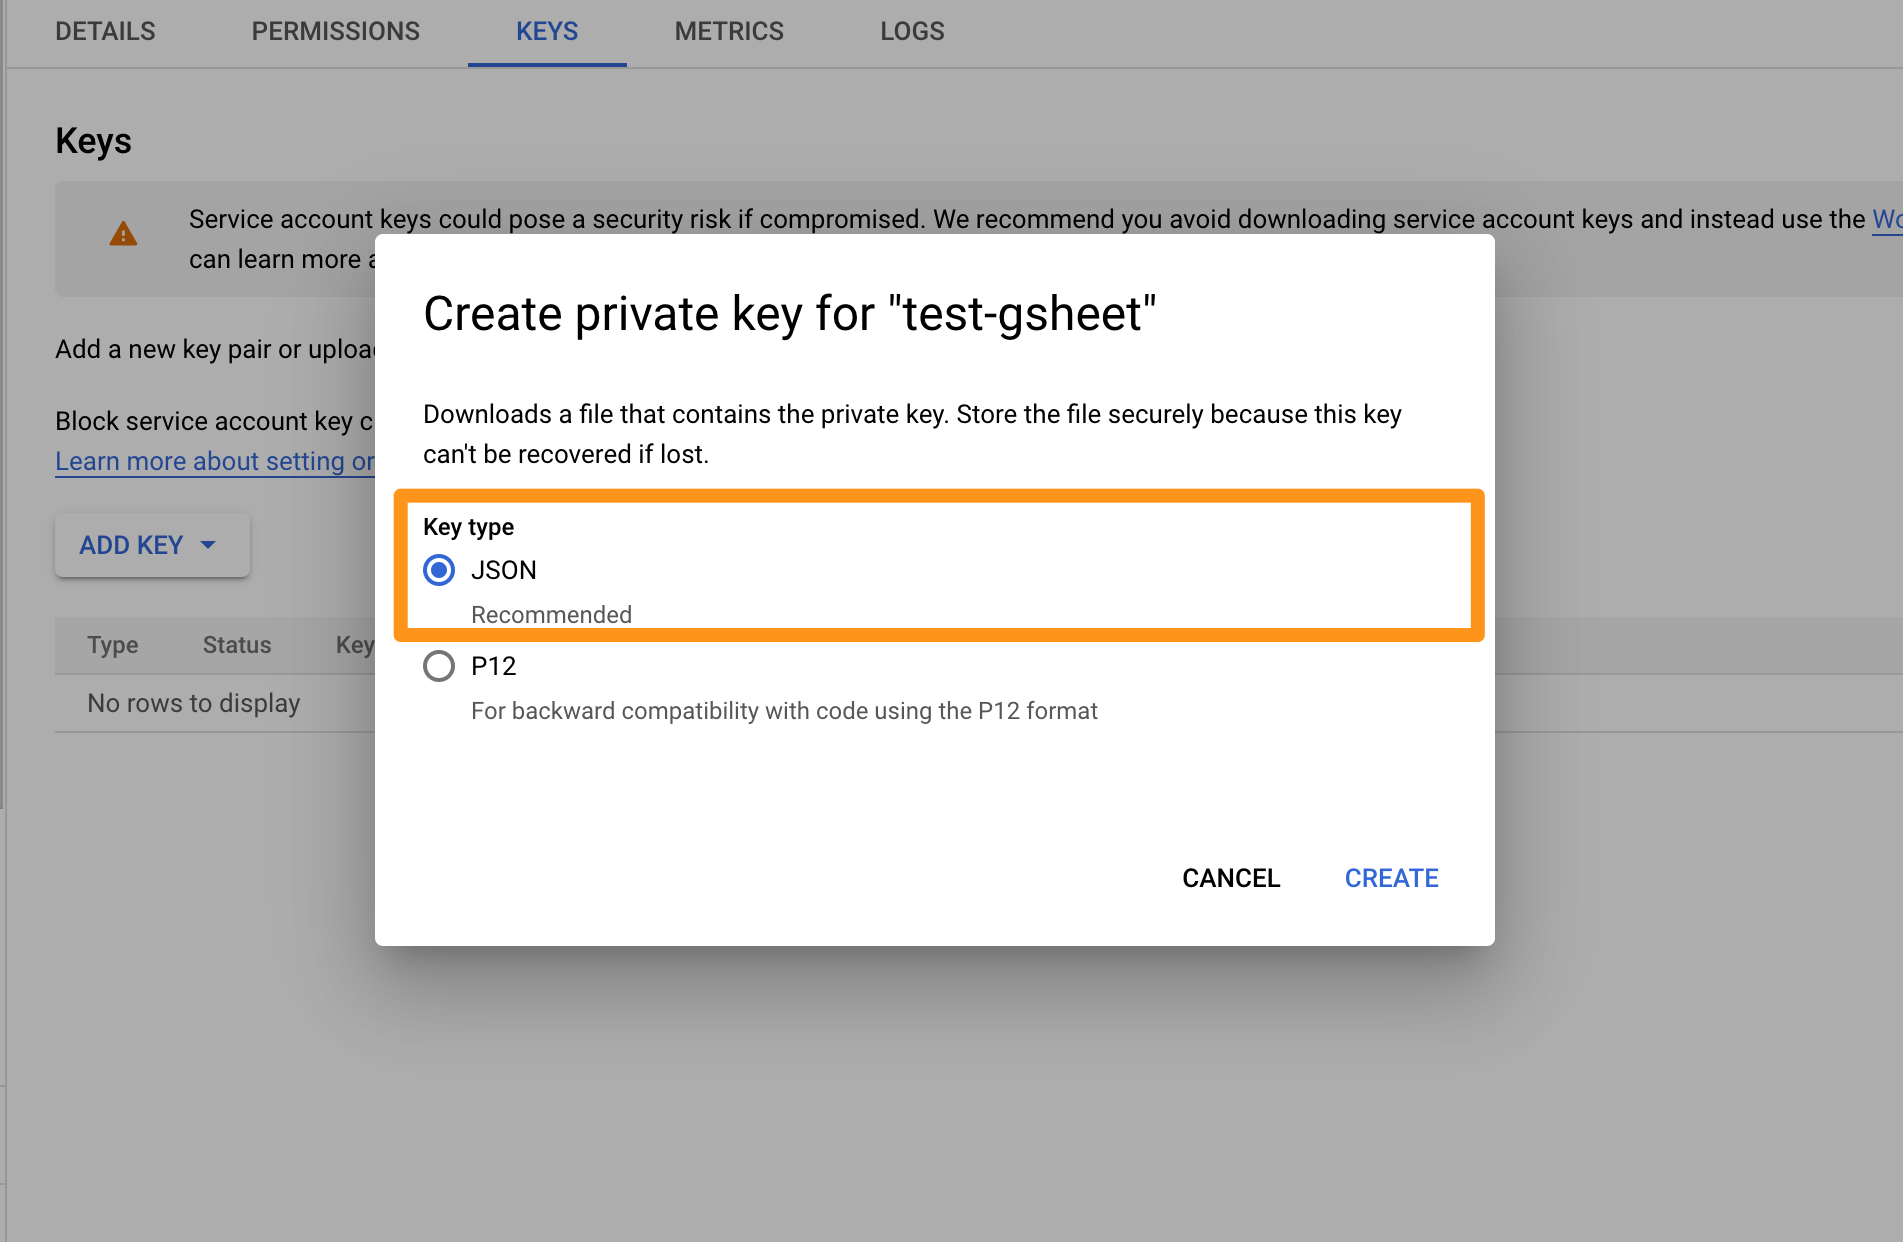
- The downloaded JSON content will be as follows

Step 3: Authorize Google Sheets to Service Account
- Go to the Service Account page created in the previous step and copy the
email address.
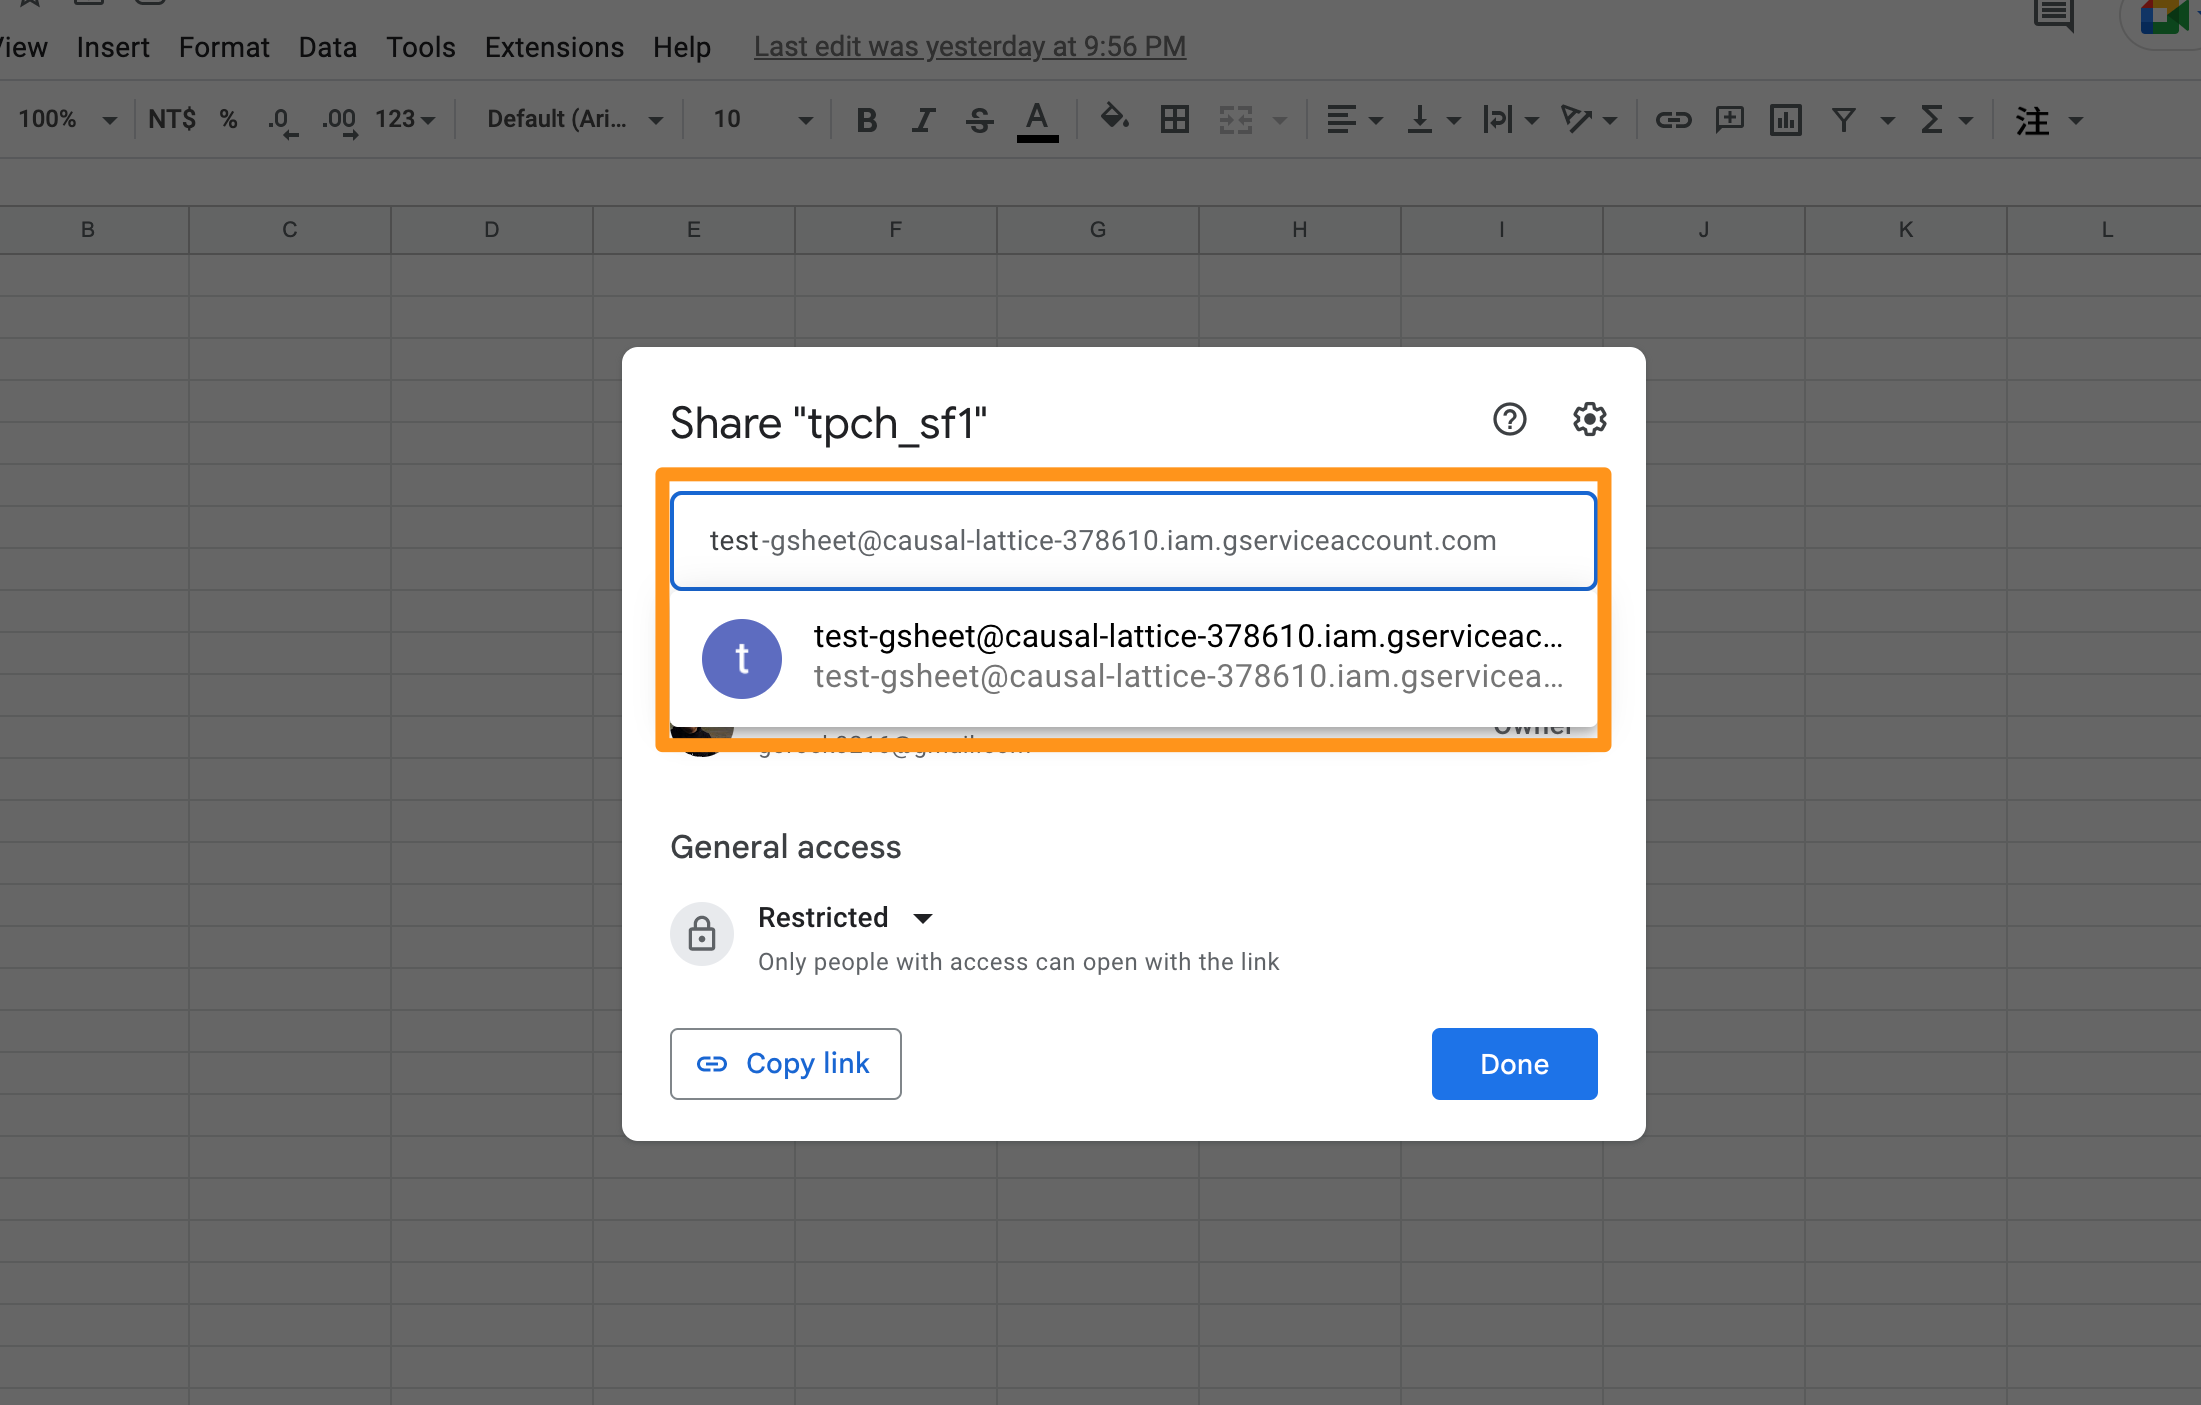
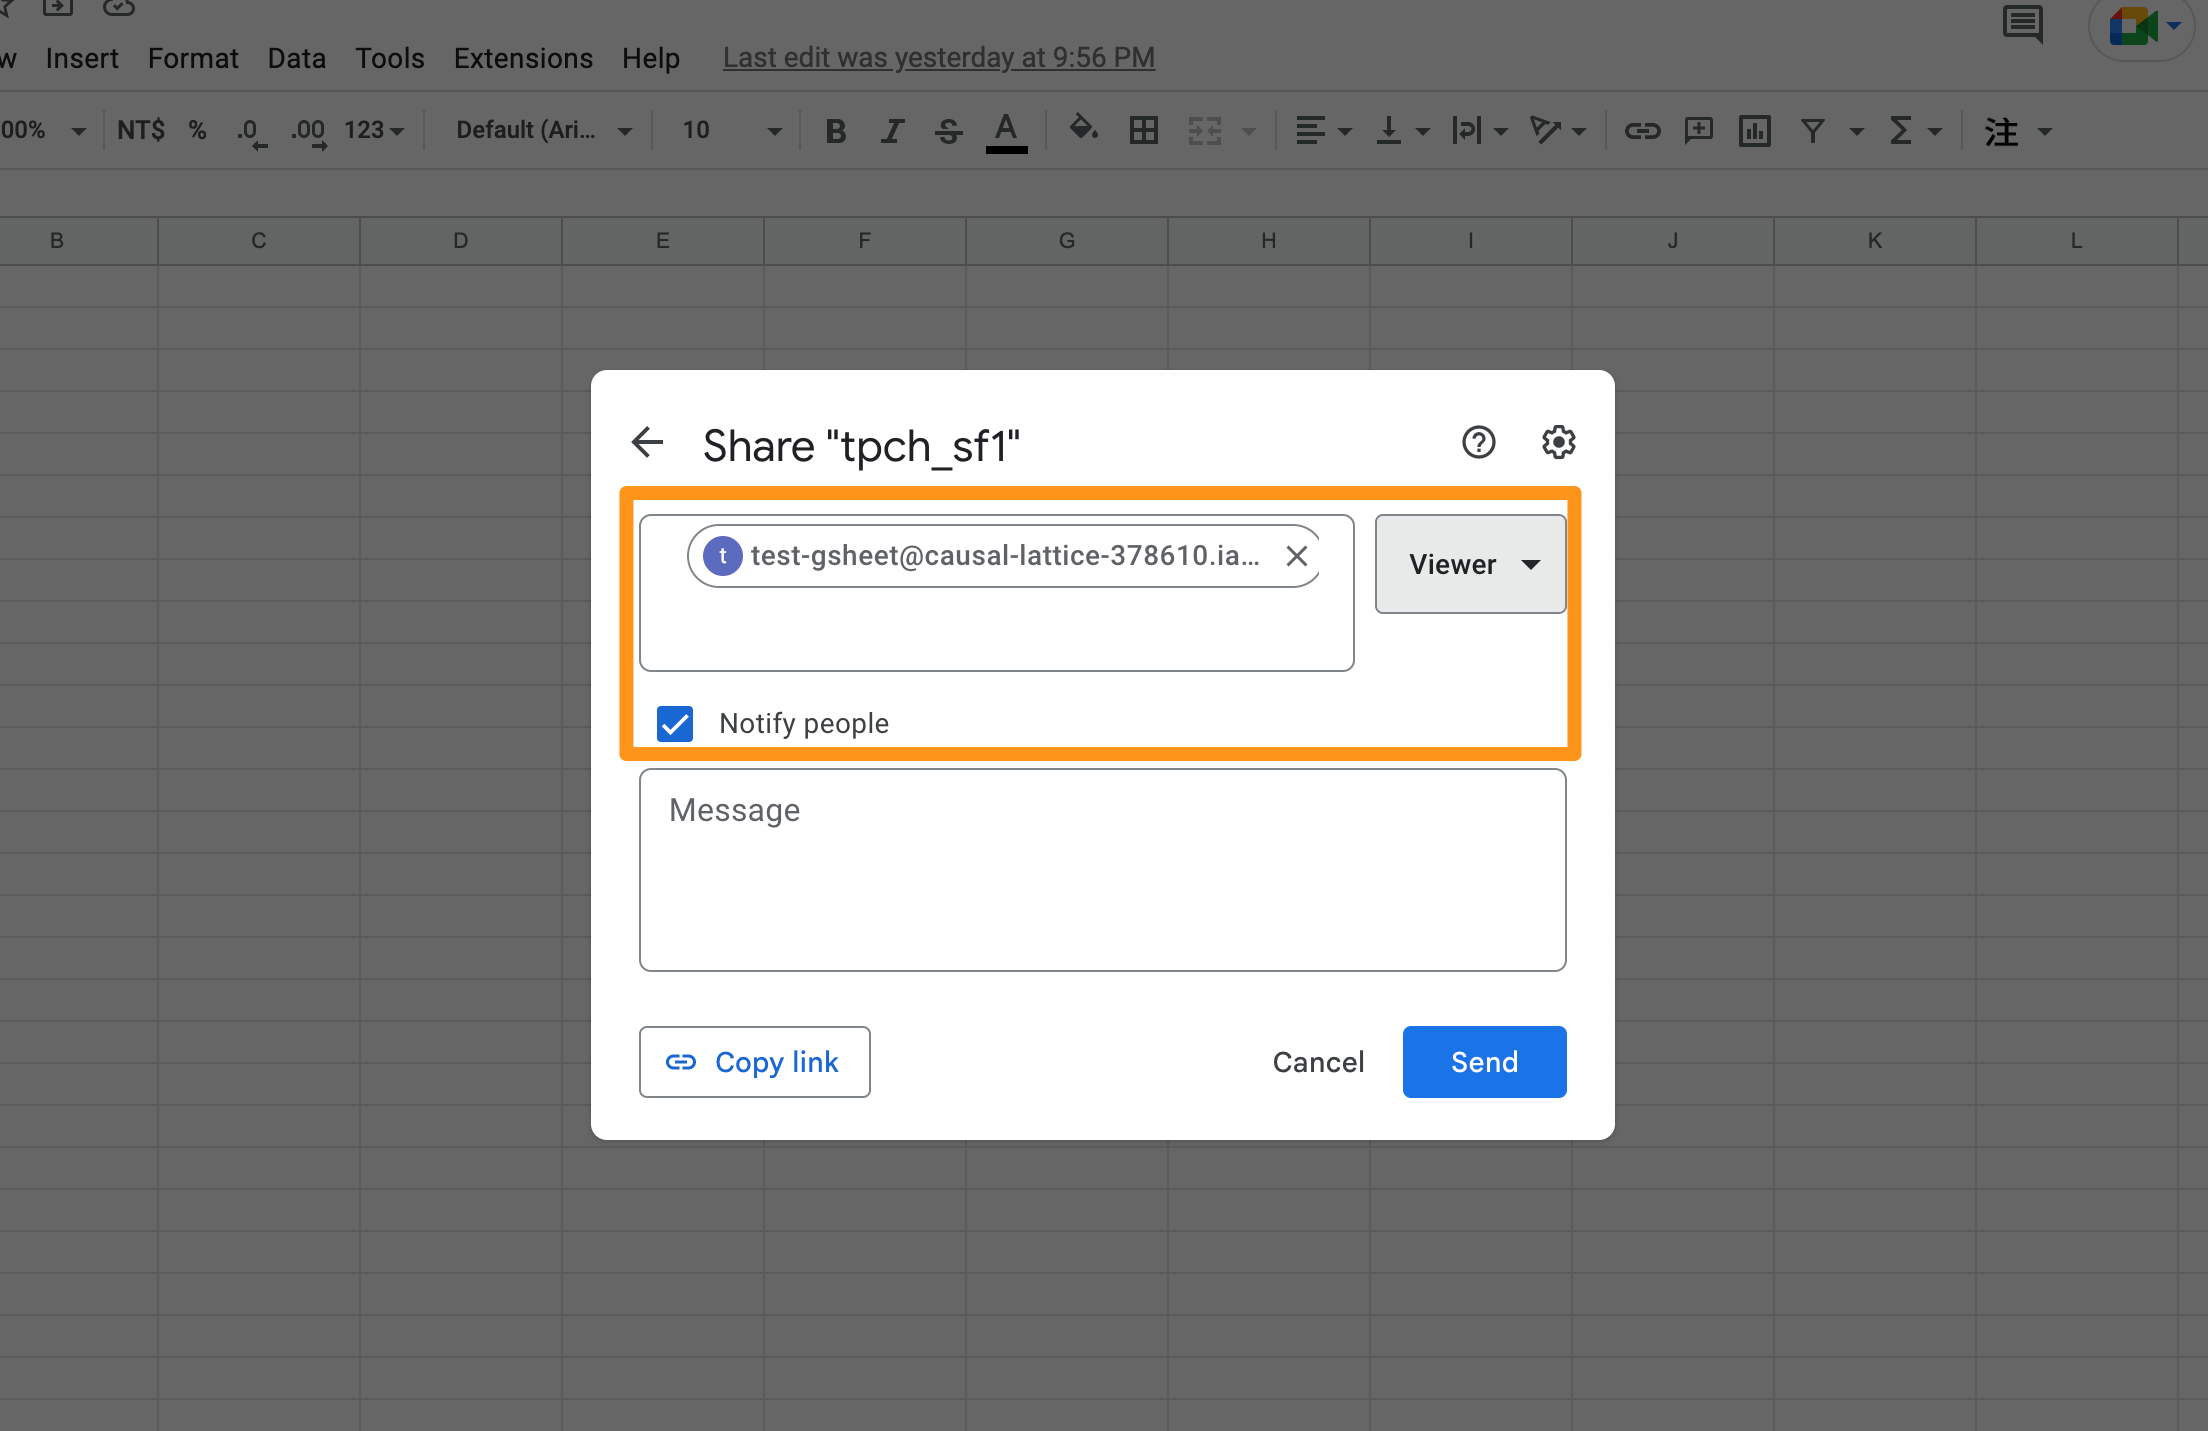
- Go to the Google Sheet that you want to link to Canner Enterprise, click "Share", and paste "Email Address", add it as a new user, and give it the role of "Viewer."
- After completing the settings, the following figure will appear, one more Service Account user
Step 4: Create Data Sources
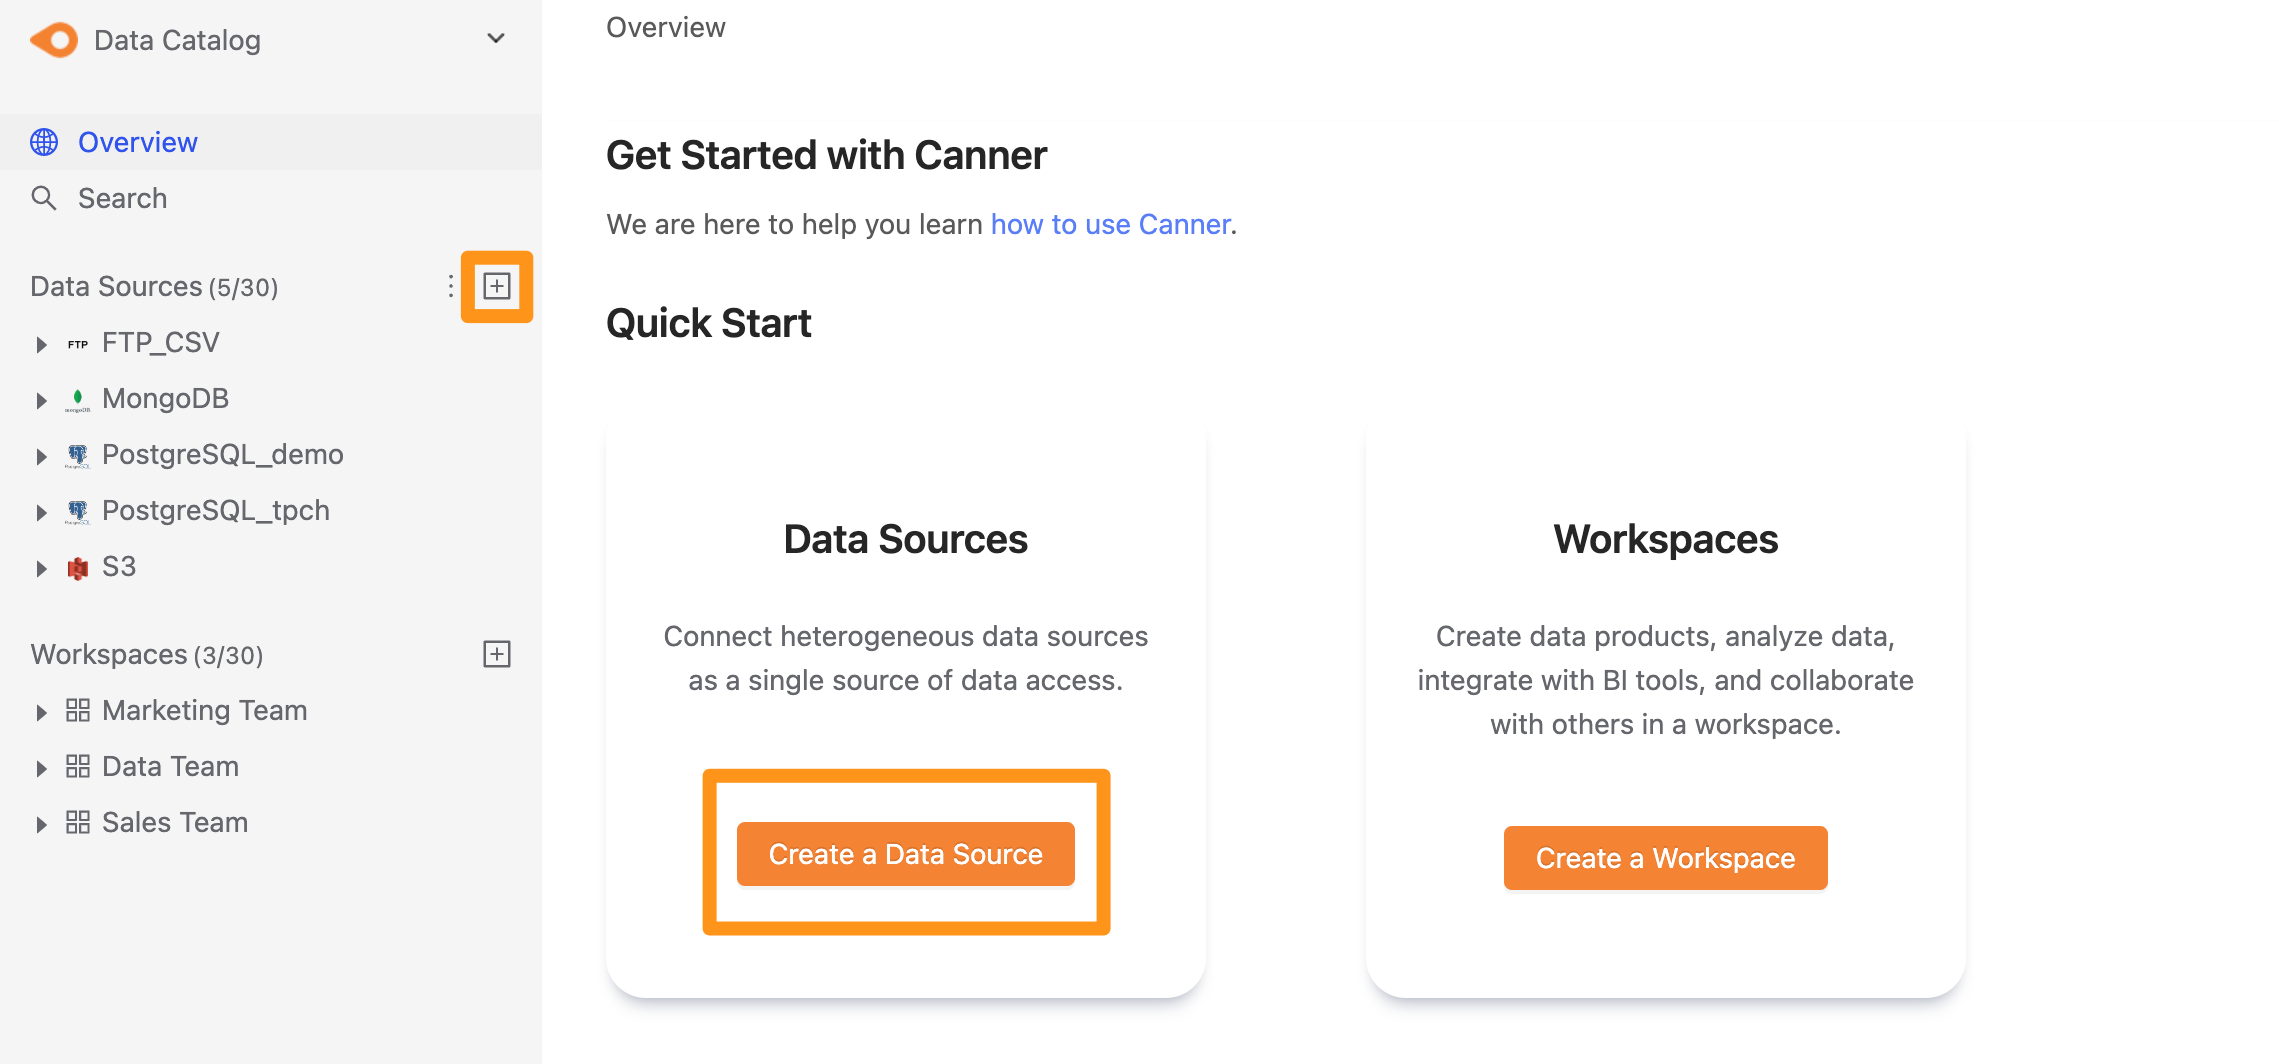
You can create a data source through the following two operations. The first is to click the "+" button on the sidebar Data Source or click the Create a Data Source button on the Overview page to create.
Step 5: Set connection information
In the pop-up window form, fill in and set the connection information, and click Submit to send. The setting details of relevant connection fields are as follows.
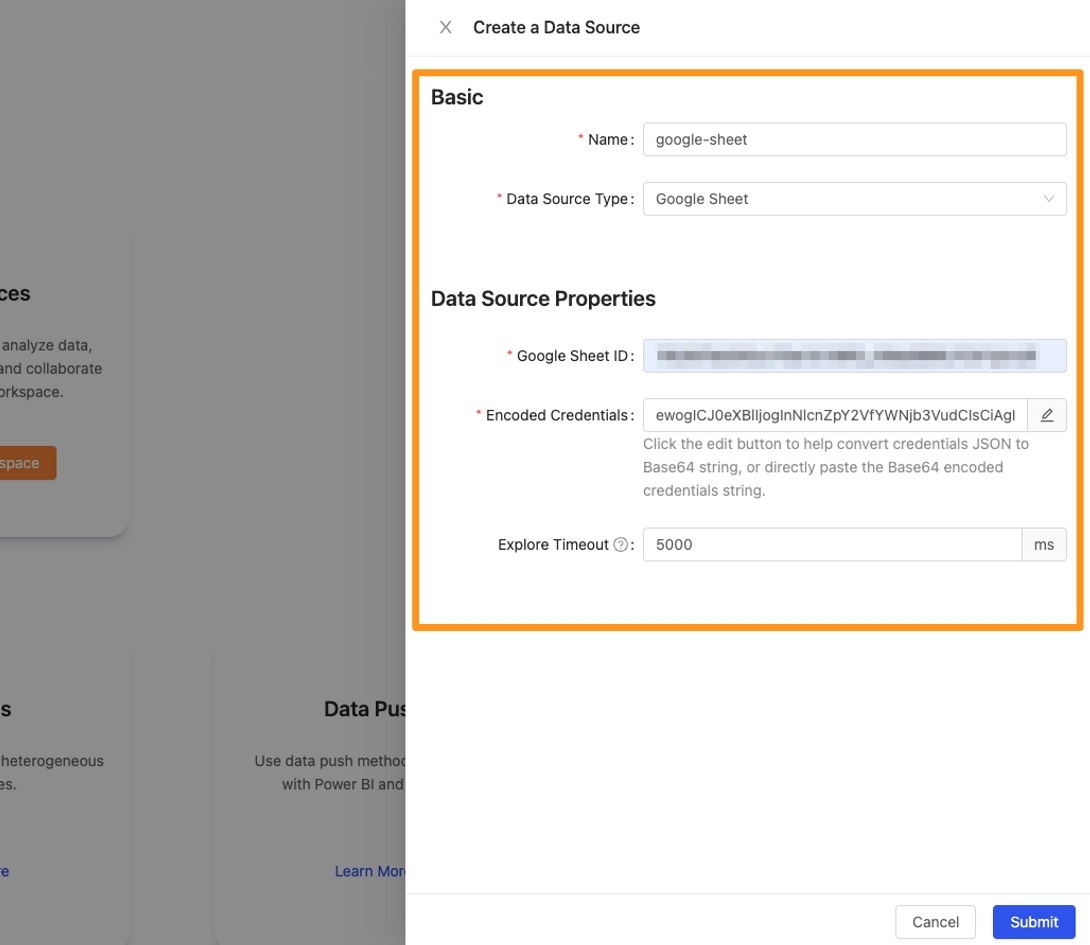
Name: database name, for display, can be modified laterData Source Type: database type, please selectGoogle SheetGoogle Sheet ID: Please fill in the Spreadsheet ID of Google Sheet
In the URL of Google Sheets, please copy the URL fragment framed in red in the figure below

Encoded Credentials: Key content of Service Account
- Click the pencil icon to the right of the input
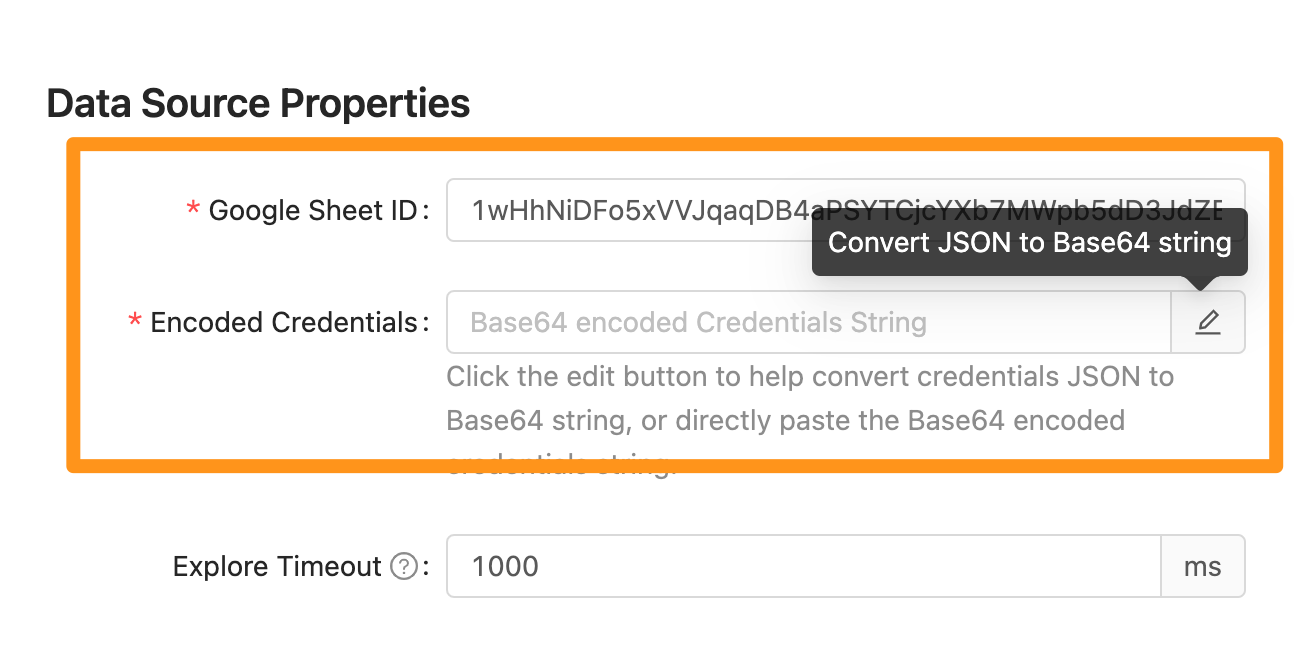
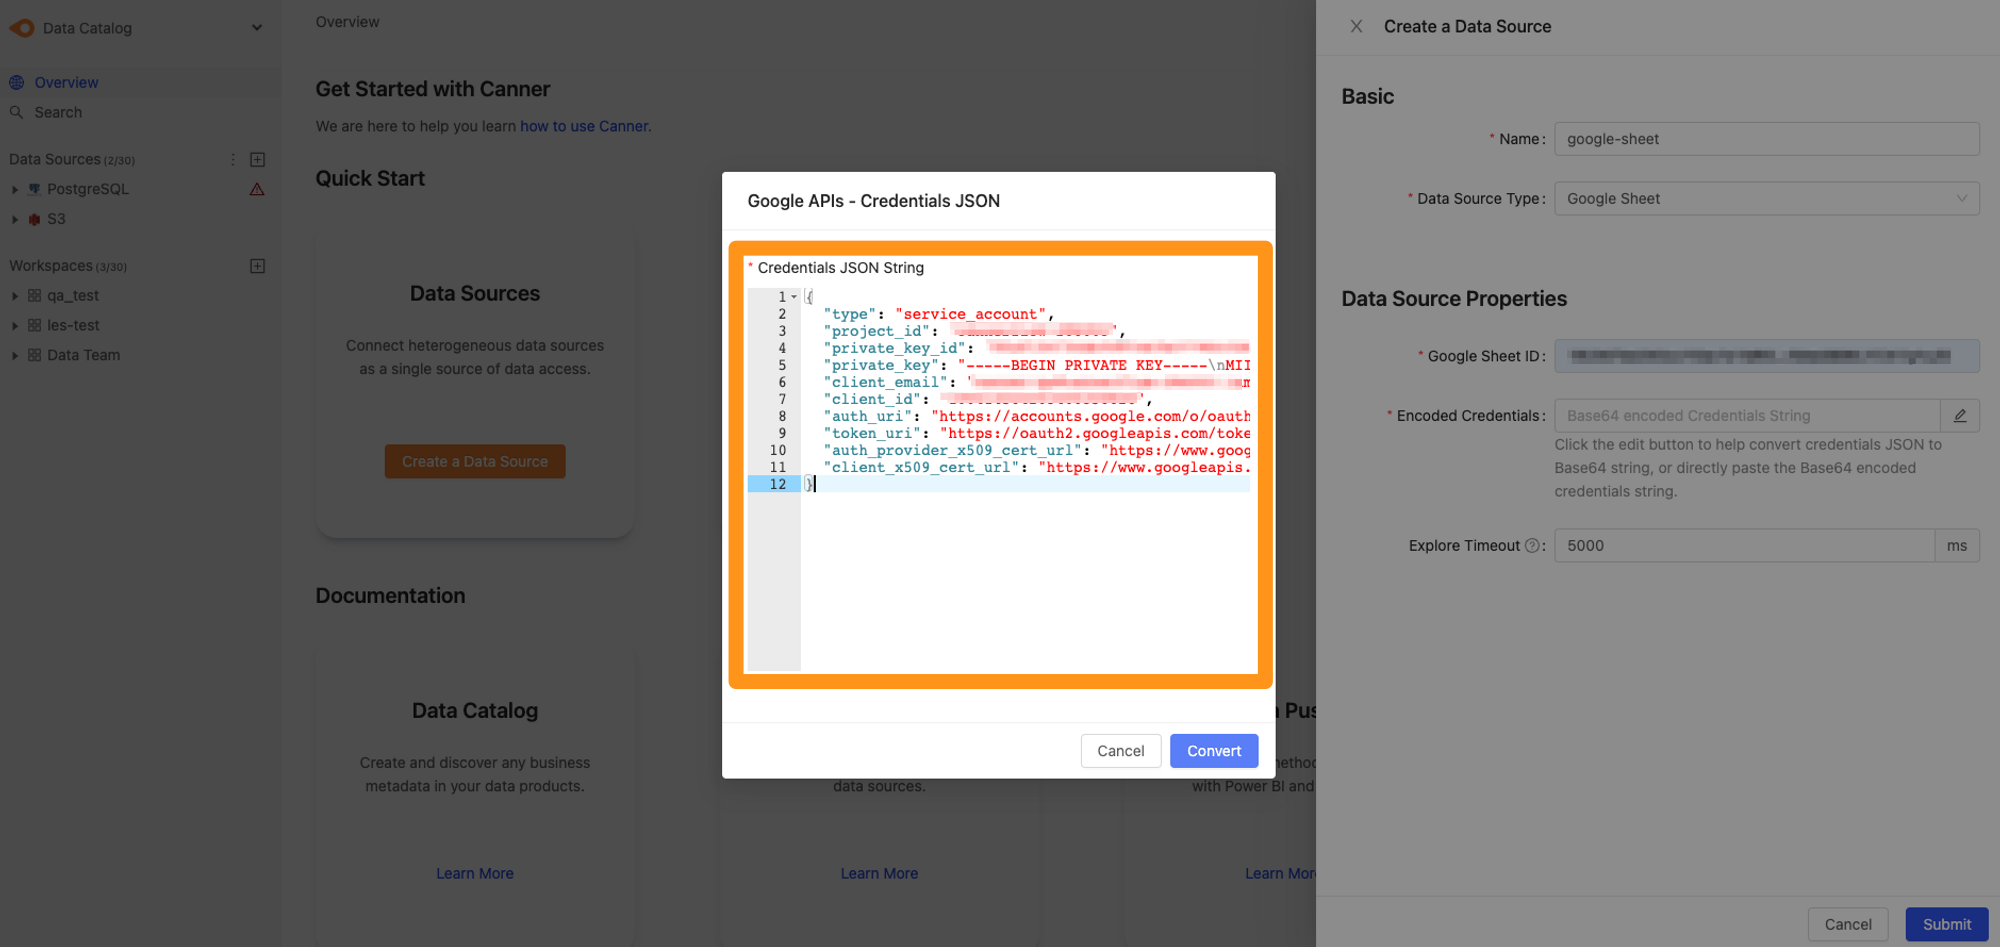
- After pasting the JSON content in Step2 in the pop-up window, click Convert to return to the form and continue to fill in other fields
Step 6: Complete the build
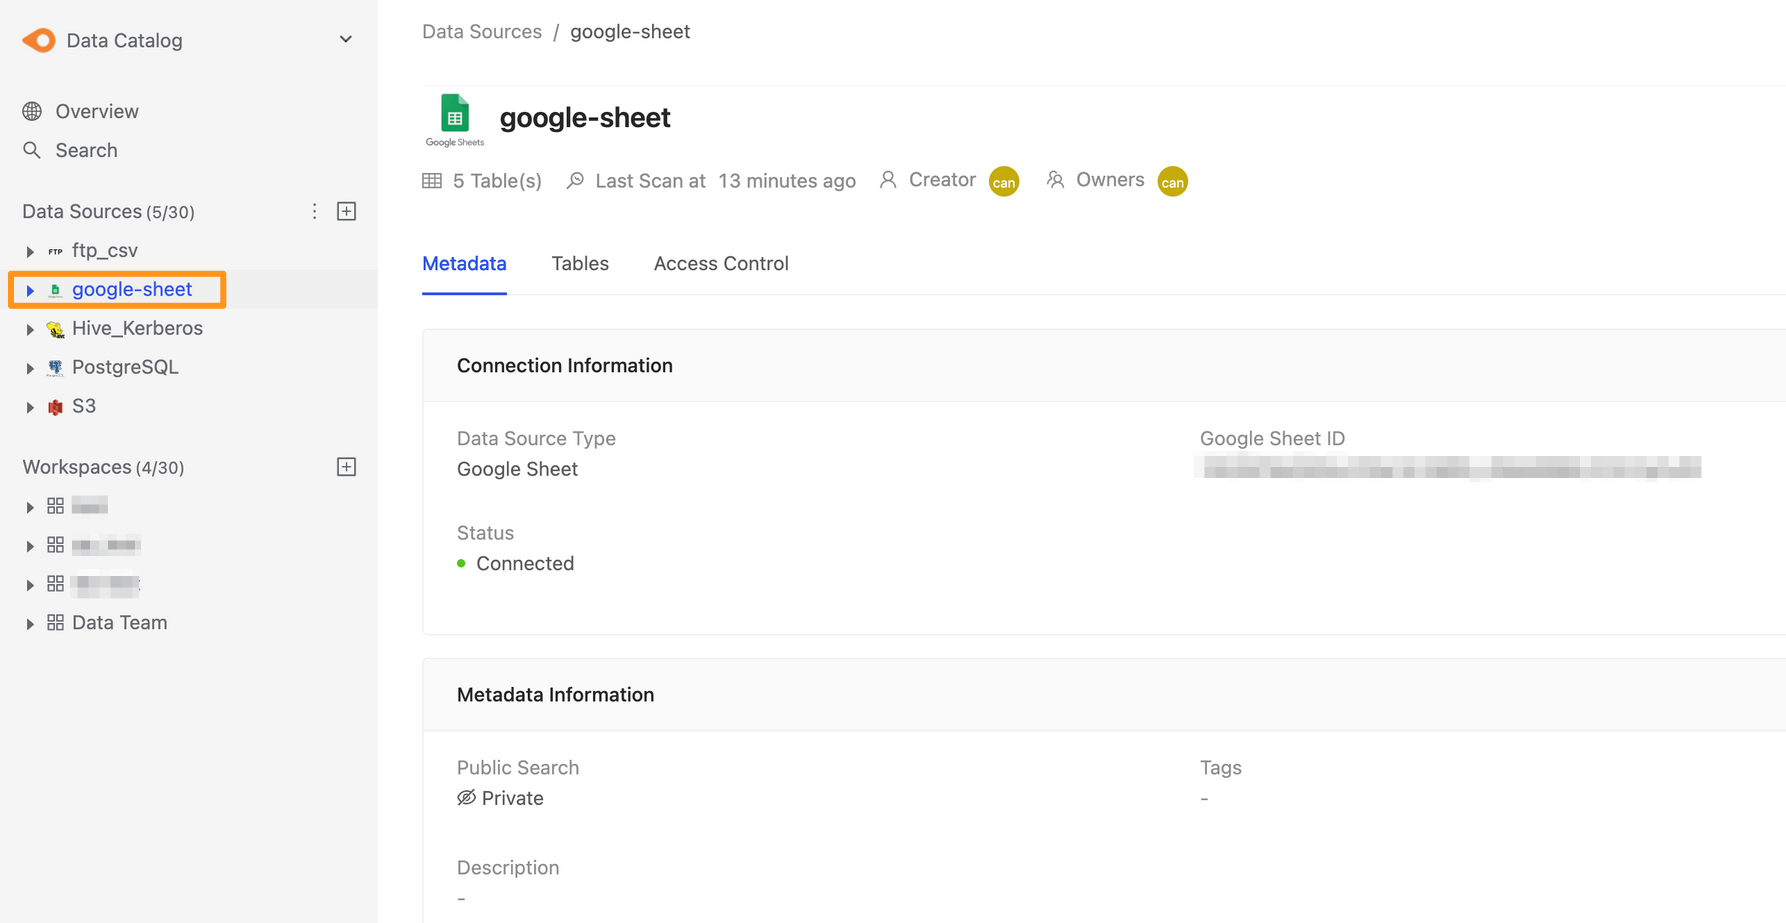
After Submitting, the S3 data source will show up in the sidebar in a few moments, and you can click to enter the data source details page.
