Connecting to Azure Blob
Before you begin, learn how to [Connect Data Sources in Canner Enterprise]/tutorial/data_connection/data_source).
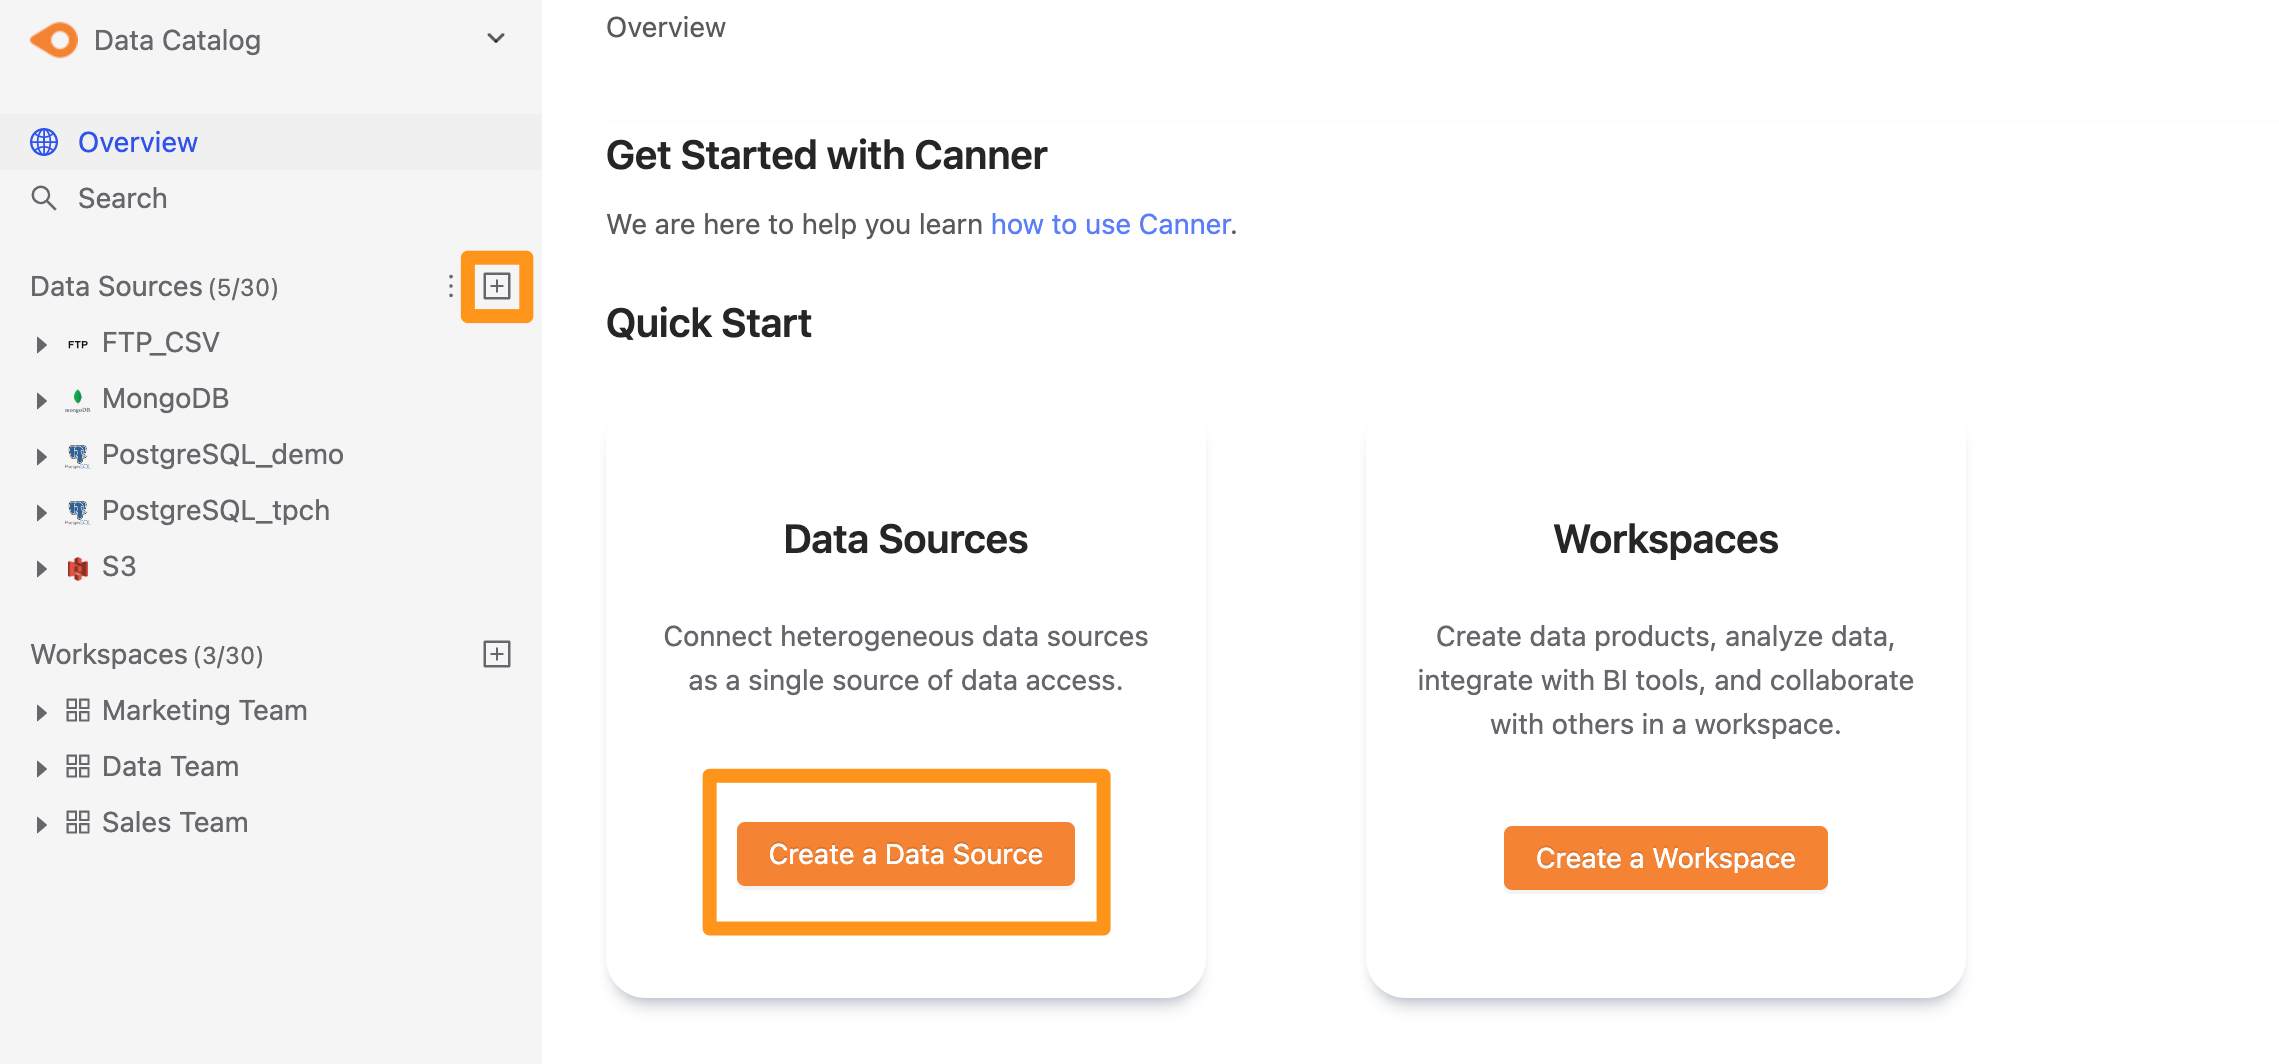
Step 1: Create data sources
You can create a data source through the following two operations. The first is to click the "+" button on the sidebar Data Source or click the Create a Data Source button on the Overview page to create.
Step 2: Set connection information
In the pop-up form, fill in and set the connection information, and click Submit to send.
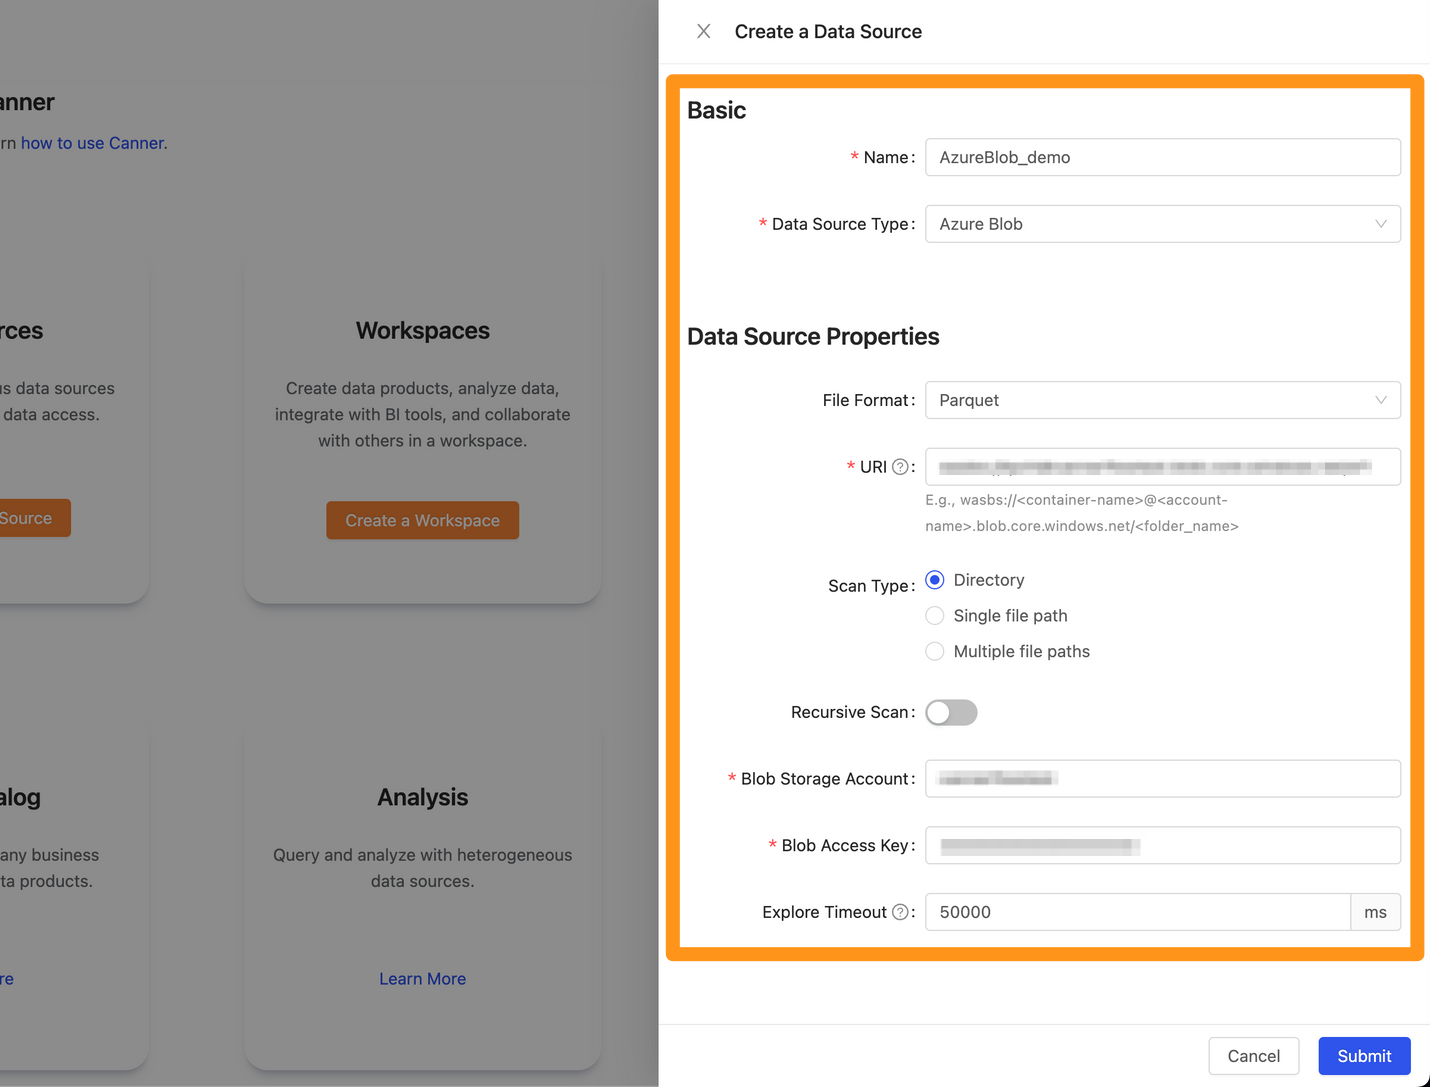
Basic
- Name: The display name of the database in Canner Enterprise, which can be modified later.
- Data Source Type: Database type, please select
Azure Blob.
Data Source Properties
###File Format Each data source of Canner Enterprise can only link one file format; please select a Canner Enterprise supported file format you want to link here. For example, if you choose to link CSV format files, even if you have multiple data format files, including JSON, Excel, CSV, etc., under the specified path of Azure Blob, the system will only link CSV files.
URIs
Fill in the path of the Azure Blob container file you want to link.
The path format is: wasbs://<container>@<storage account>.blob.core.windows.net/<folder_name>
If the URI you fill in has special characters such as :?#[]@!$&'()*+;, the system will make a wrong judgment. Please note that your bucket or file name cannot contain these characters.
Scan Type
1. Directory
The system will link all specified format files in your path directory. Please fill in the path of the folder you want to select in URI according to your folder structure and the following two link situations.
Example file structure:

Superstore/
├─ Orders/
│ ├─ Orders_2014.csv
│ ├─ Orders_2015.csv
├─ People/
│ ├─ People_East.csv
│ ├─ People_North.csv
│ ├─ People_South.csv
│ ├─ People_West.csv
Link scenario A. Each file under the specified path is an independent Table Link to Directory under URI
wasbs://my-container@my-storage-account.blob.core.windows.net/Superstore/Orders. After the connection is successful, this source will have two tables,Orders_2014andOrders_2015, in Canner Enterprise.
Link scenario B. Each folder under the specified path is an independent Table Link to Directory under URI
wasbs://my-container@my-storage-account.blob.core.windows.net/Superstore. After the connection is successful, this source will have two tables,OrdersandPeoplein Canner Enterprise.cautionThis scenario requires that all files in the folder have the same format and schema.
Recursive Scan
If there are folders in the specified path directory of your link, and you want all the folders to be queried in Workspace after the link is successful, you can check this option.
2. Single file path
The system will link to a single file at the path you specify. Fill in the path of the file you want to select in URI.
Example file structure:

Superstore/
├─ Orders/
│ ├─ Orders_2014.csv
│ ├─ Orders_2015.csv
Example: Link URI
wasbs://my-container@my-storage-account.blob.core.windows.net/Superstore/Orders/Orders_2014.csvfile. After the connection is successful, this source will have a tableOrders_2014in Canner Enterprise.
If you select Excel as the File Format, you can only use the Single file path method to link files. Please fill in the link path of a single file, and the system will parse each worksheet (Sheet) in the Excel file into each Table.
3. Multiple file paths
The system will link all specified format files in your path directory, and you can specify include/exclude specific files and then integrate them into a single Table.
cautionThis usage requires that all the file formats and schemas of your include are the same.
In Basic URI, fill in the path of the folder directory you want to specify, and then continue to set the path of selected files to be included or excluded.
- Include file paths: List the file paths you want to link under the Basic URI (support wildcard (
*), such as/<folder-name>/*.csv) - Exclude file paths: List the file paths you want to exclude under Basic URI (support wildcard (
*), such as/<folder-name>/*.csv)
Example file structure:

Superstore/
├─ 2021/
│ ├─ Orders_2021.csv
│ ├─ Orders_history.csv
│ ├─ People_2021.json
│ ├─ .metadata
├─ 2022/
│ ├─ Orders_2022.csv
│ ├─ People_2021.json
│ ├─ .metadata
Example: link to Directory under Basic URI
wasbs://my-container@my-storage-account.blob.core.windows.net/Superstore. Include file paths: set/2021/Orders_2021.csv/2022/Orders_2022.csvExclude file paths: Set/2021/Orders_history.csvAfter the connection is successful, this source will have aSuperstoreTable in Canner Enterprise, and the content of this Table is the integration of/2021/Orders_2021.csv/2022/Orders_2022.csvtwo files.
Blob Storage Account & Access Key
For access keys for AWS users, please refer to [Azure Storage - Manage Storage Account Access Keys](https://docs.microsoft.com/zh-tw/azure/storage/common/storage -account-keys-manage?tabs=azure-portal)
File Format Details
- CSV
- Excel
- JSON
- ORC
- Parquet
Step 3: Complete the build
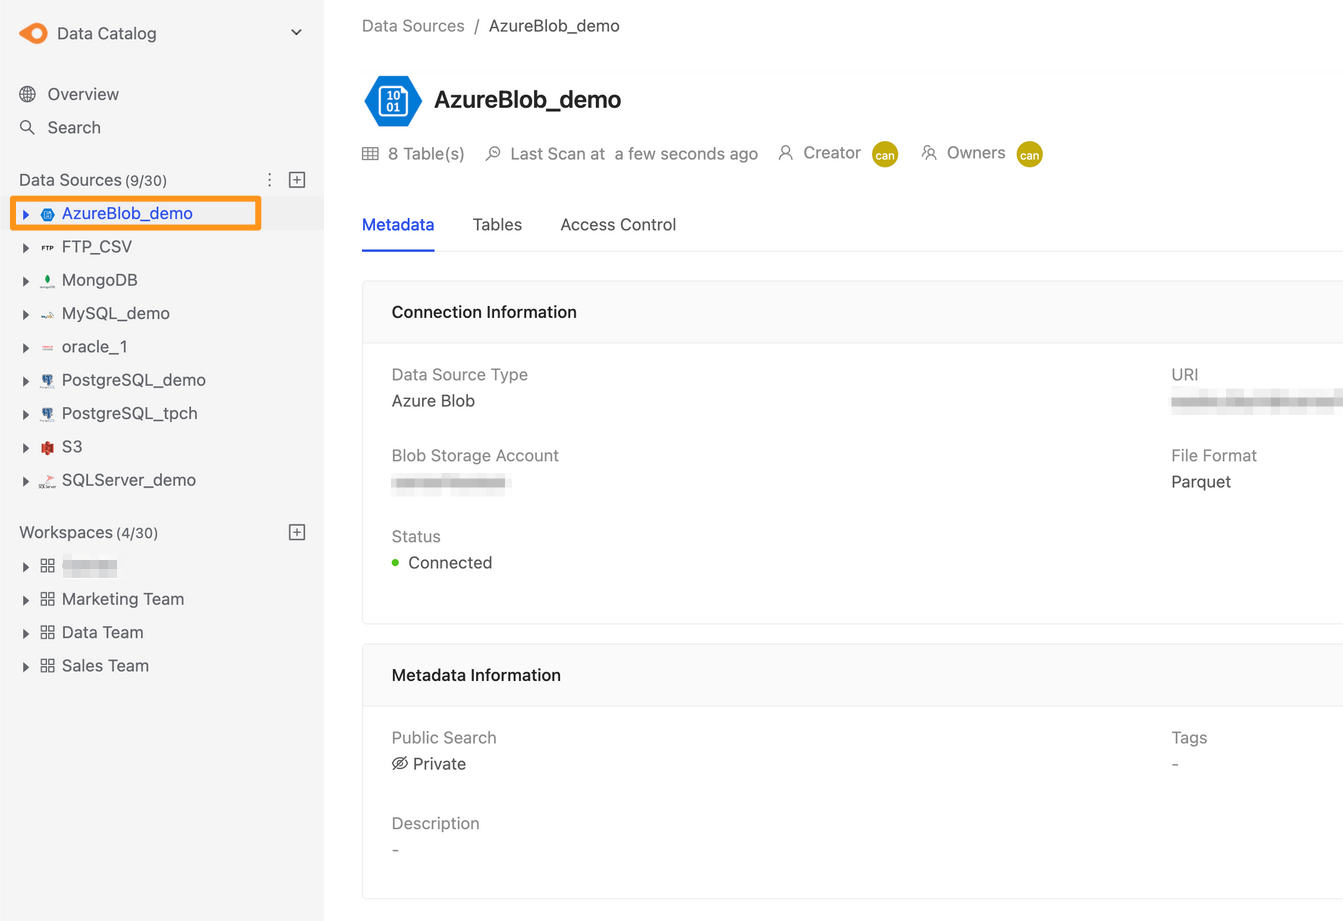
After Submitting, a few moments later will display the data source of Azure Blob in the sidebar. Click to enter the data source details page.