Generate Materialized View
If you want to understand the differences and concepts between View and Materialized View, you can refer to here.
Store as Materialized View
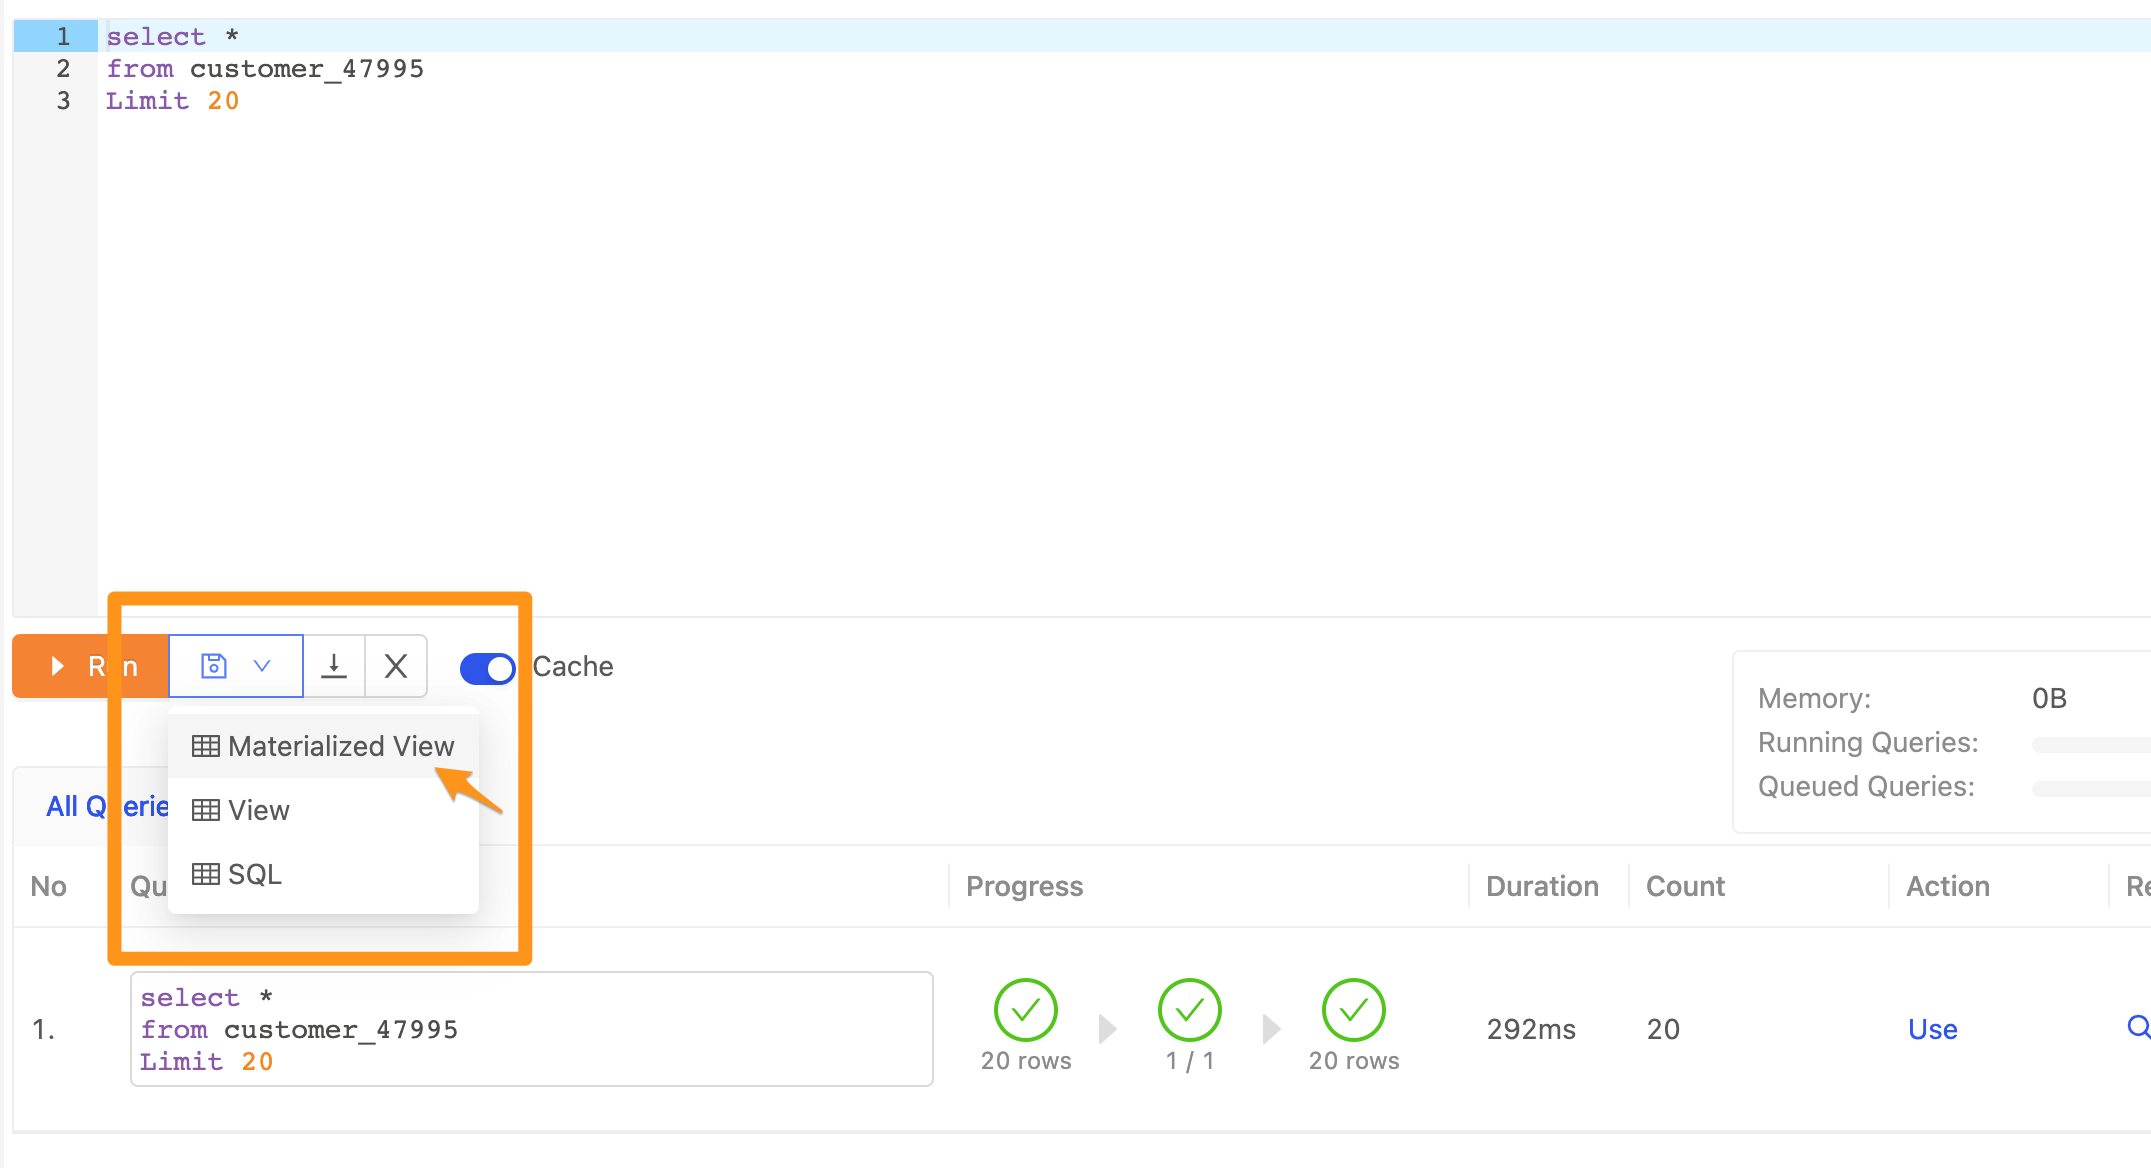
After entering the SQL statement you want in SQL Editor, you can press the drop-down menu to select Materialized View. The system will store your current SQL as a Materialized View.
Method 1: Convert the executed result to Materialized View
Click the table icon symbol in the results column below.

Method 2: Convert the written SQL Statement into a Materialized View
Click the drop-down menu and select the Materialized View option.
Store Materialized View
After clicking on the above steps, a form will appear in the window for you to fill in the settings, such as the name of the materialized view you want to save.
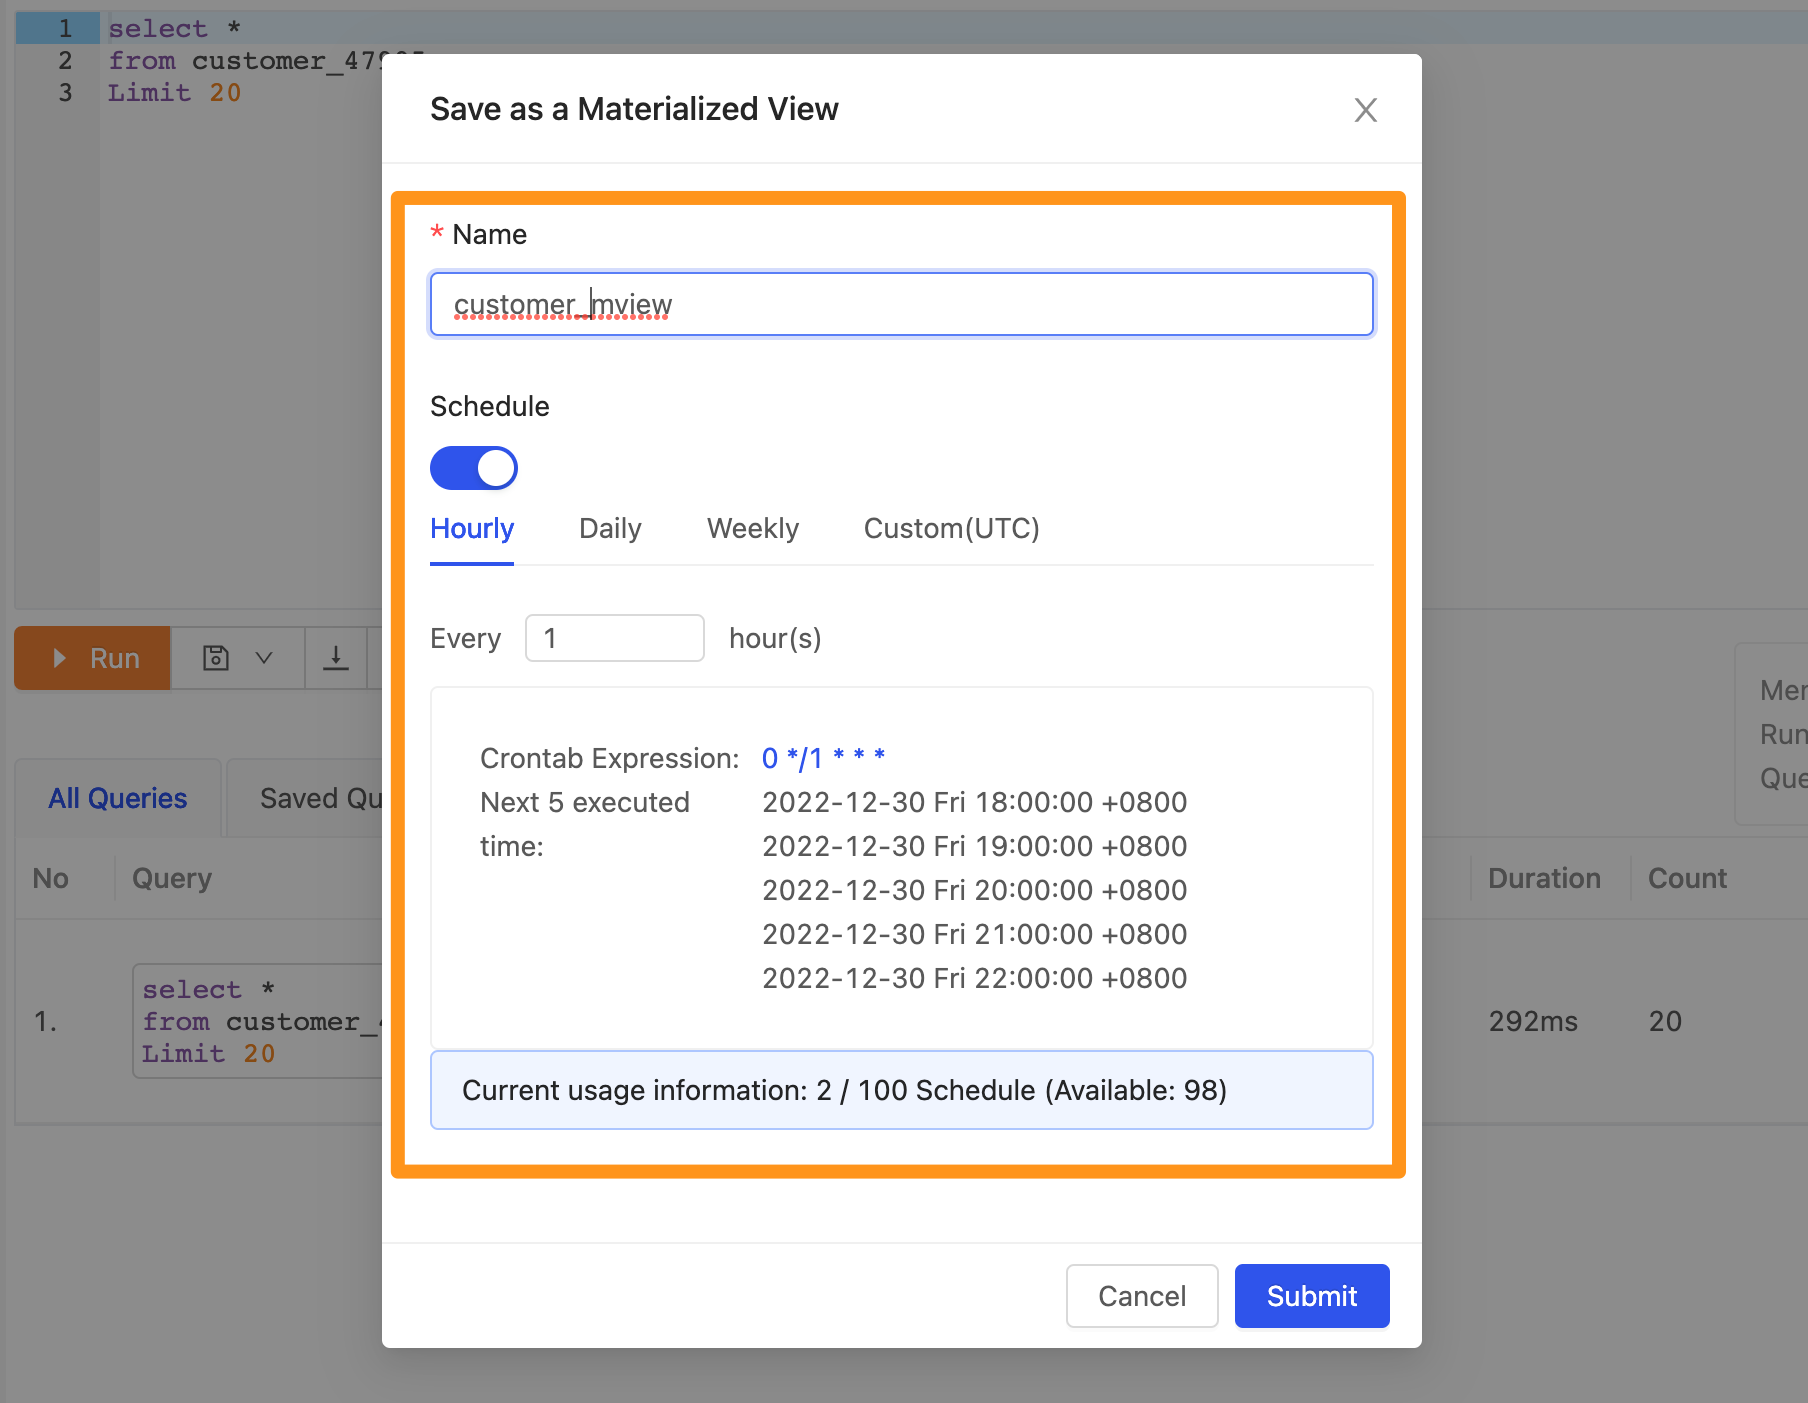
Schedule Management Settings
It can be scheduled hourly, daily, monthly, or customized according to your needs.
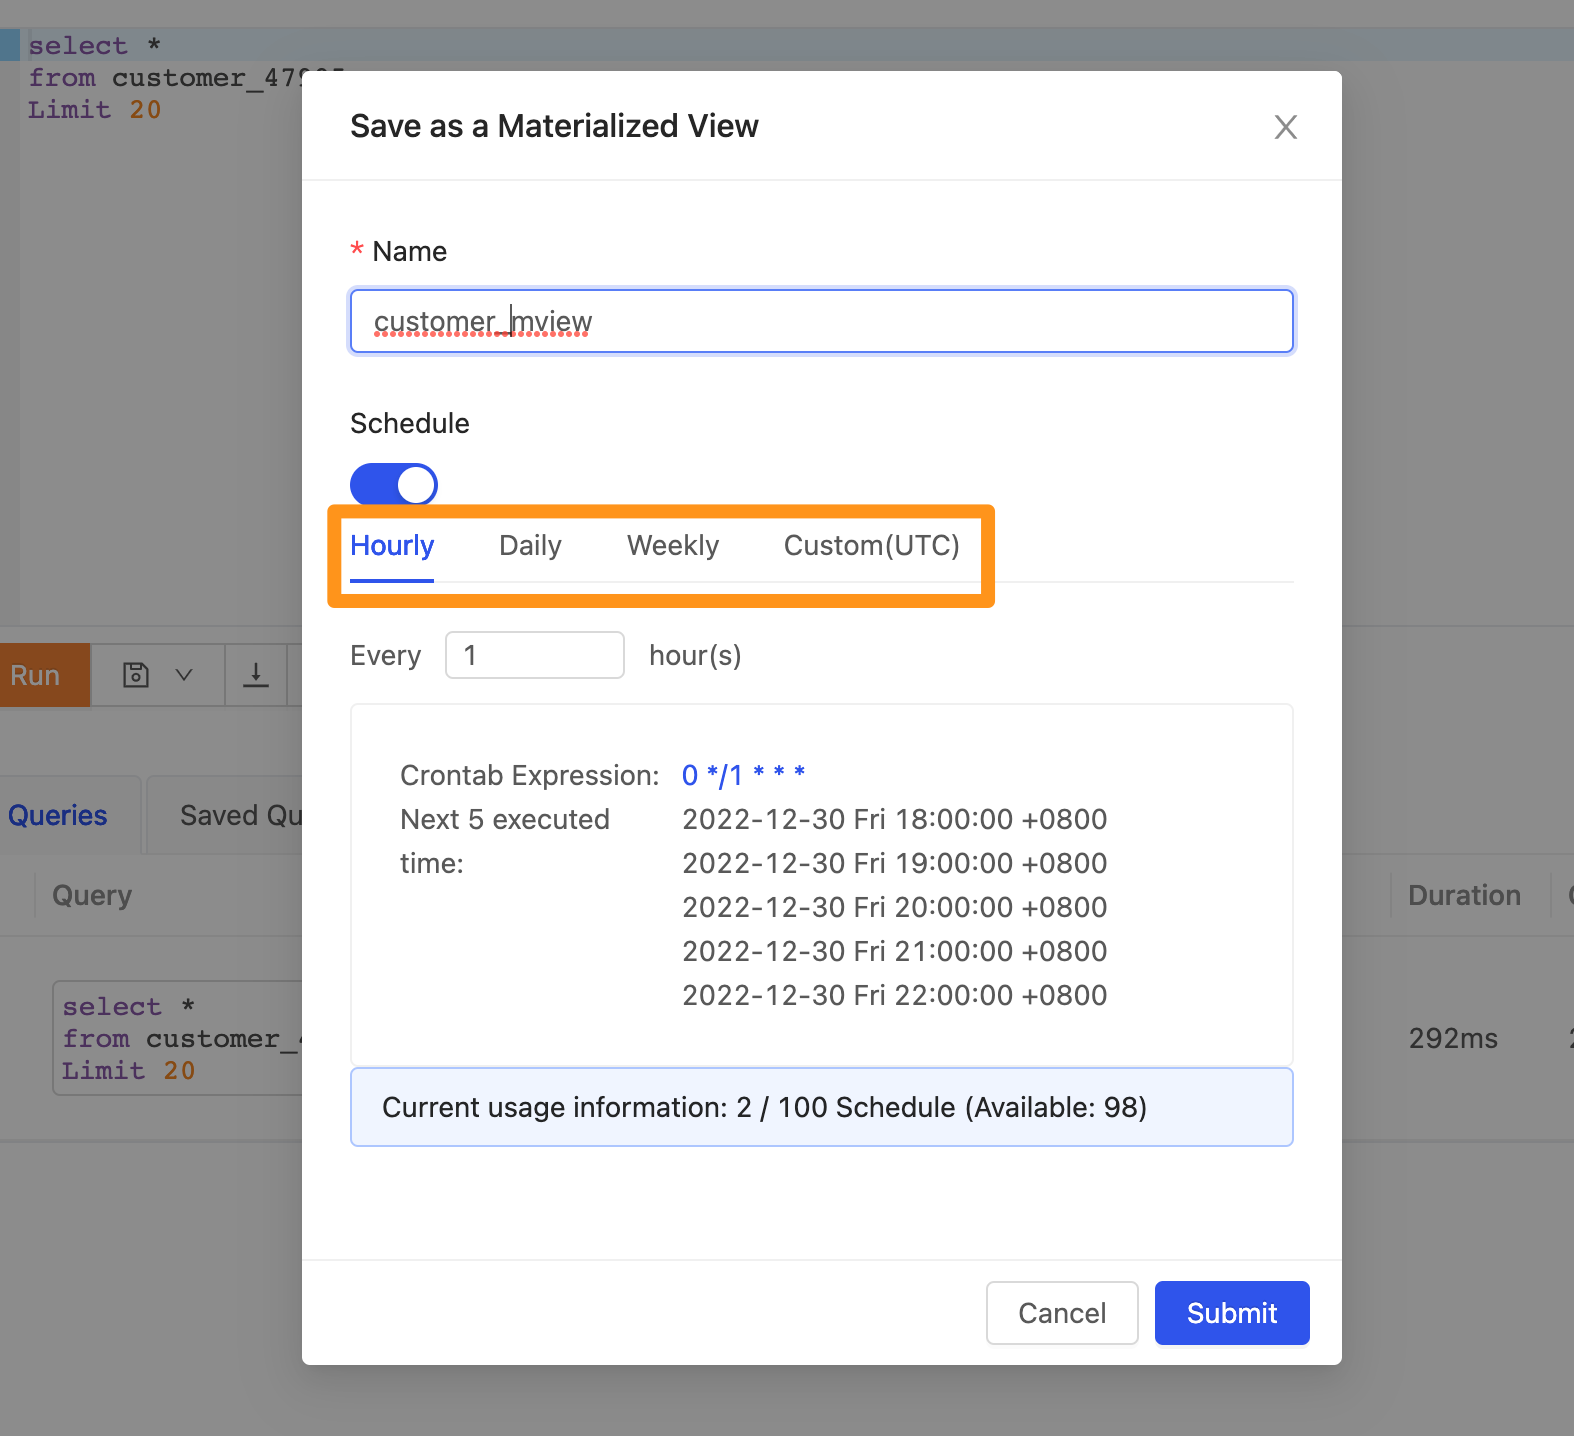
Periodic update, you can set the interval hour (Hourly), daily time (Daily), weekly time (Weekly), or customize the Crontab syntax.
If you specify a specific hour in Crontab, please note that the time here is UTC +0 time zone.
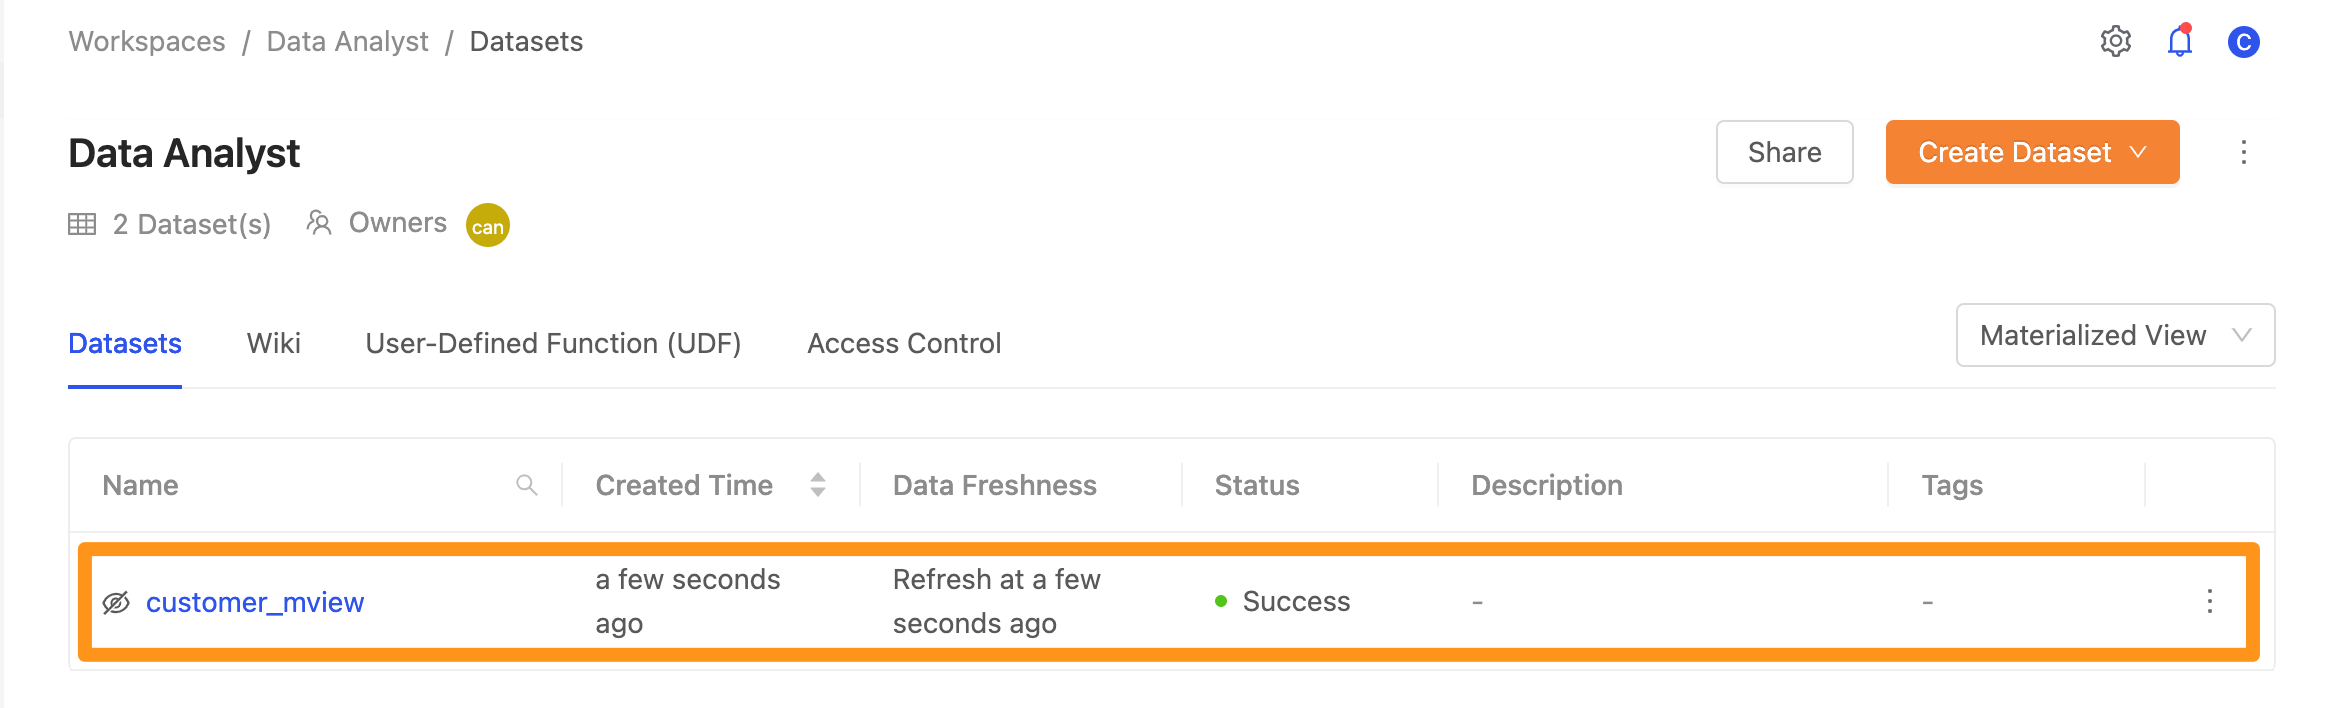
View Materialized View list in SQL Editor after saving
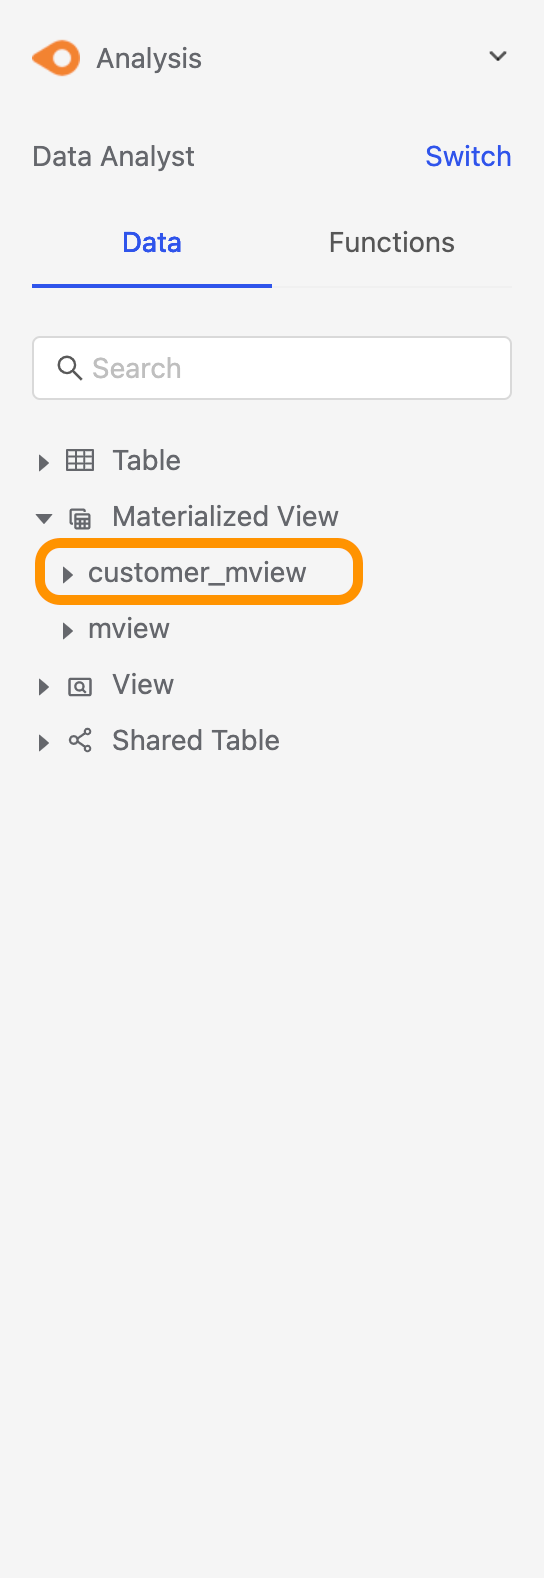
After saving, you can expand the Materialized View list in the sidebar of SQL Editor and see the Materialized View created.
View SQL Statement
This feature is only available after version 2.1.3
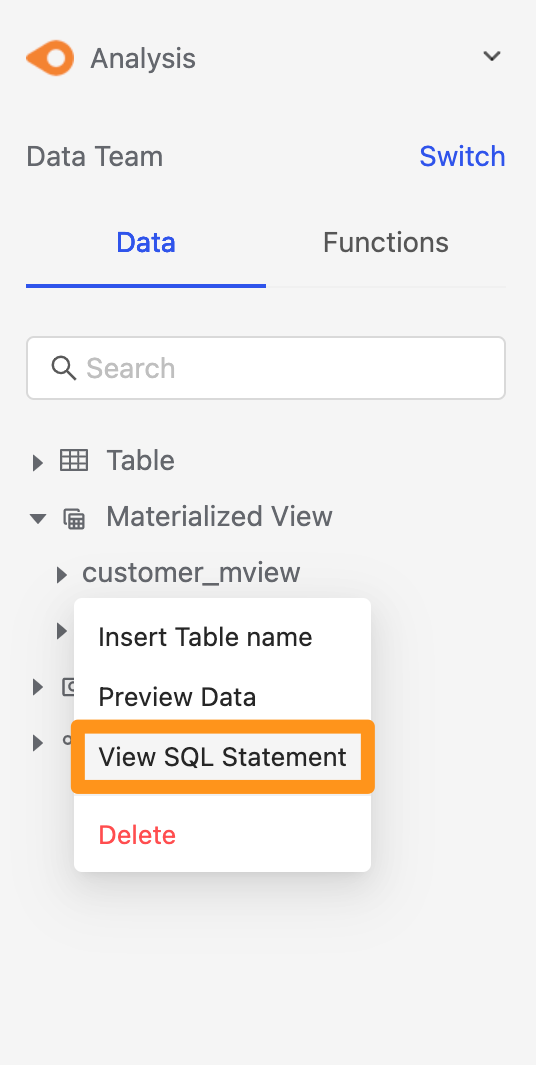
In the sidebar, hover the materialized view that has been created, and select View SQL Statement in the menu.
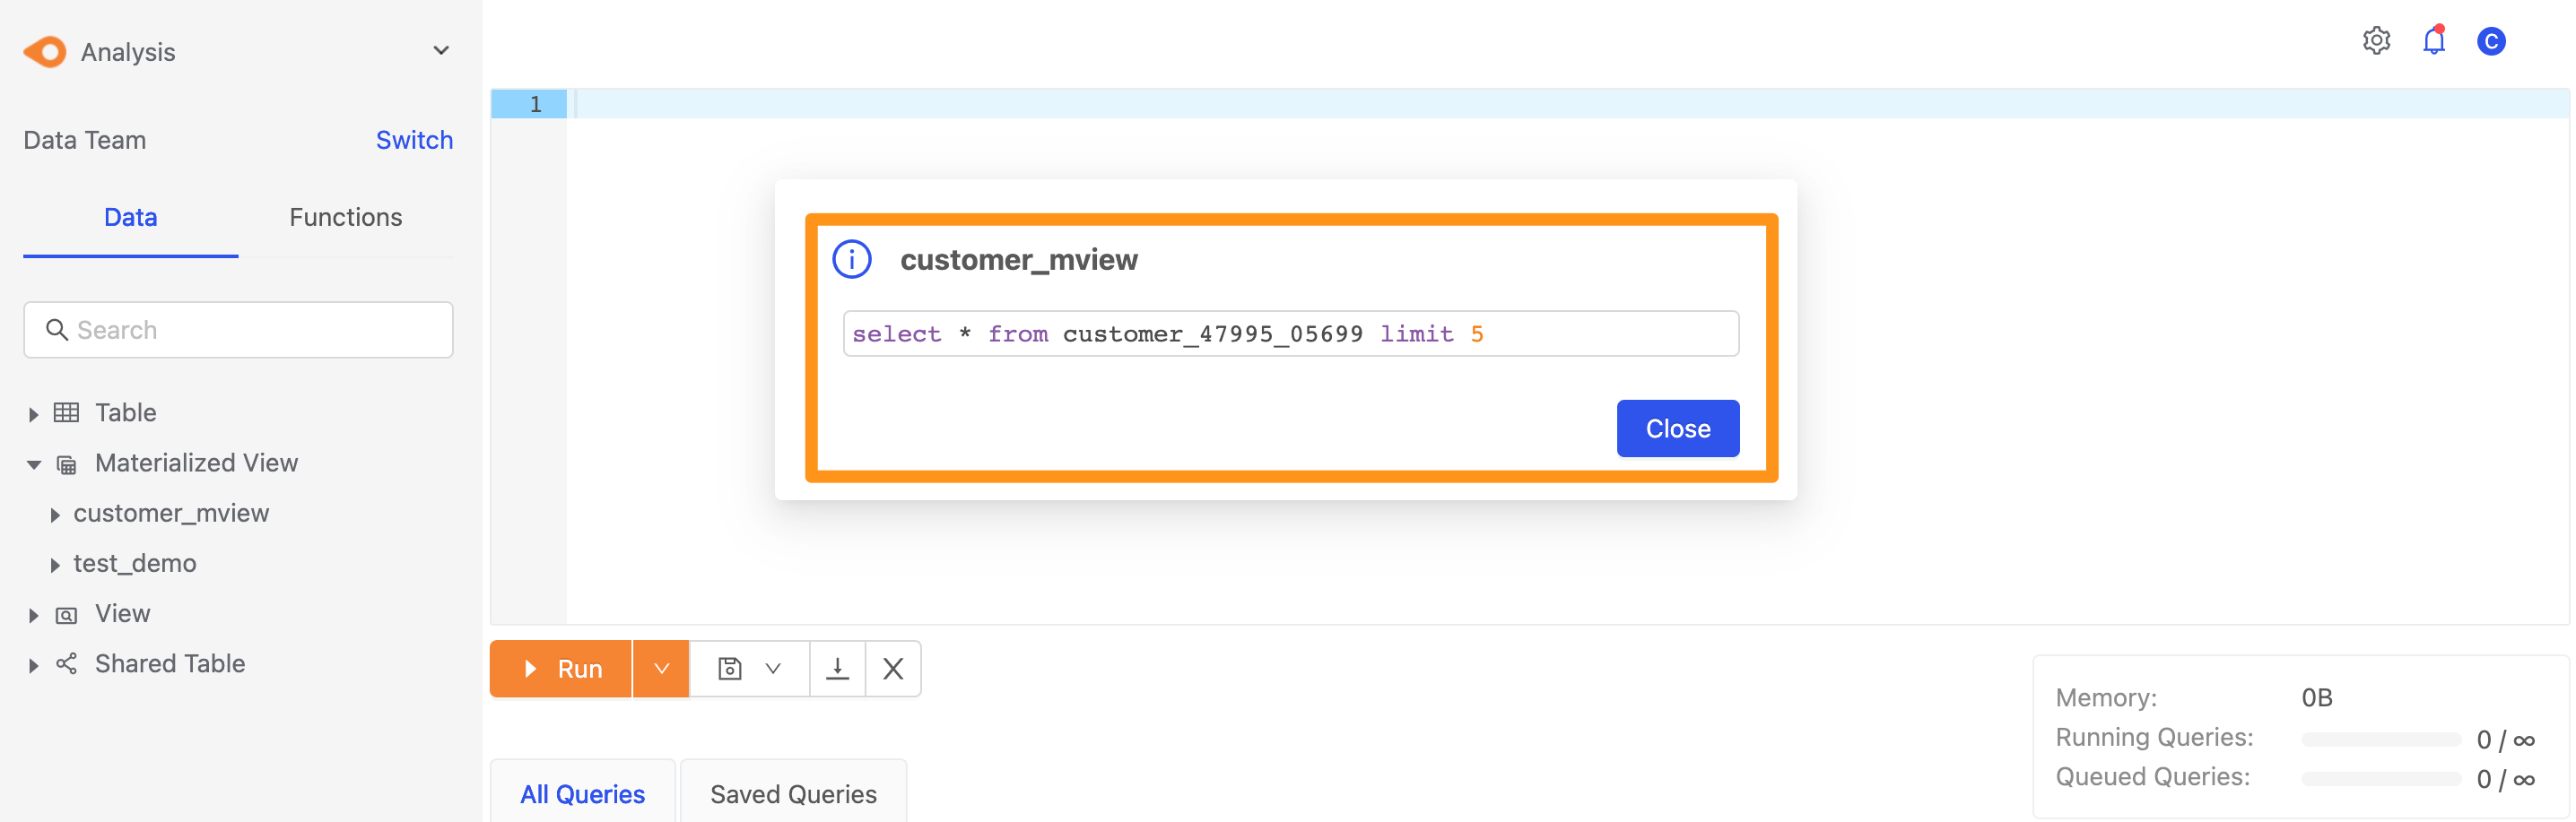
You can then view the SQL statement of the Materialized View.
View Materialized View in the data catalog
For creating Materialized View, you can switch to the data catalog, find the Materialized View in your workspace, and edit and apply Metadata.